Sunday, December 5, 2021

My Family's Baccala Salad


Salted cod aka baccala is an Italian delicacy enjoyed at the holidays, particularly on Christmas Eve during the Feast of the Seven Fishes.

The key to success is to cover the salted cod with cold water about three days prior to making the salad. Change the water out daily 2-3 times per day. In addition, boiling the cod for what may seem to be like a really excessive amount of time is key to the fish's tenderness.

Here's what the cod looks like when you purchase it:

As you see, the fish is preserved in salt. This is why soaking it, is key! I use a gigantic Tupperware container with a lid.

While every family has their own style and tradition in making this dish, I'm sharing with you the way my Mommom Sacco and my mom Judy did it. It is enjoyed during our Feast every year. I hope your family loves it, too!


Baccala Salad

Makes about 20 appetizer servings

 1.5-2 pound salted cod

Fresh water to soak the baccala

6 cloves garlic, minced

4 Tbsp. extra virgin olive oil

4 Tbsp. red wine vinegar, plus more for serving if desired

1/2 cup fresh flat-leaf parsley, chopped

Pinch of salt, to taste, if necessary

Three days prior to cooking, place salted cod in a large bowl with a lid. Cover cod with fresh cold water. Water should be at least an inch or two above the cod. Cover the bowl with lid. Place in fridge. Drain the water and repeat 2-3 times per day until the day of cooking.

On the day of cooking and preparing the baccala: Remove covered bowl with cod from fridge. Drain the soaking water. Fill a large pot with fresh water. Place cod in pot of water. 


Place pot on the stove over medium-high heat. Bring to a boil. Simmer until cod is tender and can fall apart with a fork. Start checking the cod at 20 minutes. Depending on how thick your fish is, it may need to simmer up to 40 minutes. Drain in a colander.

While the cod in the colander cools slightly, heat a small saucepan over medium low heat. Add olive oil, garlic and parsley. Saute for two minutes. 


While the cod is still warm, flake into a bowl. Cod should be bite-sized pieces. Pour garlic oil mixture on top. Gently stir to coat the fish. Add red wine vinegar. Stir again. Taste for seasoning. Add a pinch of salt if necessary. Serve warm or place in refrigerator until ready to serve. This dish can be eaten at room temperature or chilled. I like to make it the day before serving so that the flavors marinate well, but my mom makes it Christmas Eve morning.

Serve with extra red wine vinegar and crusty bread.


Sunday, November 7, 2021

Turkey Talk

 OK. Thanksgiving season is upon us. You're either yaying or wigging out. I'm kind of both. 

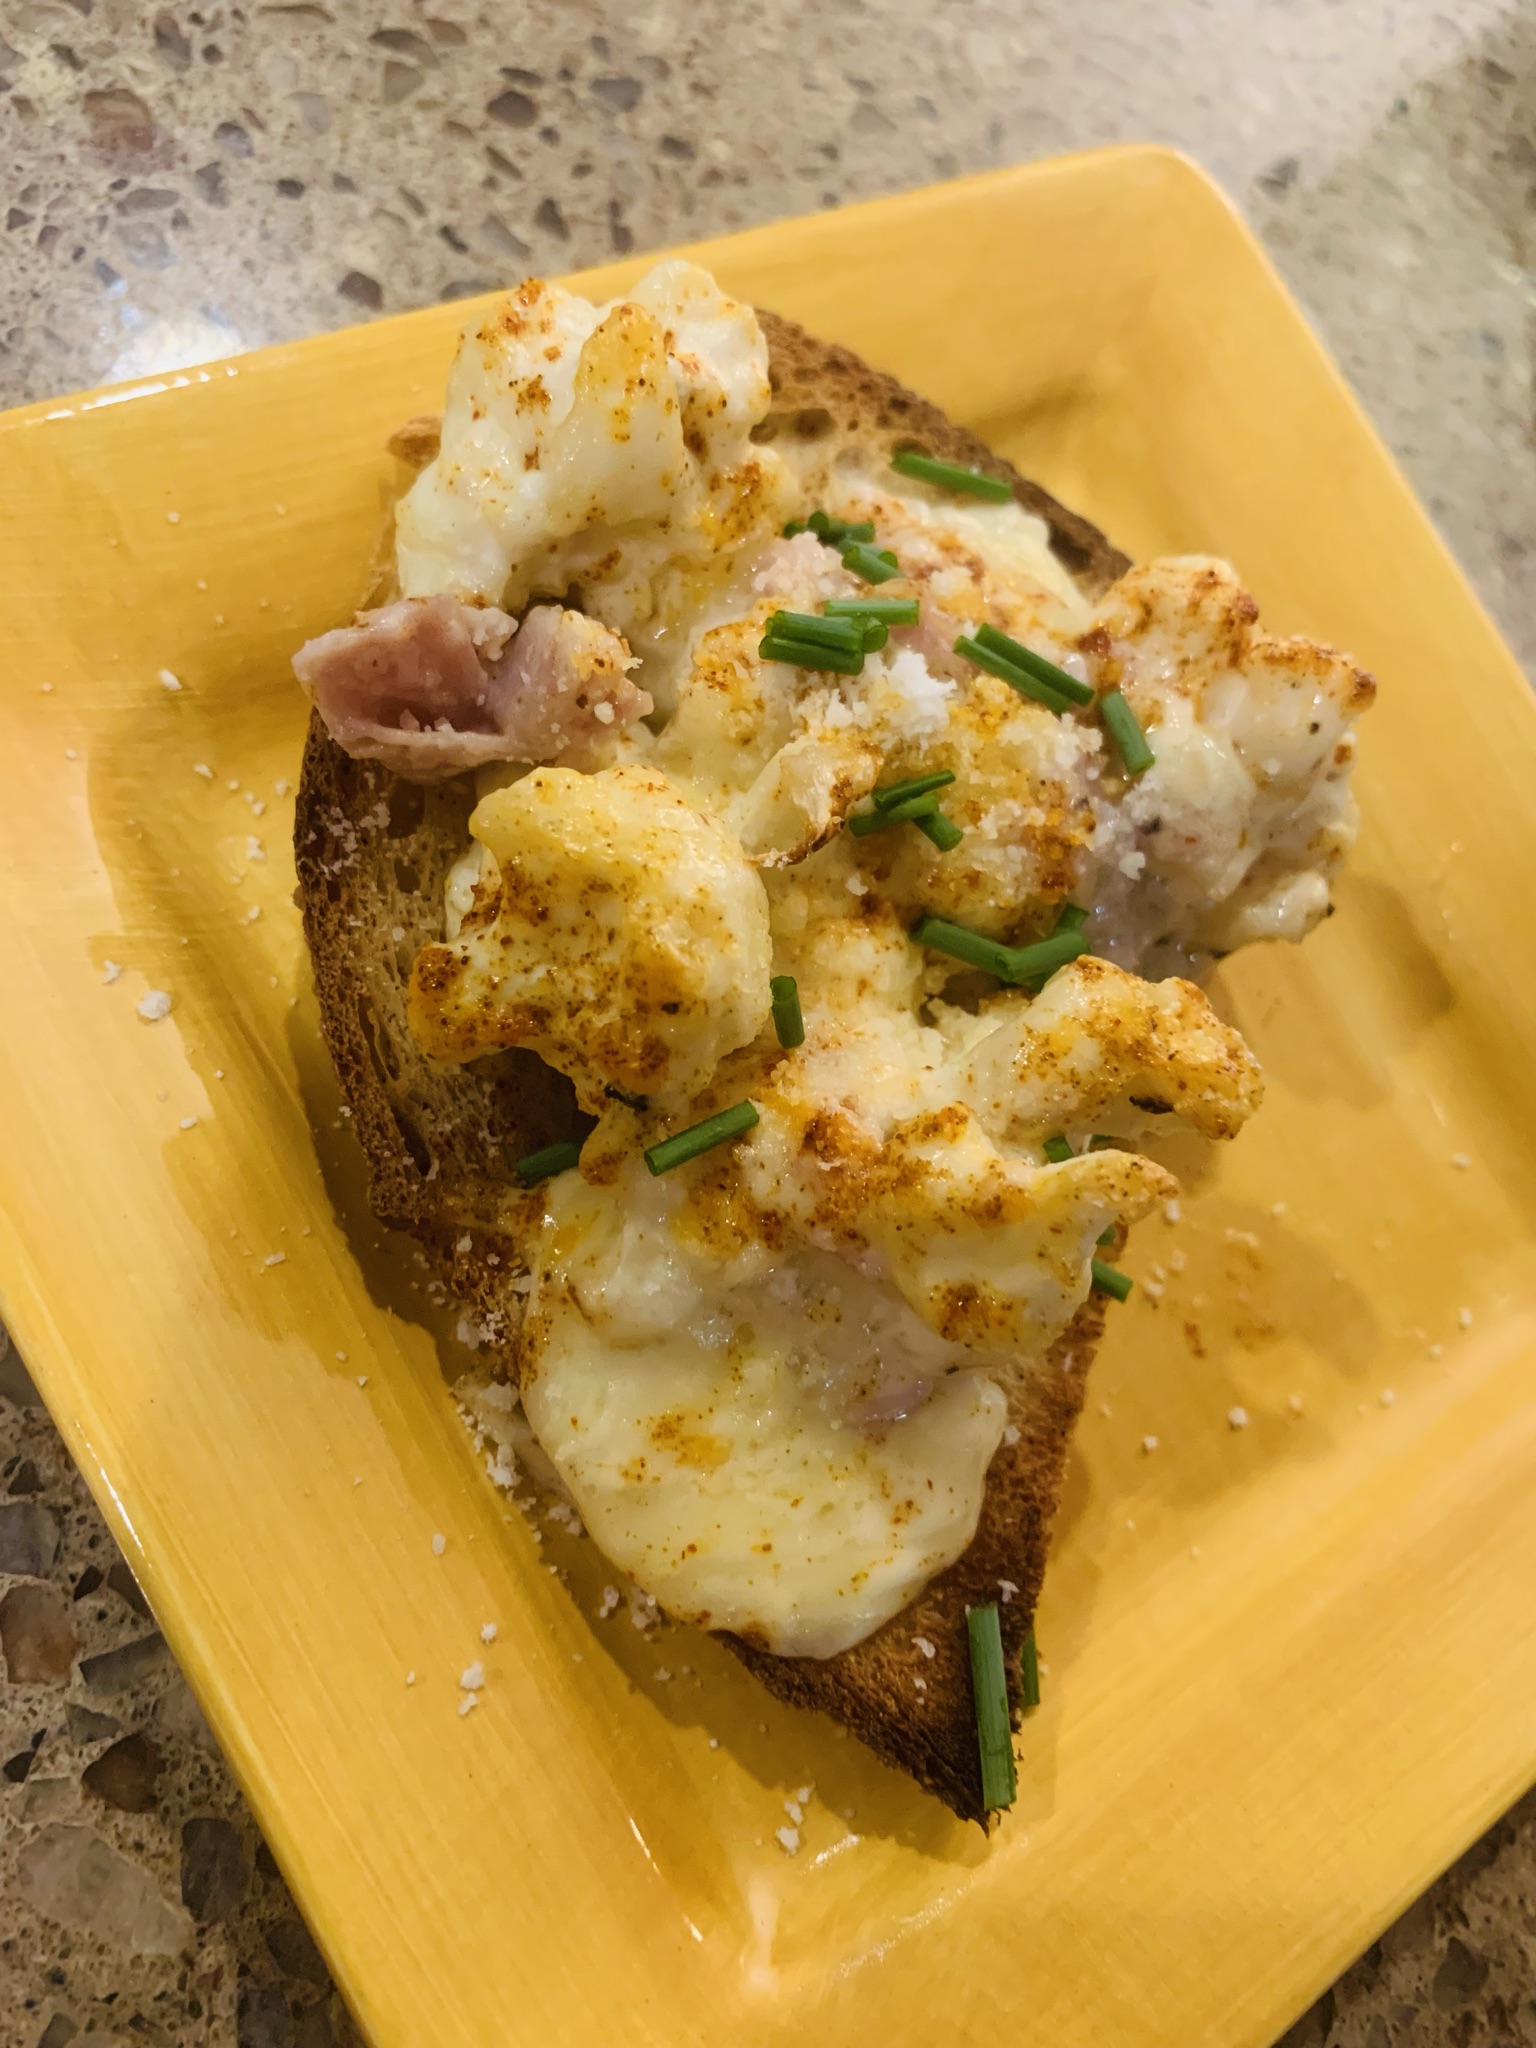
I've been hosting Thanksgiving for many years now. So, I'm presenting my tips for a fabulous turkey. I mean, look at this yummy plate! 


You too can make this deliciousness happen!

Be sure to read this well ahead of Thanksgivng. Fresh and frozen large turkeys should be hanging out in your fridge at least five days before the day of eating them so that they defrost properly. Even the fresh turkey I purchase is partially frozen from the store. Yours may be, too! Also, this recipe has a dry brine that needs to be applied two days before roasting. DO NOT RINSE THE BRINE BEFORE ROASTING.

When defrosting the turkey, make sure you put it on a large plate or a baking sheet. They leak as they defrost and it ain't pretty. Also, not appetizing is when you unwrap the turkey from its packaging. You will discover the curious gizzards and innards. You can find ways to prepare these items elsewhere or you can discard them. Whatever you prefer. 

You may find while cleaning the bird that a weird plastic thing is inside of him. This is heat resistant and can stay put when roasting. Trust and believe I researched this A LOT, because no recipes ever mentioned it and when I first made a turkey I asked Jesus and Google for hours what the heck is this thing?!? 

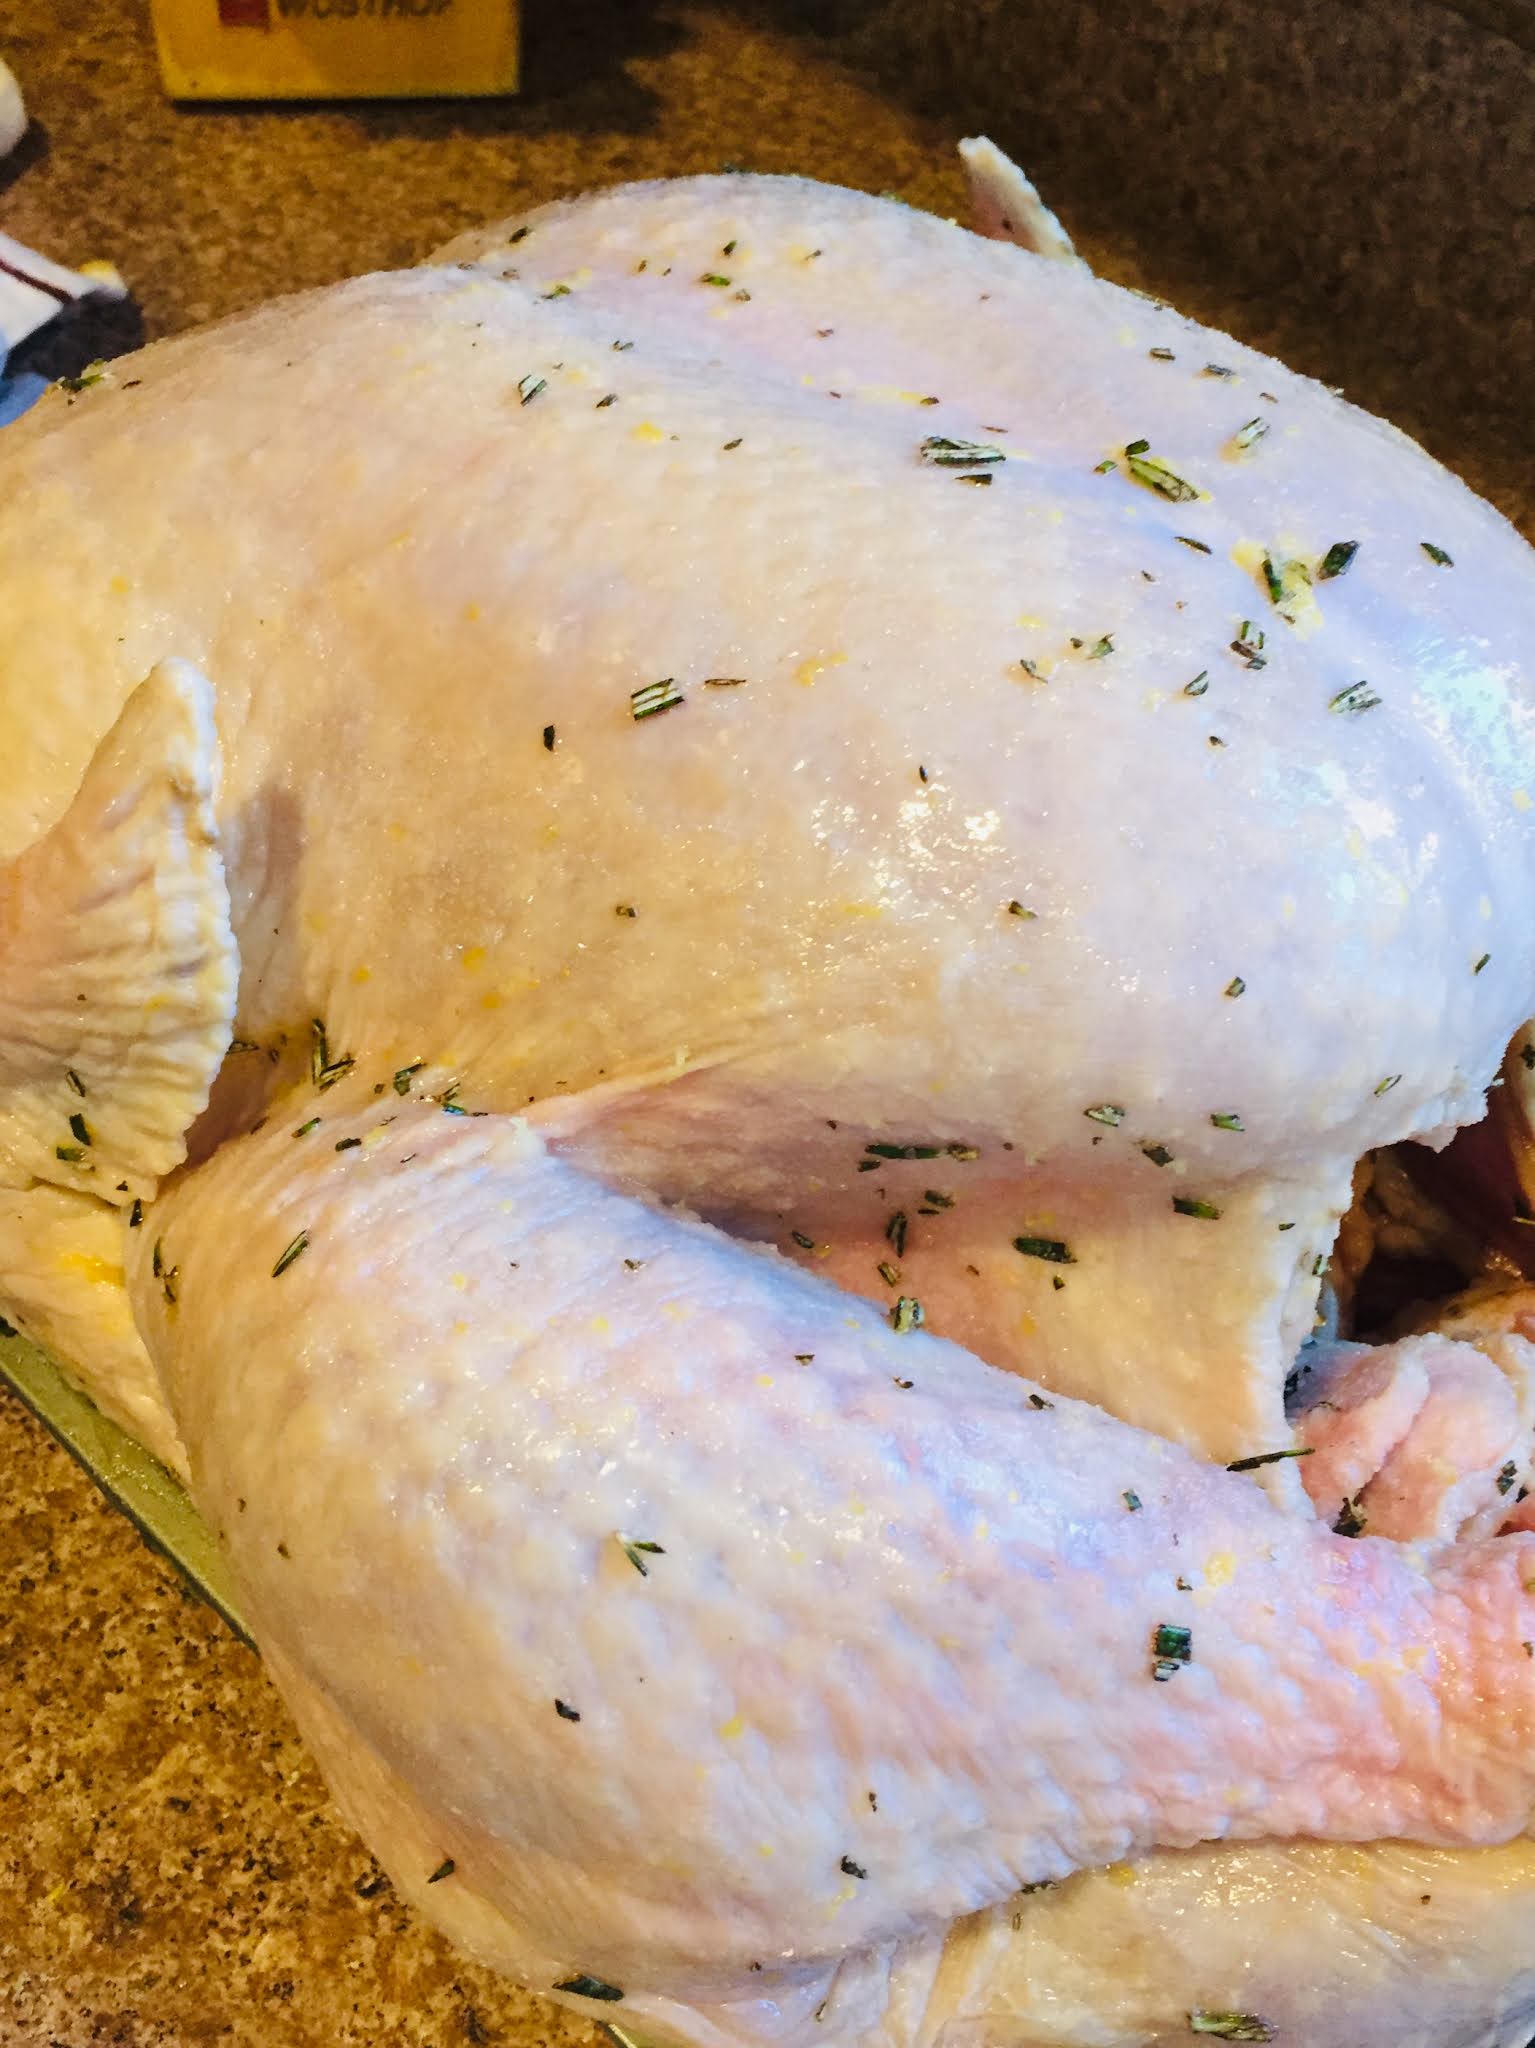
Be sure to dry the bird after rinsing him from the packaging.

I always roast the turkey upside down. I did this the very first time I was in charge of the turkey cooking, unbeknownst to moi that  it was in fact upside down. My aunt pointed out it was upside down and declared it was the best turkey she's ever had. All in attendance agreed it was the best, so I always roast it upside down.

I use Ina Garten's Accidental Turkey recipe from "Barefoot Contessa: Foolproof."

I'm listing the recipe as it appears in the cookbook, which is for a 12-14 pound turkey. But, I never make a turkey smaller than 18 pounds for Thanksgiving, and in fact last year the bird in question weighed in at about 23 lbs. For the larger turkey, I do 45 minutes at 450 degrees as the recipe states. Once the temp is lowered to 325 degrees, I leave the turkey in for an hour and a half to two hours instead of just an hour for the 12-14 pound turkey. 

Likewise, I made a smaller turkey last week at 9 pounds. I still do the 45 minutes at 450 degrees, but then it only needed 45 minutes at the 325 degree mark.

These times will vary based on your oven and also if you use a fresh or frozen turkey and how well defrosted your turkey is.

A meat thermometer is your friend when making a turkey for sure. It should reach 165 degrees when done. You must let the turkey rest covered under aluminum for at least 20-30 minutes, but honestly I let mine rest for a good hour while other sides are roasting and the happy hour is on its way. 

This recipe ALWAYS makes my smoke detectors sound off during the high temperature portion of roasting. Be sure to clean your oven before Thanksgiving, and open windows to let air in.

In addition to onion, lemon and thyme, I also stuff my turkey with fresh parsley and fresh rosemary. With the larger turkey, I also adjust the seasonings and butter accordingly. I use a whole stick for the gigantic bird. I am convinced the brine and the boatloads of butter are key to turkey success.


I will also provide my tips for making gravy after the turkey recipe.

Enjoy!


Accidental Turkey

From "Barefoot Contessa: Foolproof"

Serves 10

Kosher salt

1Tbsp. minced fresh rosemary leaves

Grated zest of 1 lemon

1 (12-14 lb.) turkey

1 large yellow onion, unpeeled and cut in eighths

1 lemon, quartered

8 sprigs fresh thyme

4 Tbsp. (1/2 stick) unsalted butter, melted

Freshly ground black pepper


Two to three days before you plan to roast the turkey, combine 3 Tbsp. salt, the rosemary and the lemon zest. Wash the turkey inside and out, drain it well, and pat it dry with paper towels. Sprinkle 1 Tbsp. of the salt mixture in the cavity of the turkey and rub the rest on the skin, including under the wings and legs. Place the turkey in a shallow dish to catch and drips and wrap the whole dish tightly with plastic wrap. Refrigerate for one to two days. The day before you plan to roast the turkey, remove the plastic wrap and leave it in the fridge. The skin will dry out and turn a little translucent. 

Preheat the oven to 450 degrees. Be sure your oven is very clean!


Place the onion, lemon and thyme in the cavity. Tie the legs together with kitchen string and tie the wings close to the body. Brush the turkey with the butter and sprinkle it with salt and pepper.


Roast the turkey for 45 minutes, placing it in the oven legs first. Lower the temperature to 325 degrees and roast it for another hour, until 165 degrees for the breast and 180 degrees in the thigh on an instant-read thermometer. Remove from the oven, cover the turkey lightly with aluminum foil and allow it to rest for 20 to 30 minutes. Carve and serve with the pan juices.


Turkey Gravy

Makes 6 to 8 cups

Pan drippings

3 packs (.87 ounces) McCormick's turkey gravy mix

3 Tbsp. flour

6 to 8 cups turkey broth, chicken broth or water

Place roasting pan with turkey drippings over two burners on medium-low heat. Add flour. Whisk for a minute or two. Add gravy mix packs and broth. Raise heat to medium high. Whisk for 5 to 10 minutes until gravy is your desired consistency. Place a strainer over a clean medium sauce pan. Gently pour the gravy through the strainer for a smooth gravy. Cover and keep warm over low heat until ready to serve. 

Monday, October 25, 2021

Chicken Tenders Done Right

 These are officially my go-to for chicken tenders effective immediately. Parmesan Chicken Sticks are superb. They are crispy and juicy and well absolutely perfect. Thanks, Barefoot Contessa.

Her recipe calls for placing the chicken on a stick, but I omit that step. I also place my cooked chicken on a dish with paper towels to soak up excess butter/oil. I use Cento seasoned bread crumbs.

As always, when making cutlets of any kind work in batches and DO NOT overcrowd the pan. 

Serve with marinara, ketchup, mustard, wing sauce, ranch. Whatever your heart desires.

I'm definitely making this for our upcoming Halloween festivities.

Yay!

Here's the recipe:


Parmesan Chicken Sticks

Makes 14-16 sticks

From "Barefoot Contessa: Family Style"

By Ina Garten

1 1/2 lbs. skinless boneless chicken breasts (3-4)

1 cup all purpose flour

1 tsp. kosher salt

1/2 tsp. freshly ground black pepper

2 extra large eggs

1 cup seasoned bread crumbs

1/2 cup grated Parmesan cheese

Unsalted butter

Good olive oil

Bamboo skewers (6 to 10 inches long) or ice cream sticks

Lay the chicken breasts on a cutting board and slice each diagonally into four or five large strips.


Combine the flour, salt and pepper on a dinner plate. Beat the eggs with 1 tablespoon of water on a second plate. Combine the bread crumbs and Parmesan cheese on a third plate. Dredge the chicken breasts on both sides in the flour mixture, then dip both sides into the egg mixture and roll in the breadcrumb mixture, pressing lightly to coat.


Heat 1 Tbsp. of butter and 1 Tbsp. of olive oil in a large saute pan and cook the chicken strips on medium-low heat for about 3 minutes each side until just cooked through. Don't crowd the pan. Add more butter and oil and cook the rest of the chicken breasts. Serve each strip on a skewer or stick.

Please note: The Jersey Girl does not serve the chicken on a stick. 

Wednesday, October 20, 2021

Cauliflower Toasts


Cauliflower Toasts taste just like fall. Loaded with melty cheese and prosciutto, this dish is not for dieters. But the toasts are really nice with a glass of wine. This recipe  - from Ina Garten, natch - elevates the cauliflower to a next-level atmosphere.

You start by roasting the florets and then mixing them into a vat of cheese and seasonings. Before serving, top with MORE cheese and chopped chives. 

I feel like these toasts are a starter, but I easily ate a couple and was totally full. I have determined that all Barefoot Contessa recipes are very rich.  Honestly, I didn't even use as much cheese as she called for. LOL. I also do not use as much salt as the recipe calls for.

I feel like you could easily make these vegetarian by omitting the prosciutto. I don't think you would miss much flavor from that. 

I really enjoyed these and would make them again!

Since my husband was not interested in trying the toasts, I just made two at a time and used the broiler in the toaster oven. The cauliflower mixture stored well in the refrigerator, and I made a few more toasts throughout the week. 

Here you go:


Cauliflower Toasts

Serves 6

From "Cook Like a Pro"

By Ina Garten

1 small head cauliflower (2 pounds)

4 Tbsp. good olive oil

1/4 tsp. crushed red pepper flakes

Kosher salt and freshly ground black pepper

12 ounces Italian mascarpone cheese, at room temperature

6 ounces Gruyere cheese, grated

4 ounces thinly sliced prosciutto, julienned

1/4 tsp. ground nutmeg

6 large slices country-style bread

Paprika

Freshly grated Italian Parmesan cheese

2 Tbsp. minced fresh chives

Flaked sea salt, such as Maldon

Preheat the oven to 400 degrees.

Turn the cauliflower upside down on a cutting board. Cut off and discard must but not all of the stems, then cut the florets into small 1/2-inch clusters. Place the florets on a sheet pan. Toss them with olive oil, red pepper flakes, 1 tsp. salt and 1/2 tsp. black pepper, and spread them out in a single layer. Roast for 25 to 30 minutes, tossing two or three times, until the florets are tender and randomly browned. Set aside to cool for 10 minutes.

Set the oven to broil and arrange a rack 6 inches below the heat.

Transfer the florets to a large mixing bowl and add the mascarpone, stirring to coat the florets evenly. Stir in the Gruyere, prosciutto, nutmeg, 1 tsp. salt and 1/2 tsp. black pepper.

Toast the bread in a toaster until lightly browned, and place in a single layer on a sheet pan lined with foil. Mound the cauliflower mixture evenly on each toast and dust with paprika. Broil the toasts for 2 to 4 minutes, until browned and bubbling. (Watch them carefully). Transfer to plates and sprinkle with Parmesan, chives and sea salt. Serve hot.


Monday, October 11, 2021

Zahav Hummus


Zahav hummus is a foodstuff from the Gods. Fortunately, the restaurant owner Michael Solomonov put out an amazing cookbook that features the recipe for it as well as the recipes for countless dishes served at the esteemed restaurant located in Philadelphia. My husband and I have dined at the actual Zahav on occasion but not nearly enough. It is so nice that I have my hands on this beautiful  cookbook so that I can create the amazing recipes at home.

My son calls this hummus his absolute fave. The flavor and texture is so dreamy.


When I make this I have to have a game plan as you must soak the dried chickpeas overnight. You also need to make a tehini sauce, although this can be made ahead and refrigerated or frozen. Then of course, cooking the chickpeas takes a good hour or so. Solomonov says the secret to mind-blowing hummus is overcooked and overpureed chickpeas. 

I hope you get to go to Zahav one day. In the meantime, make this fab hummus!


Basic Tehina Sauce

Makes about 4 cups

From "Zahav: A World of Israeli Cooking"

By Michael Solomonov and Steven Cook

1 head garlic

3/4 cup lemon juice (from 3 lemons)

1 1/2 tsp. kosher salt

2 generous cups tehina

1/2 tsp. ground cumin

Break up the head of garlic with your hands, letting the unpeeled cloves falls into a blender. Add the lemon juice and 1/2 tsp. of the salt. Blend on high for a few seconds until you have a coarse puree. Let the mixture stand for 10 minutes to let the garlic mellow.

Pour the mixture through a fine-mesh strainer set over a large mixing bowl, pressing on the solids to extract as much liquid as possible. Discard the solids. Add the tehina to the strained lemon juice in the bowl, along with cumin and 1 tsp. of the salt. 

Whisk the mixture together until smooth (or use a food processor), adding ice water, a few tablespoons at a time, to thin it out. The sauce will lighten in color as you whisk. When the tehina seizes up or tightens, keep adding ice water, bit by bit (about 1 1/2 cups in total), whisking energetically until you have a perfectly smooth, creamy, thick sauce.

Taste and add up to 1 1/2 teaspoons more salt and cumin if you like. If you're not using the sauce immediately, whisk in a few tablespoons of ice water to loosen it before refrigerating. The tehina sauce will keep a week refrigerated, or it can be frozen for up to a month.

Hummus Tehina

Makes 3 1/2 cups

From "Zahav: A World of Israeli Cooking"

By Michael Solomonov and Steven Cook

1 cup dried chickpeas

2 tsp. baking soda

1 1/2 cups Basic Tehina Sauce (see above), plus a bit more for the topping

1 tsp. kosher salt

1/4 tsp. ground cumin

Paprika

Chopped fresh parsley

Olive oil, for drizzling

Place the chickpeas in a large bowl with 1 tsp. of the baking soda and cover with water. (The chickpeas will double in volume, so use more water than you think you need.) Soak the chickpeas overnight at room temperature. the next day, drain the chickpeas and rinse under cold water.

Place the chickpeas in a large pot with the remaining 1 tsp. baking soda and add cold water to cover by at least 4 inches. Bring the chickpeas to a boil over high heat, skimming off any scum that rises to the surface. Lower the heat to medium, cover the pot, and continue to simmer for about 1 hour, until the chickpeas are completely tender. Then simmer a little more. (The secret to creamy hummus is overcooked chickpeas. Don't worry if they are mushy and falling apart a little.) Drain.

Combine the chickpeas, tehina sauce, salt and cumin in a food processor. Puree the hummus for several minutes, until it is smooth and uber creamy. then puree it some more!

To serve, spread the hummus in a shallow bowl, dust with paprika, top with parsley and more tehina sauce if you like, and drizzle generously with oil.


Thursday, September 23, 2021

Chocolate-Dipped Brown Sugar Shortbread

 My son and I have decided that all Barefoot Contessa desserts are extremely decadent. Meaning: Eat one cookie and it sends you over the moon on a sugar high.

These Chocolate-Dipped Brown Sugar Shortbread Cookies are no exception. 


The recipe says the batch makes 30 to 36 cookies, but I got 45 out of one batch.

The recipe says you can bake two trays at a time, but I would do one tray at a time on my next go around. I ended up using three baking sheets. The one sheet that baked on its own produced the cookies with the best browning around the edges. Plus, they were sturdier.

Which leads me to my next finding: Dip the cookies fast and use a light hand. These cookies are delicate and are easily breakable. But, of course the baker gets to eat the rejects. Ha.

The dough was very easy to shape. It does not need to chill. It was not crumbly like a traditional shortbread dough that uses powdered sugar. The brown sugar component definitely makes the actual cookie extremely sweet.

The recipe calls for milk chocolate chips, but we roll with semi sweet or dark chocolate in this house, so I went with the semi sweet.

I omitted the nuts as I am deathly allergic. I was thinking of decorating with sprinkles but my son ixnayed that, and in retrospect I think that was a good call because I don't think they need anymore sweetness. Although, sprinkles would look cute. When I make them again - and I definitely will - I will still go no sprinkles. I'm sure pecans add a salty finish, but we can't do that here.

These were so much fun to bake and eat.

I hope my tips help you!


Chocolate-Dipped Brown Sugar Shortbread

From "Modern Comfort Food"

By Ina Garten

Makes 30 to 36 cookies

3/4 lb. (3 sticks) unsalted butter, at room temperature

1 cup light brown sugar, lightly packed

2 tsp. pure vanilla extract

3 cups all-purpose flour

1 tsp. kosher salt

For the chocolate coating:

1 cup milk chocolate morsels, such as Hershey's (6 ounces)

6 Tbsp. (3/4 stick) unsalted butter

1/2 cup toasted pecans, minced and lightly salted

Preheat the oven to 350 degrees. Arrange two racks evenly spaced in the oven.

Place the butter and brown sugar in the bowl of an electric mixer fitted with a paddle attachment and mix on medium speed just until the butter and sugar are combined so you don't whip a lot of air into it. With the mixer on low, add the vanilla and scrape down the bowl with a rubber spatula. In a separate bowl, sift together the flour and salt. With the mixer on low, slowly add the flour mixture to the butter and sugar mixture and mix just until the dough comes together.


Scoop out 1-ounce pieces of dough (about 1 Tbsp.), roll each one into a ball, then roll it into a 2 1/2-inch-long log. Place the logs 2 inches apart on two sheet pans lined with parchment paper and bake for 15 to 17 minutes, until the cookies start to brown around the edges and spring back when lightly touched. Set aside to cool on the pans.


For the coating, place the chocolate and the butter in a heatproof bowl and microwave on high for 30 seconds. Stir the mixture vigorously and continue to microwave in 30-second increments until the chocolate is just melted.

Drag half of the rounded top of each cookie through the chocolate and place it, chocolate side up, on a piece of parchment paper. While the chocolate is still warm, sprinkle on the pecans. Repeat with all the cookies. Set aside for at least 30 minutes for the chocolate to firm.

Please note: The Jersey Girl omitted the pecans due to a food allergy. Her batch yielded 45 cookies. She used three baking sheets instead of two. She used semi-sweet chocolate instead of milk chocolate. She melts the chocolate on the stove top instead of the microwave.