Showing posts with label rosemary. Show all posts

Tuesday, December 29, 2020

Super Easy Baked Garlic Butter Chicken

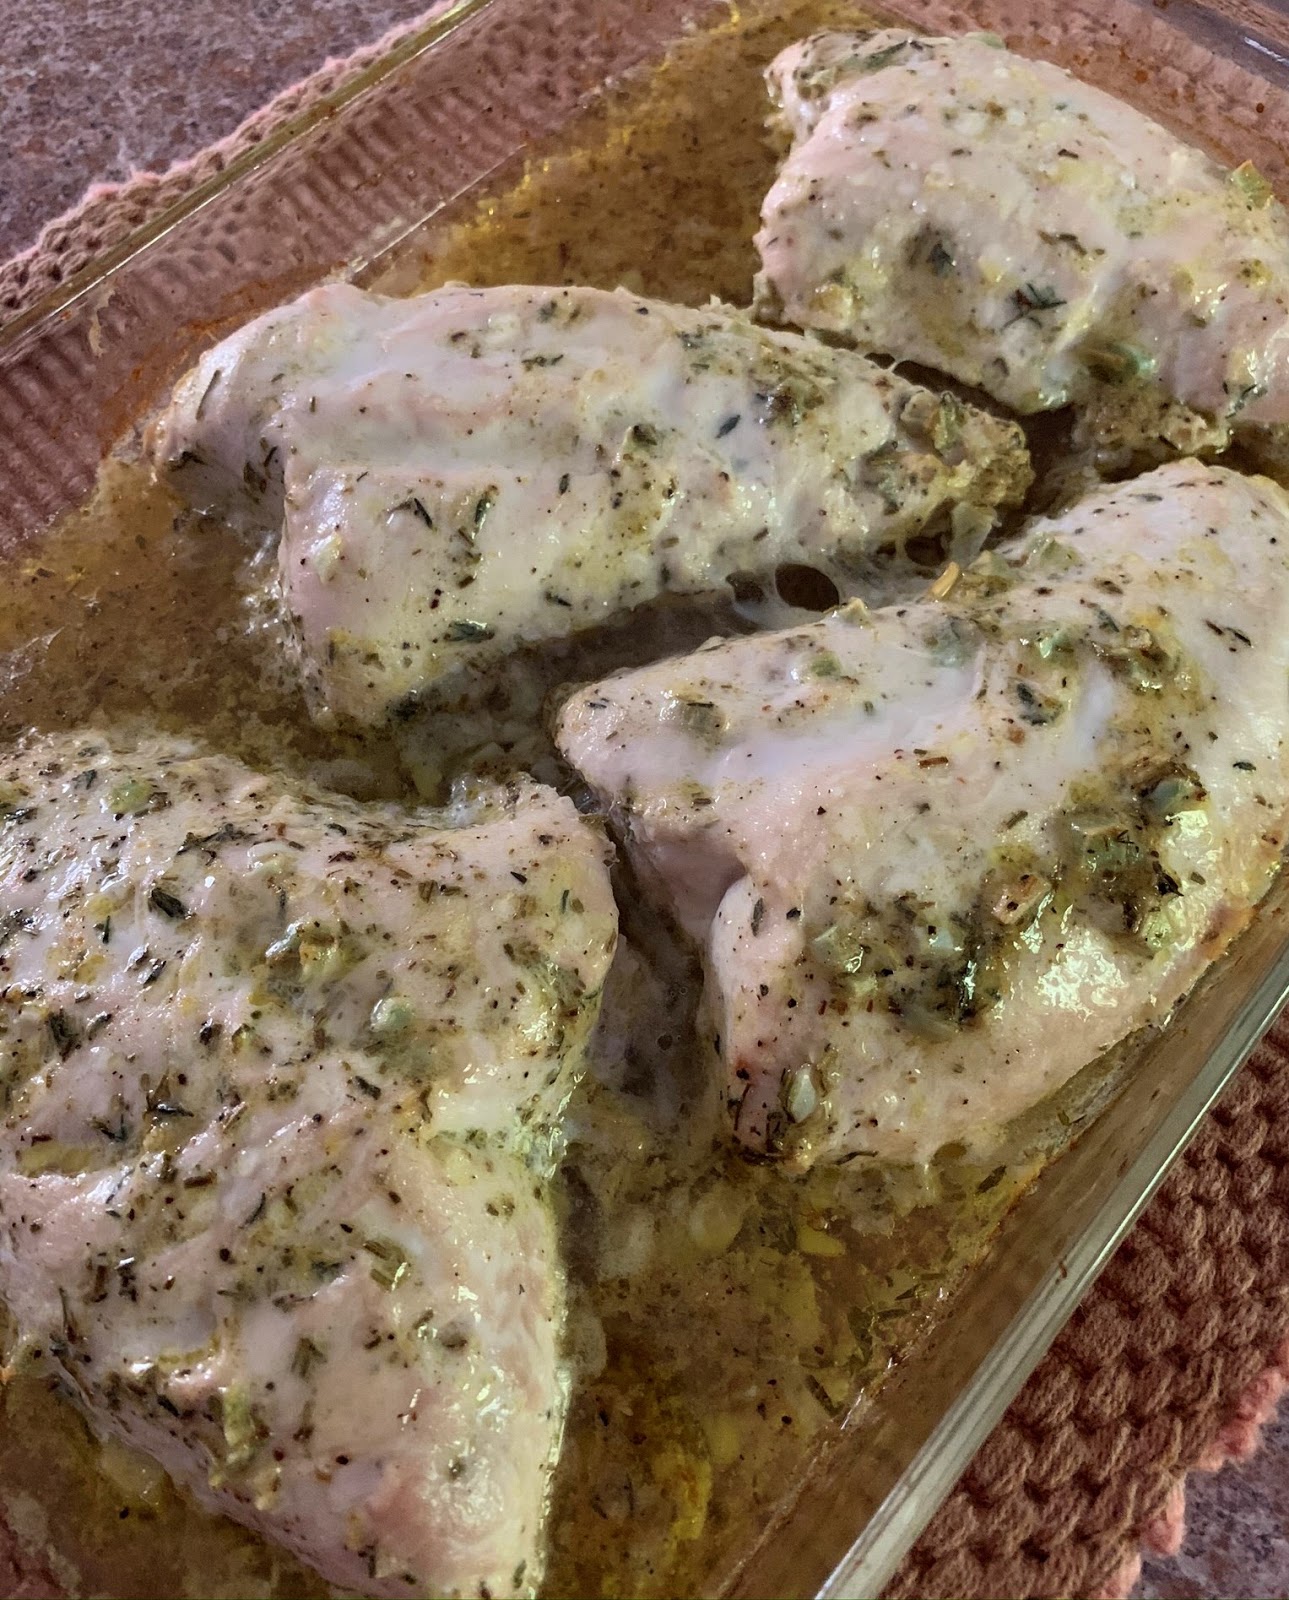
 Oven dinners are the best. Especially this Baked Garlic Butter Chicken. 


The prep is super duper easy. Melt a stick of butter in a saucepan. Add garlic. Add rosemary. Pour that sauce over your boneless chicken and bake until cooked through. I love the rosemary in this dish. It's such a nice flavor;

I serve this with rice and a salad. I often make this baked chicken in the morning  before I start work, and my husband and son reheat it at dinner time. However, I can see this being a really easy dinner to rock out when you are off the clock if you work a regular 9-5. While it's doing its thang in the oven, you can help with homework, look through the mail, etc. 

This dish  is nice to make when you need some plain eats. Which often hits me after the holidays.  Ha.

I totally use grated parm instead of the cheese suggested in this recipe. You could do a shredded mozzarella, too. 


Baked Garlic Butter Chicken

From www.diethood.com

Makes 4 servings

4 (16 ounce) boneless skinless chicken breasts

Salt and pepper to taste

1 stick (1/2 cup) unsalted butter

6 cloves garlic, minced

1 Tbsp. fresh rosemary leaves (you can use dried if that's all you have. Just cut it to 1 tsp.)

1/2 cup shredded reduced fat 4-cheese Italian

Preheat oven to 375 degrees Fahrenheit.

Lightly grease a baking dish with a pat of butter.

Season chicken breasts with salt and pepper. Arrange chicken in a single layer in prepared baking dish and set aside.

Add butter to a skillet and melt over medium heat.


Stir in garlic and cook over medium heat for 4 to 5 minutes or until lightly browned, stirring very frequently. DO NOT burn the garlic.

Stir in the rosemary and remove from the heat.

Pour the prepared garlic butter over the chicken breasts.

Bake for 30 to 32 minutes, or until chicken's internal temperature is 165 degrees Fahrenheit.

Sprinkle with cheese and cook for an additional 3 minutes or until cheese is melted.

Remove from oven and let stand for a couple of minutes.

Transfer chicken to plates; spoon a little bit of garlic butter sauce over the chicken when serving. 

Please note from The Jersey Girl: If using dried rosemary in lieu of fresh rosemary, use about 1 tsp. Parmesan cheese or shredded mozzarella may be used in lieu of 4-cheese Italian.


Saturday, April 11, 2020

Classic Braised Short Ribs

If you are in need of some culinary indulgence, my Classic Braised Short Ribs are totally a must-do.

The short ribs themselves are pretty pricey, but all the remaining ingredients in this dish are basics every home cook should have in their refrigerator or pantry. And of course, you can use your favorite wine no matter what the brand.

The beauty of short ribs is that they can be presented in a super elevated manner, but they cook simply in your Dutch oven. You start on the stove with a sear and then transfer the pot to the oven so that they braise slowly. Make these on a rainy day at home. You need a good four hours, in my opinion. You can also make them the day before if you choose. I add another can of beef broth upon reheating so that you have enough sauce to top them and your mashed potatoes.

This is great to make when you have fresh rosemary and thyme in your garden, but you may use dried as well.


Classic Braised Short Ribs
Makes 4-5 servings

2.5-3 pounds bone-in short ribs (About 7 or 8 short ribs)
1 Tbsp. olive oil
1 stalk celery, chopped
1 carrot, peeled and chopped
1 onion, chopped
4 cloves garlic, minced
1 tsp. fresh thyme, minced or 1/2 tsp. dried
1 tsp. fresh rosemary, minced or 1/2 tsp. dried
2 Tbsp. tomato paste
2 Tbsp. flour
1 cup red wine
2 cups beef broth, plus 2 cups more if needed for saucier short ribs
1/4 cup fresh flat leaf parsley, chopped
Salt and pepper to taste

Preheat oven to 350 degrees Fahrenheit.

Season all sides of the short ribs with salt and pepper to taste.


Heat a large oven-proof Dutch oven over medium heat. Add olive oil and coat the bottom of the pot. Brown the short ribs on all sides in batches. About 4 minutes per side. Do not crowd the pan. Once browned, set aside and repeat with second batch. Remove short ribs from the pot. Carefully spoon out excess oil from the pot and discard, leaving about 3 Tbsp. oil in the pot.


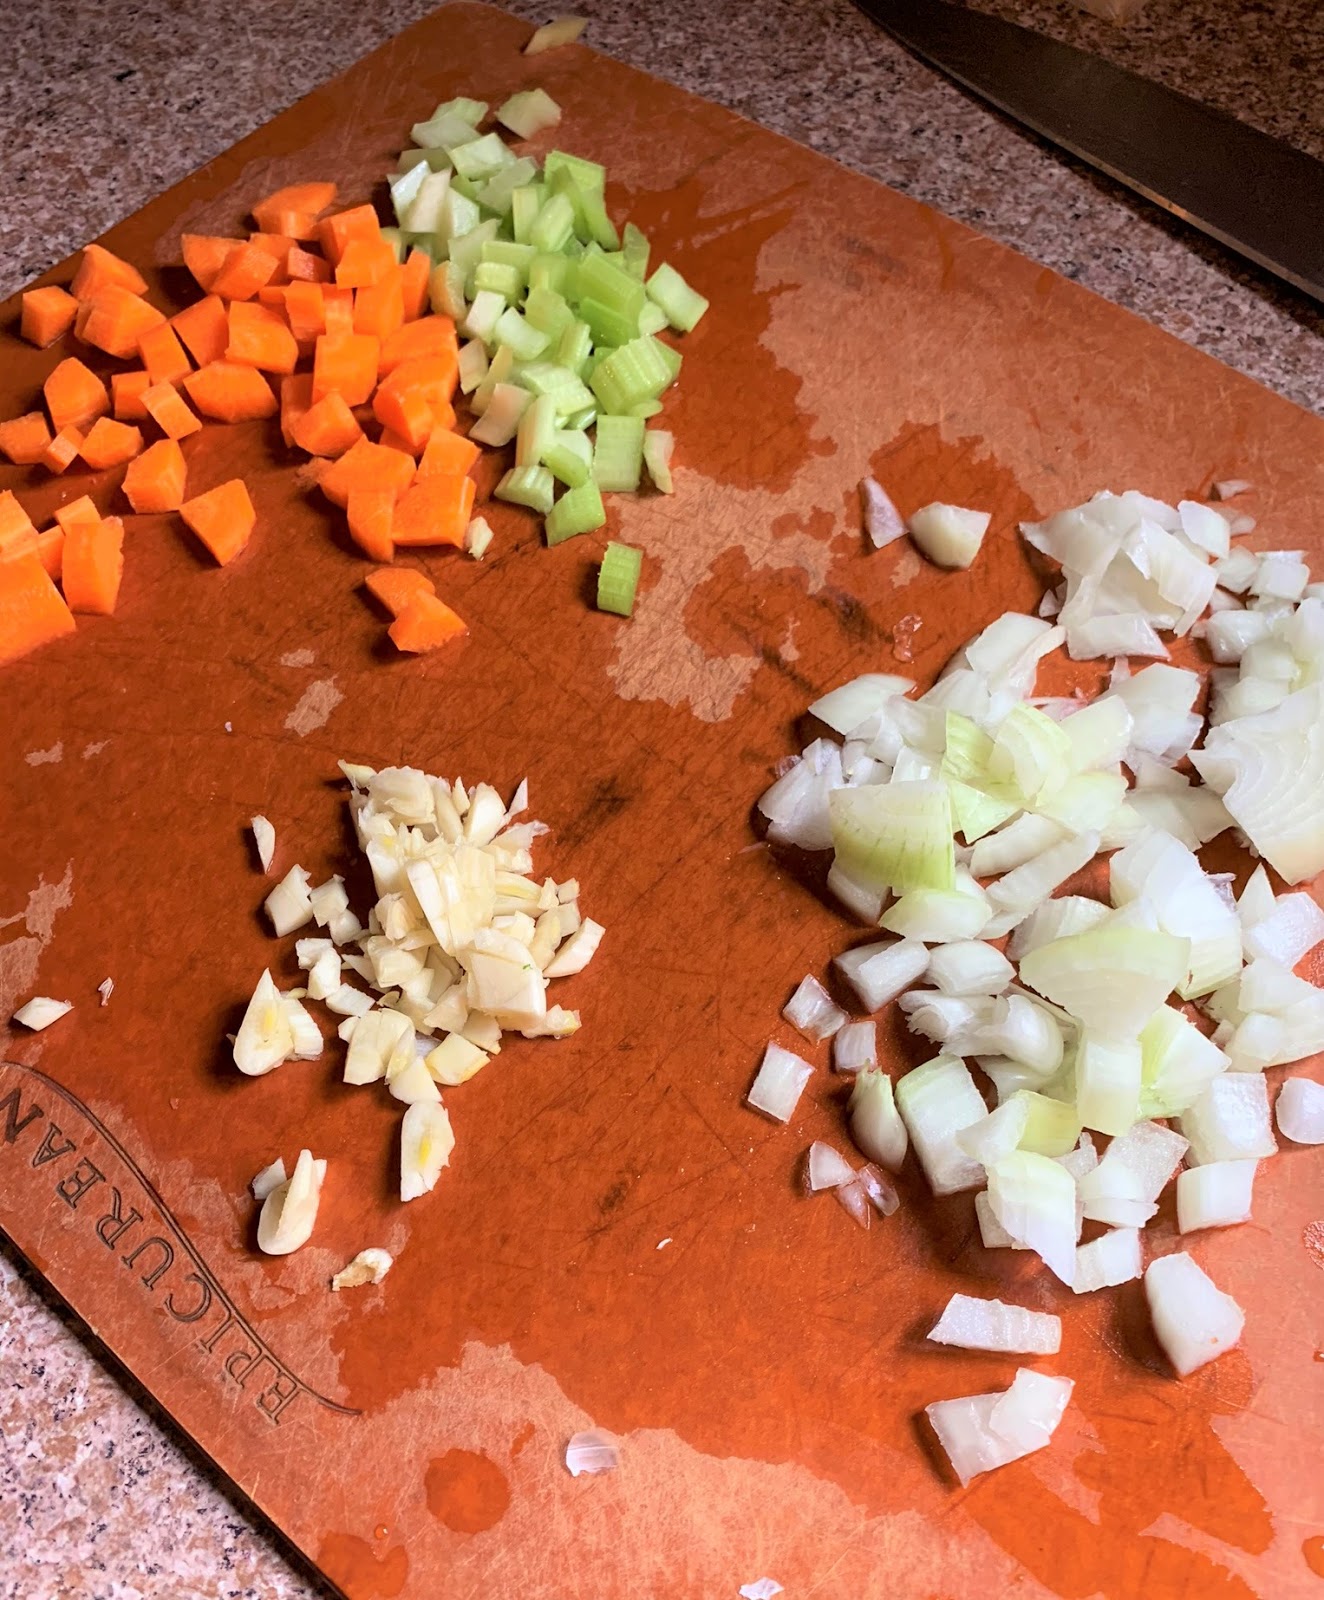
Return pot to medium heat. Add celery, carrot and onion to pot. Saute for about five minutes. Add garlic, thyme and rosemary. Season with salt and pepper. Saute for three minutes more.


Add flour. Whisk to dissolve flour into veggies. Add tomato paste. Blend into veggies. Add wine. Bring to a bubble and scrape the bottom of the pot with a wooden spoon. After two minutes or so, add the broth.  Bring to a gentle simmer.


Return the ribs back to the pot. Spoon some sauce over the ribs. Place lid on top of pot. Turn off burner.


Place the pot of short ribs into the preheated oven. Bake for two hours at 350 degrees. Immediately turn the temperature down to 325 degrees and cook for 30 to 45 minutes more.

You may serve immediately or serve later that evening or even the next day. The longer they sit, the tastier they are! Add more broth if needed and reheat before serving. Top with chopped parsley.

Serve with mashed potatoes.


Saturday, March 14, 2020

The Perfect Side: Roasted Potatoes with Red Onions

My Fabulous Roasted Potatoes with Red Onions are the perfect partner to any roast or meat you may be feasting on. I often cook these while the meat is resting. You may also do it ahead of time and then reheat them before serving.


The potatoes, red onions, garlic and rosemary are a perfect combo. And they smell heavenly while cooking. My son always requests these. They are nice as the weather warms up as they are not as heavy as the beloved mashed potato.

The last time I made these, I also whipped up a vat of chicken cacciatore. So delish, and it freezes well. My recipe is here.


Fabulous Roasted Potatoes with Red Onions
(Serves 6)

5-6 medium russet or white potatoes, peeled and quartered into 1 ½-inch pieces
6-8 garlic cloves, skins removed
1 medium red onion, cut into 1-inch chunks
1 ½ tsp. dried rosemary or 1 Tbsp. chopped fresh rosemary
2 Tbsp. butter
1 Tbsp. olive oil
Salt and pepper to taste.

Note: You may peel and quarter the potatoes ahead of time. Place in a large bowl of cold water to prevent potatoes from discoloring. Dry thoroughly with a kitchen towel before cooking.

Preheat oven to 450 degrees Fahrenheit.

Place butter and olive oil in a large rectangular baking dish. Place dish in oven for about 5-6 minutes so that butter melts. The butter-oil mixture should start to bubble.

Remove dish from oven.

Carefully place potatoes, onion, garlic, rosemary, salt and pepper in pan. Toss so that mixture is evenly coated in butter, oil and seasonings. Be careful, since the dish is hot!

Bake for about 40-45 minutes or until potatoes are tender. Remove every 15 minutes or so, to toss mixture.

Wednesday, January 22, 2020

A Little Prep Ahead

I'm all about getting her done the night before. My lists. My prep. My dinner. People are always asking me when do I do it all? When do I cook?

A nightowl by nature, I cook and meal prep off the clock for din on wackadoo hours - like 10 p.m. or 10 a.m. Then The Husband just reheats it so he and the kiddo can eat a nice plate while I'm working.

These Lemon and Herb Roasted Tenderloins are a dish I put together the night before. The marinade can be made right in the pan that is used for roasting the tenderloins. I use my good ole' Pyrex, but any type will do. I then bake it first thing in the morning so that its ready for my fam.

The marinade is great with both pork and turkey tenderloins. Pork tenderloin is easier to find in the store as turkey tenderloin is a newer item on the market. You can find them in the poultry case hanging out with the chickens if your store has them, which mine sometimes does and sometimes doesn't. A package of turkey tenderloin is usually two pieces so I buy two packs for these measurements. One package of pork tenderloin usually equals about 2.5 to 3 pounds. It is usually two pieces. So, I buy one package of pork tenderloin for these measurements.

These are great with rice or your basic baked potato. And of course some veggies! My pics today show the turkey tenderloins:


Lemon and Herb Roasted Tenderloins
(Makes four to six servings)

2.5 - 3 pounds of turkey or pork tenderloins

Marinade ingredients:
Juice and zest of 1 lemon
3 cloves garlic, minced
1 tsp. dried rosemary
1 tsp. dried thyme
2 tsp. Dijon mustard
3 Tbsp. olive oil
Salt and pepper to taste

In a baking dish large enough for your tenderloins, add all of the marinade ingredients. Whisk together. Place the tenderloins in the pan and coat with the marinade. Cover dish with aluminum foil. Place prepared dish in your refrigerator. Marinate for at least 8 hours or over night.


When you are ready to cook the tenderloins, preheat oven to 375 degrees Fahrenheit. For turkey: cook uncovered in oven for 45-55 minutes. For pork: Cook covered for 40 minutes. Uncover and cook for 10 minutes more.

Remove from oven and cover with foil. Let rest for 10 minutes. Serve with potatoes or rice and your favorite veggies!

Friday, January 17, 2020

Rosemary Focaccia

A day at home with no plans is blissful for me.

Now I can get up and go with the best of them, but seriously you can put me on house arrest for a good two weeks and I will be just fine. As long as I can cook, bake, read, play the piano, organize some things and watch trashy TV it's all good in the hood for the Jersey Girl.

Our culture of never-ending plans, appointments, commitments and outings kills my spirit.

So I have encountered great insane joy when I have had the time to delve into this awesome book that has found its way into my collection: "Polpo: A Venetian Cookbook (Of Sorts)." There are so many interesting recipes, and as soon as my glistening eyes caught sight of this focaccia recipe I read it from top to bottom and then once more. I declared this focaccia must be mine.


Isn't it totally gorgeous? I've made the focaccia twice. It's a very easy bread to conquer. It just takes time to rest and get its groove on. My son  - who is obsessed with rosemary (yay) - likes to assist with putting the dimples in the dough and placing the rosemary leaves and sprinkling with a little sea salt. 


I love making this with him! The bread lasts for several days if stored in an airtight container. It's so good with pasta e fagioli and also with chicken cacciatore. 


The next time you have some spare time on your hands and you want to get into in your kitchen, I hope you give this amazing recipe a try!


Focaccia
From "Polpo: A Venetian Cookbook (Of Sorts)"
By Russell Norman

For one loaf:
25 g fresh yeast (or 2 x 7g fast-action yeast)
650 ml warm water
1 kg strong white bread flour (4 cups)
25 g fine salt (5 tsp.)
Extra virgin olive oil
Flaky sea salt
1 good handful of small rosemary sprigs

In a large bowl, mix the fresh or dried yeast into the water and whisk until the yeast is dissolved. Add half of the strong white bread flour and use a hand whisk to beat till smooth. At this stage, your mixture will still be very wet, like a pancake batter. Leave, covered with clingfilm, until it has risen but keep a close eye on the 'tide line.' When the mixture starts to fall again (about 1 hour in a warm kitchen, longer in a cooler one), knead in the other 500 g of strong white bread flour and the fine salt. Work everything together until there are no lumps.

Transfer the dough to a warm, oiled, clean bowl and leave it to rise for at least another hour. Your dough will be getting full of itself by now so you need to knock it back and teach it some discipline. Repeat this step (rising and knocking back) twice more only if using fresh yeast. Now your dough is ready to use or it can be covered and refrigerated overnight.

Oil your hands and a greaseproof-paper-lined baking tray. Take the dough and manipulate into a large dome. Place on the tray, smear a generous amount of olive oil over the top, cover in clingfilm and leave to rise in a warm place.

Preheat an oven to 200 degrees Celsius/Gas 6 (or 400 degrees Fahrenheit). When the dough has increased in size by one third, remove the clingfilm, oil your hands and lightly press your fingers into the dough so that you leave dimples in the surface. Scatter with sea salt and rosemary, pushing the sprigs into the dough.


Bake the dough in the preheated oven until golden brown (about 1 hour but you should check at 45 minutes). To test the bread's 'doneness', tap it on the bottom - it should sound hollow.

Wednesday, November 14, 2018

Roast Turkey Breast Barefoot Contessa Style

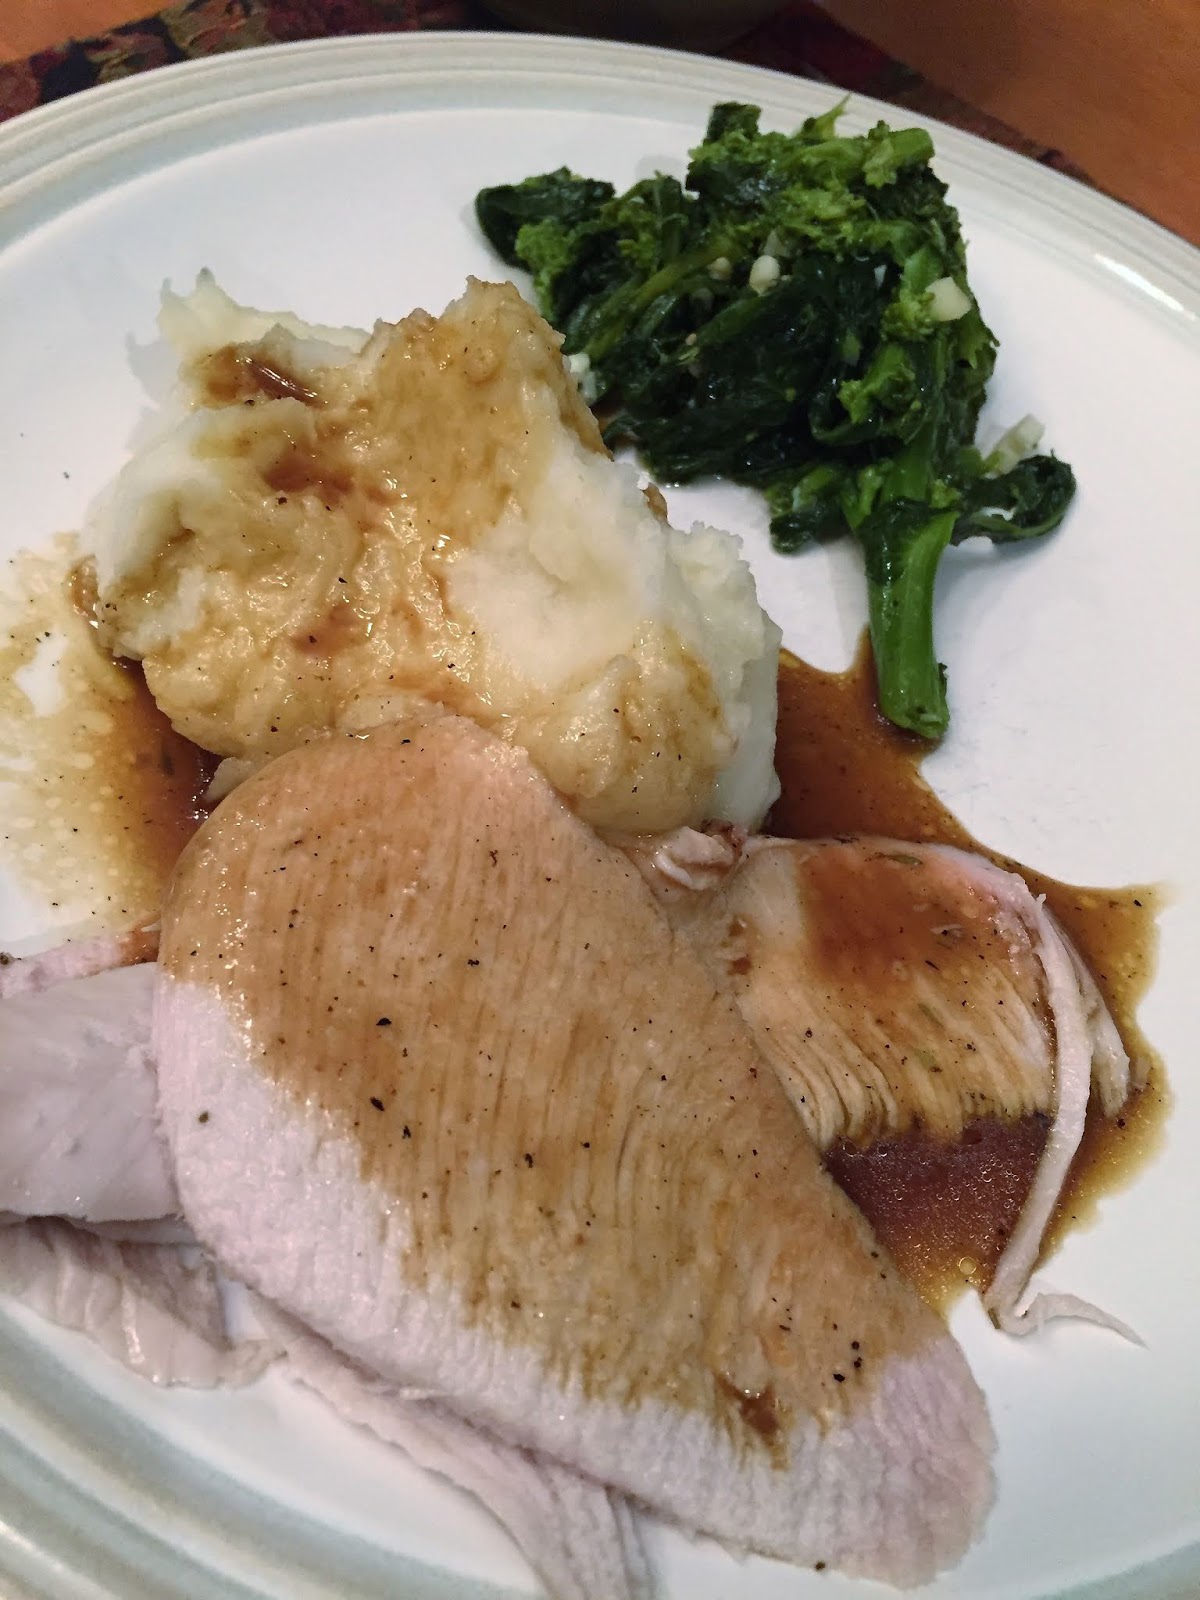
Roast turkey is a wonderful thing whether it is the fourth Thursday of November or any ole' day of the year.  Herb-Roasted Turkey Breast by Ina Garten is the perfect dish when you want home-cooked turkey deliciousness for a small crowd. Take a look:


You know you want a piece of that, right?!

I make this for my family of three throughout the year, but you could certainly rock it out for a party of up to six to eight for Thanksgiving. This is also a good first venture in turkey cooking for any newbies up in here as there is no trimming and tying and brining and sticking your hand into slimy holes of animals. TMI, but I'm just keeping it real. So, the turkey breast - you got this!

I follow the recipe exactly but I often use dried sage since it is a rare occasion that I find fresh sage in my markets. And this go-around the thyme in the store was a bust, so my dried spice to the rescue!


I like to whip up a gravy rather than just using the pan juices as Garten recommends. I mean, if you are having turkey in any form it needs gravy, in my humble opinion.

To make the turkey gravy, I place the roasting pan over a burner on medium heat. I add one .87 ounce packet of McCormick turkey gravy mix and 1 to 2 Tbsp. flour to the pan drippings. Whisk into the drippings. Add three to four cups of turkey or chicken broth. Whisk and bring to a simmer. Cook for about five minutes or so. Strain into a second pot for a smooth gravy. And that's it! If you need to adjust the seasonings, go for it.

Here is a pic of my gravy while it's cooking away. I forgot to grab a pick of it all strained and gorg.


 And here is how the turkey looks looks all plated up with mashed potatoes and some garlicky broccoli rabe and some silky smooth gravy, baby:


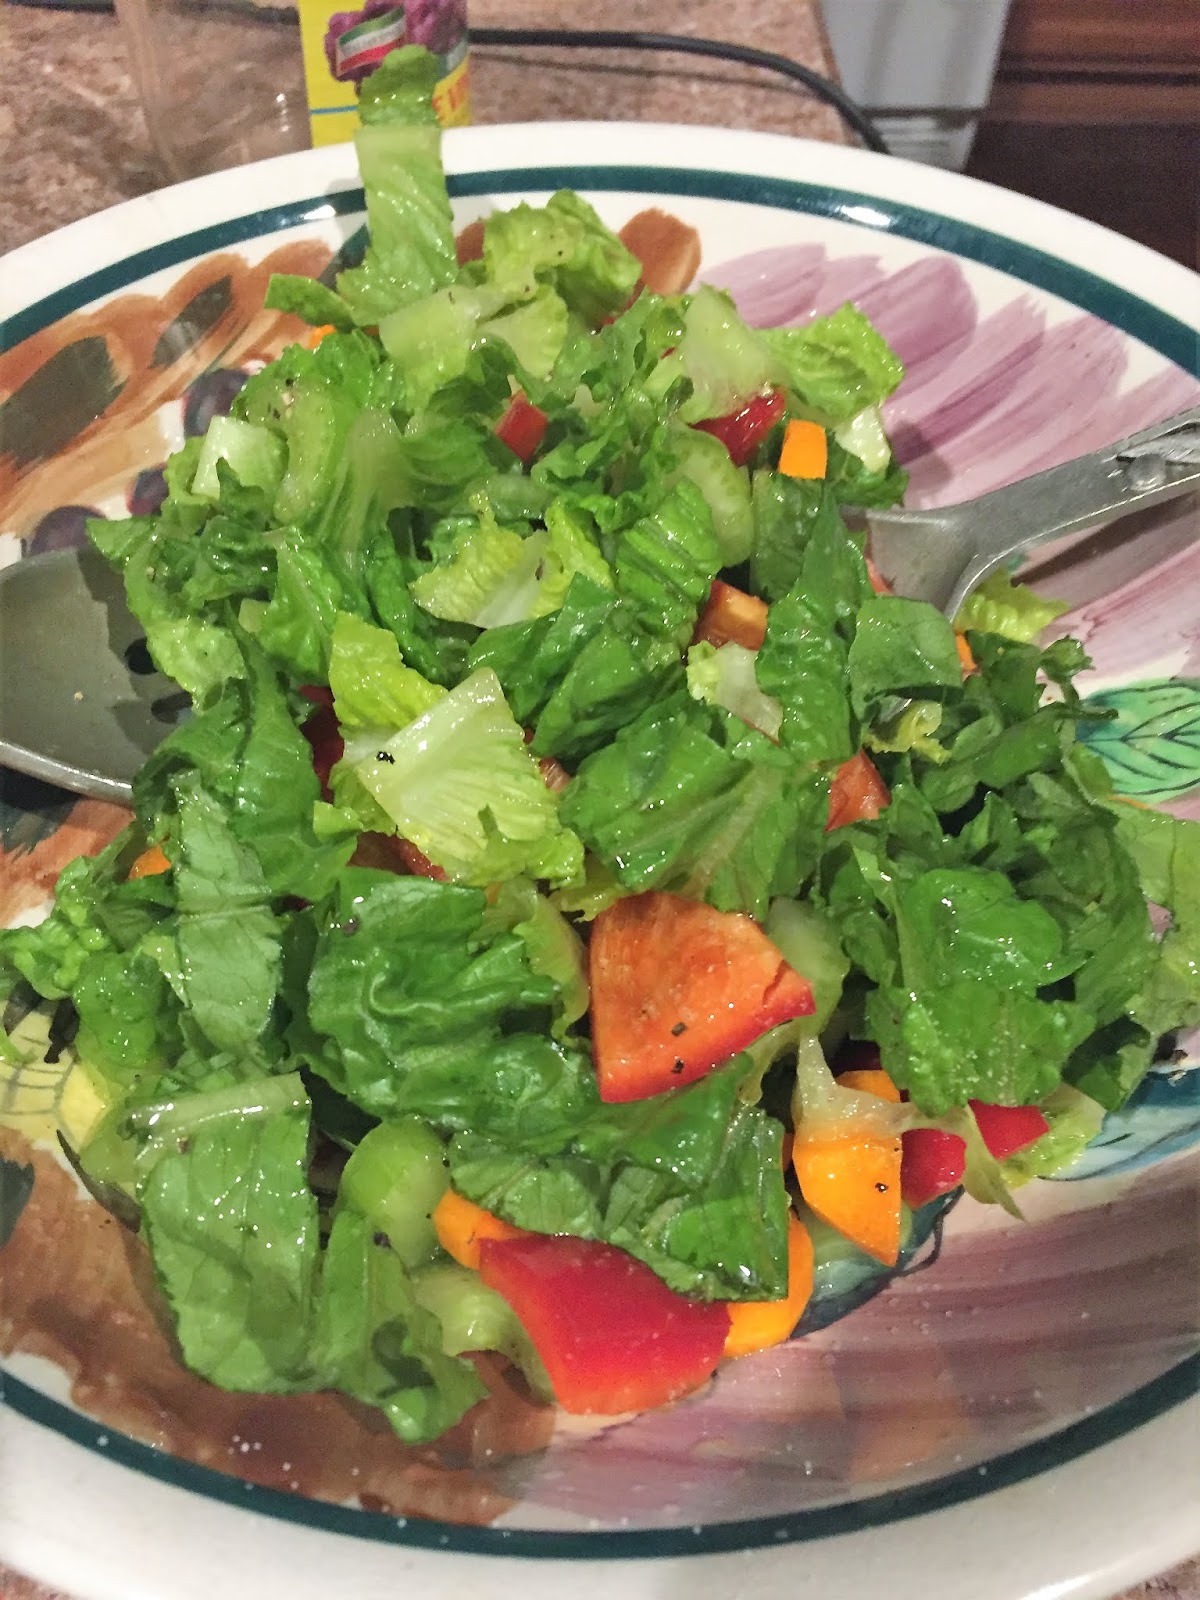
I also served a little romaine salad, too. Because you can never have enough veg!


Herb-Roasted Turkey Breast
Serves 6 to 8
From "Barefoot Contessa: How Easy is That?"
By Ina Garten

1 whole bone-in turkey breast (6 1/2 to 7 pounds)
2 Tbsp. good olive oil
1 Tbsp. minced garlic (3 cloves)
2 tsp. freshly squeezed lemon juice
2 tsp. dry mustard powder
1 Tbsp. chopped fresh rosemary leaves
1 Tbsp. chopped fresh sage leaves
1 tsp. fresh thyme leaves
1 1/2 tsp. kosher salt
1/2 tsp. freshly ground black pepper
3/4 cup dry white wine

Preheat the oven to 325 degrees. Place the turkey breast on a rack in a roasting pan, skin side up.

In a small bowl, combine the olive oil, garlic, lemon juice, mustard, rosemary, sage, thyme, salt and pepper.


Rub the mixture evenly all over the skin of the turkey breast (You can also loosen the skin and smear half of the paste underneath, directly onto the meat.) Pour the wine into the bottom of the roasting pan.


Roast the turkey for 1 1/2 to 1 3/4 hours, until the skin is golden brown and an instant-read meat thermometer registers 165 degrees when inserted into the thickest and meatiest area of the breast. Check the breast after an hour or so; if the skin is overbrowning, cover it loosely with aluminum foil.


When the turkey is done, remove from the oven, cover the pan with aluminum foil, and allow the turkey to rest at room temperature for 15 minutes. Slice and serve warm with the pan juices.


Monday, July 23, 2018

Grilled Peach Bruschetta

Sometimes the most unusual combinations make the most delightful dishes. That's how I feel about my Grilled Peach Bruschetta. 

The rosemary olive oil, goat cheese, basil and balsamic bring out earthy qualities of a peach that are magnificent to discover. It's a combinations you should most definitely try.

Topped on toasted baguette, this a dish that will impress your guests during your next summer get together. 


Grilled Peach Bruschetta
(Makes 10-12 servings)
By Susan Watson Leiser

1 large ripe but firm peach, halved and pitted
¼ cup rosemary olive oil
10-12 slices French baguette
4 ounces goat cheese, softened
10 large basil leaves, chiffonade
Balsamic vinegar to drizzle over finished bruschetta

Brush both sides of baguette with rosemary olive oil.

Preheat grill pan over medium-high heat. Place prepared baguettes on grill pan. Grill on each side for about 5 minutes to lightly grill. Remove from pan and set aside to cool.

Meanwhile, brush halved peach with rosemary olive oil on both sides. On the same heated grill pan, place both peach halves on the grill, cut side down. Grill for 4 to 5 minutes per side. Remove to a cutting board to cool.

Once peaches are cool, cut into thin slices. You should get about 20 to 24 slices.

Spread goat cheese onto each toasted baguette. Top each with two peach slices. Top each with basil chiffonade and a drizzle of balsamic vinegar.

Thursday, May 24, 2018

Gnocchi in Pomodoro Sauce

So this is only the best dish ever: Gnocchi in Pomodoro Sauce.

You can of course just use store bought gnocchi, but I'm including the recipe I use to make homemade gnocchi. It is the method by Giada DeLaurentiis.

It's not as hard as you think. For reals.

Interestingly, the potatoes are cooked in the microwave. I have tried baking and boiling in the past, and I strongly believe microwaving is the best route to texture perfection in the gnocchi. I use a potato masher to mash up the potatoes before mixing them with a wooden spoon into the egg, and then combining the sifted flour in with my hands. I use my hands so that I do not overmix the dough. That way, it is light and fluffy. As god intended gnocchi to be, of course!

Making gnocchi may seem intimidating, but I think it is a simple pasta to make and it is so much fun to do. It is a great pasta to make with little children as well.

The pomodoro sauce is fabulous. It is a recipe I found on Pinterest. I have made it many times. I love how the oil is infused with fresh herbs. Be sure to cook it in an oven proof dish as you can just pop it under the broiler as soon as you add the gnocchi, fresh mozzarella, parmigiana cheese and a drizzle of olive oil.

My son loves this dish. He requests it again and again. Yay!


Gnocchi

From “Everyday Pasta”
By Giada De Laaurentiis
Makes about 54 gnocchi

2 baking potatoes, such as russet (about 12 ounces each)
1 egg, lightly beaten
1 tsp. salt
½ tsp. freshly ground black pepper
¾ cup all-purpose flour

Pierce the potatoes all over with a fork. Microwave the potatoes on high until tender, about 12 minutes. (You can also bake the potatoes at 375 degrees Fahrenheit for 50 minutes, or until tender. While the potatoes are still warm, cut them in half and scoop the flesh into a large bowl. Discard the skin. Using a fork, mash the potato well. Stir in the egg, salt and pepper. Sift the flour over the potato mixture and stir just until blended.

Scoop out a large spoonful of gnocchi dough. Roll each scoop on the work surface into about a 1/2-inch-diameter rope.


Cut the dough into 1-inch pieces.


Roll each piece of dough over a wooden paddle with ridges or over the tines of a fork to form grooves in the dough.


Set the formed gnocchi on a baking sheet while you form the rest of the dough.


Working in batches, cook the gnocchi in a large pot of boiling salted water until they have all risen to the surface, about 3 minutes. Scoop the gnocchi into a colander with a slotted spoon while you cook the second batch.

Add to your sauce.

The Jersey Girl notes: I often use 3-4 potatoes, as I can not find potatoes that are 12 ounces each. I mash the potatoes with a potato masher. You want a smooth consistency. I mix the egg with a wooden spoon. I mix the flour with  my hands. When making the gnocchi with the pomodoro sauce listed below, I gently scoop the cooked gnocchi out of the boiling water with a wide slotted spoon directly into the warm pomodoro sauce. I also cooked the gnocchi in three batches, not two. 


  • ¼ cup extra virgin olive oil, plus 1 tablespoons
  • 4 stems fresh Italian flat leaf parsley
  • 4 stems fresh oregano
  • 2 stems fresh rosemary
  • 2 stems fresh basil, plus 2 more stems for garnish
  • ½ yellow onion, diced
  • 3 cloves garlic, pressed or minced
  • 1 28 ounce can San Marzano tomatoes
  • Kosher salt and freshly ground black pepper
  • Pinch of red pepper flakes
  • ¼ cup heavy cream (optional)
  • 1 16-ounce package potato gnocchi
  • 8 ounces cherry size mozzarella balls, cut in half


  1. Add ¼ cup olive oil to a 10-inch high sided sauté pan or a saucepan over medium heat. Add the parsley, oregano, rosemary and 2 stems of basil and cook for about 5 minutes or until the herbs become crisp.
  2. Remove the herbs and discard then add the onion and garlic to the oil, lowering the heat if needed so the onions cook gently and don't brown. Cook until the onions are transparent, about 5-7 minutes, then crush the tomatoes with your hand and add to the pan with juice. Season with kosher salt, freshly ground black pepper and red pepper flakes and simmer for 30-40 minutes or until the sauce reduces and thicken, stirring occasionally. (I also add about 2 Thsp. chopped fresh basil to the sauce before simmering.)

  3. Stir in the heavy cream (if using) and remove from the heat.
  1. Meanwhile, bring a saucepan of water to a boil and add the gnocchi. Season generously with kosher salt and cook until the gnocchi float to the top of the boiling water. Drain and then place the gnocchi into the cooked sauce. Top with the halved mozzarella balls and sprinkle with Parmesan cheese then drizzle the tops of the gnocchi with the remaining olive oil. Broil for 5-8 minutes or until the cheese melts and the tops become crispy. Garnish with additional basil leaves and serve immediately.
  2. The Jersey Girl notes: I did not use fresh oregano and I did not use cream. It is fab without, in my opinion!
  3. And here is my cutie pie Evan helping me cook and digging into the delciousness on two separate occasions: