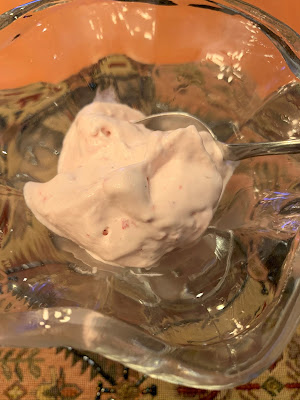
Showing posts with label Betty Crocker's Cookbook. Show all posts

Saturday, December 26, 2020

Cranberry Orange Pound Cake with Orange Glaze


Cranberry and orange are the perfect combo, especially in baking. This Cranberry Orange Pound Cake with Orange Glaze is fab if you are having company or to share with family and friends. I gave half of mine away!

The orange zest makes everything very vibrant and bright.

The recipe calls for 1/2 cup dried cranberries, but you should up it to 3/4 cup if you want more of them scattered throughout the cake. 

This is awesome with a cup of tea or coffee during those cold winter days and nights.

Enjoy!


Cranberry Orange Pound Cake with Orange Glaze

Makes 24 servings

From "The Betty Crocker Cookbook"

For the Cranberry Orange Pound Cake

3 cups all-purpose flour

1 tsp. baking powder

1/4 tsp. salt

2 1/2 cups granulated sugar

1 cup butter, softened

1 tsp. vanilla or almond extract

5 eggs

1 cup milk or evaporated milk

1/2 cup - 3/4 cup dried cranberries, chopped 

1 tsp. grated orange peel

Powdered sugar (if desired) or Orange Glaze (if desired, recipe is below)

Heat oven to 350 degrees Fahrenheit. Generously grease bottom, side and tube of a10-inch angel food (tube) cake pan, 12-cup fluted tube cake pan or 2 (9 x 5-inch) loaf pans with shortening; lightly flour.

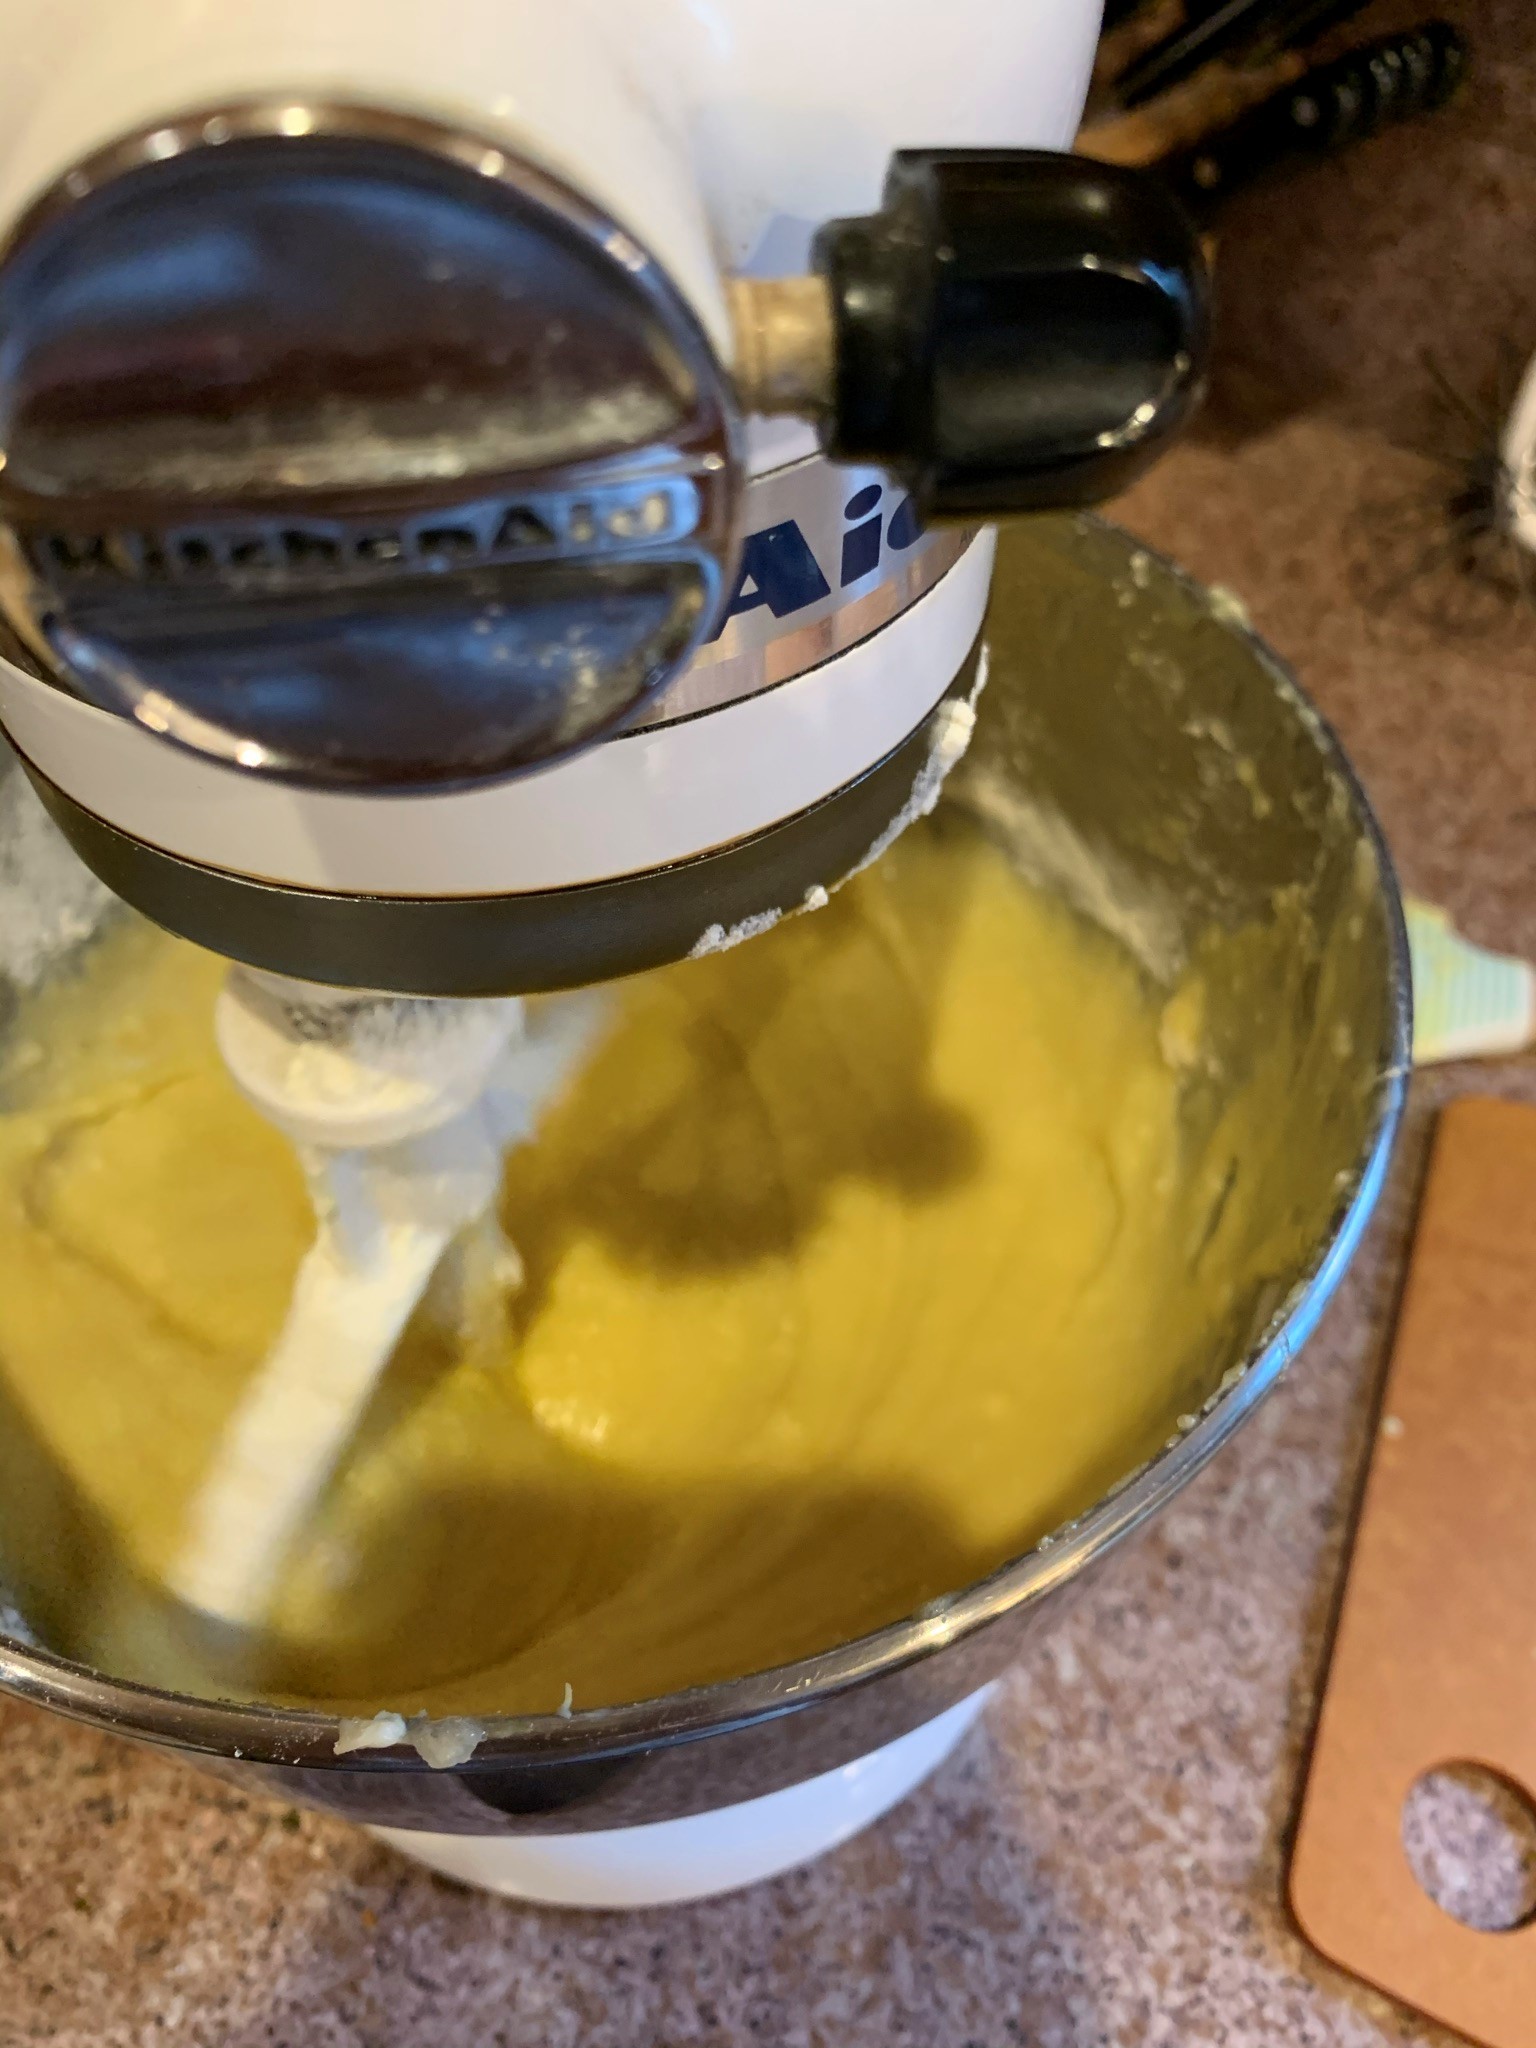

In a medium bowl, mix flour, baking powder and salt; set aside. In large bowl, beat granulated sugar, butter, vanilla and eggs with electric mixer on low speed 30 seconds, scraping bowl constantly. Bean on high speed 5 minutes, scraping bowl occasionally. Beat flour mixture into sugar mixture alternately with milk on low speed, beating just until smooth after each addition. Fold in grated orange peel and dried cranberries. Pour into pan(s).

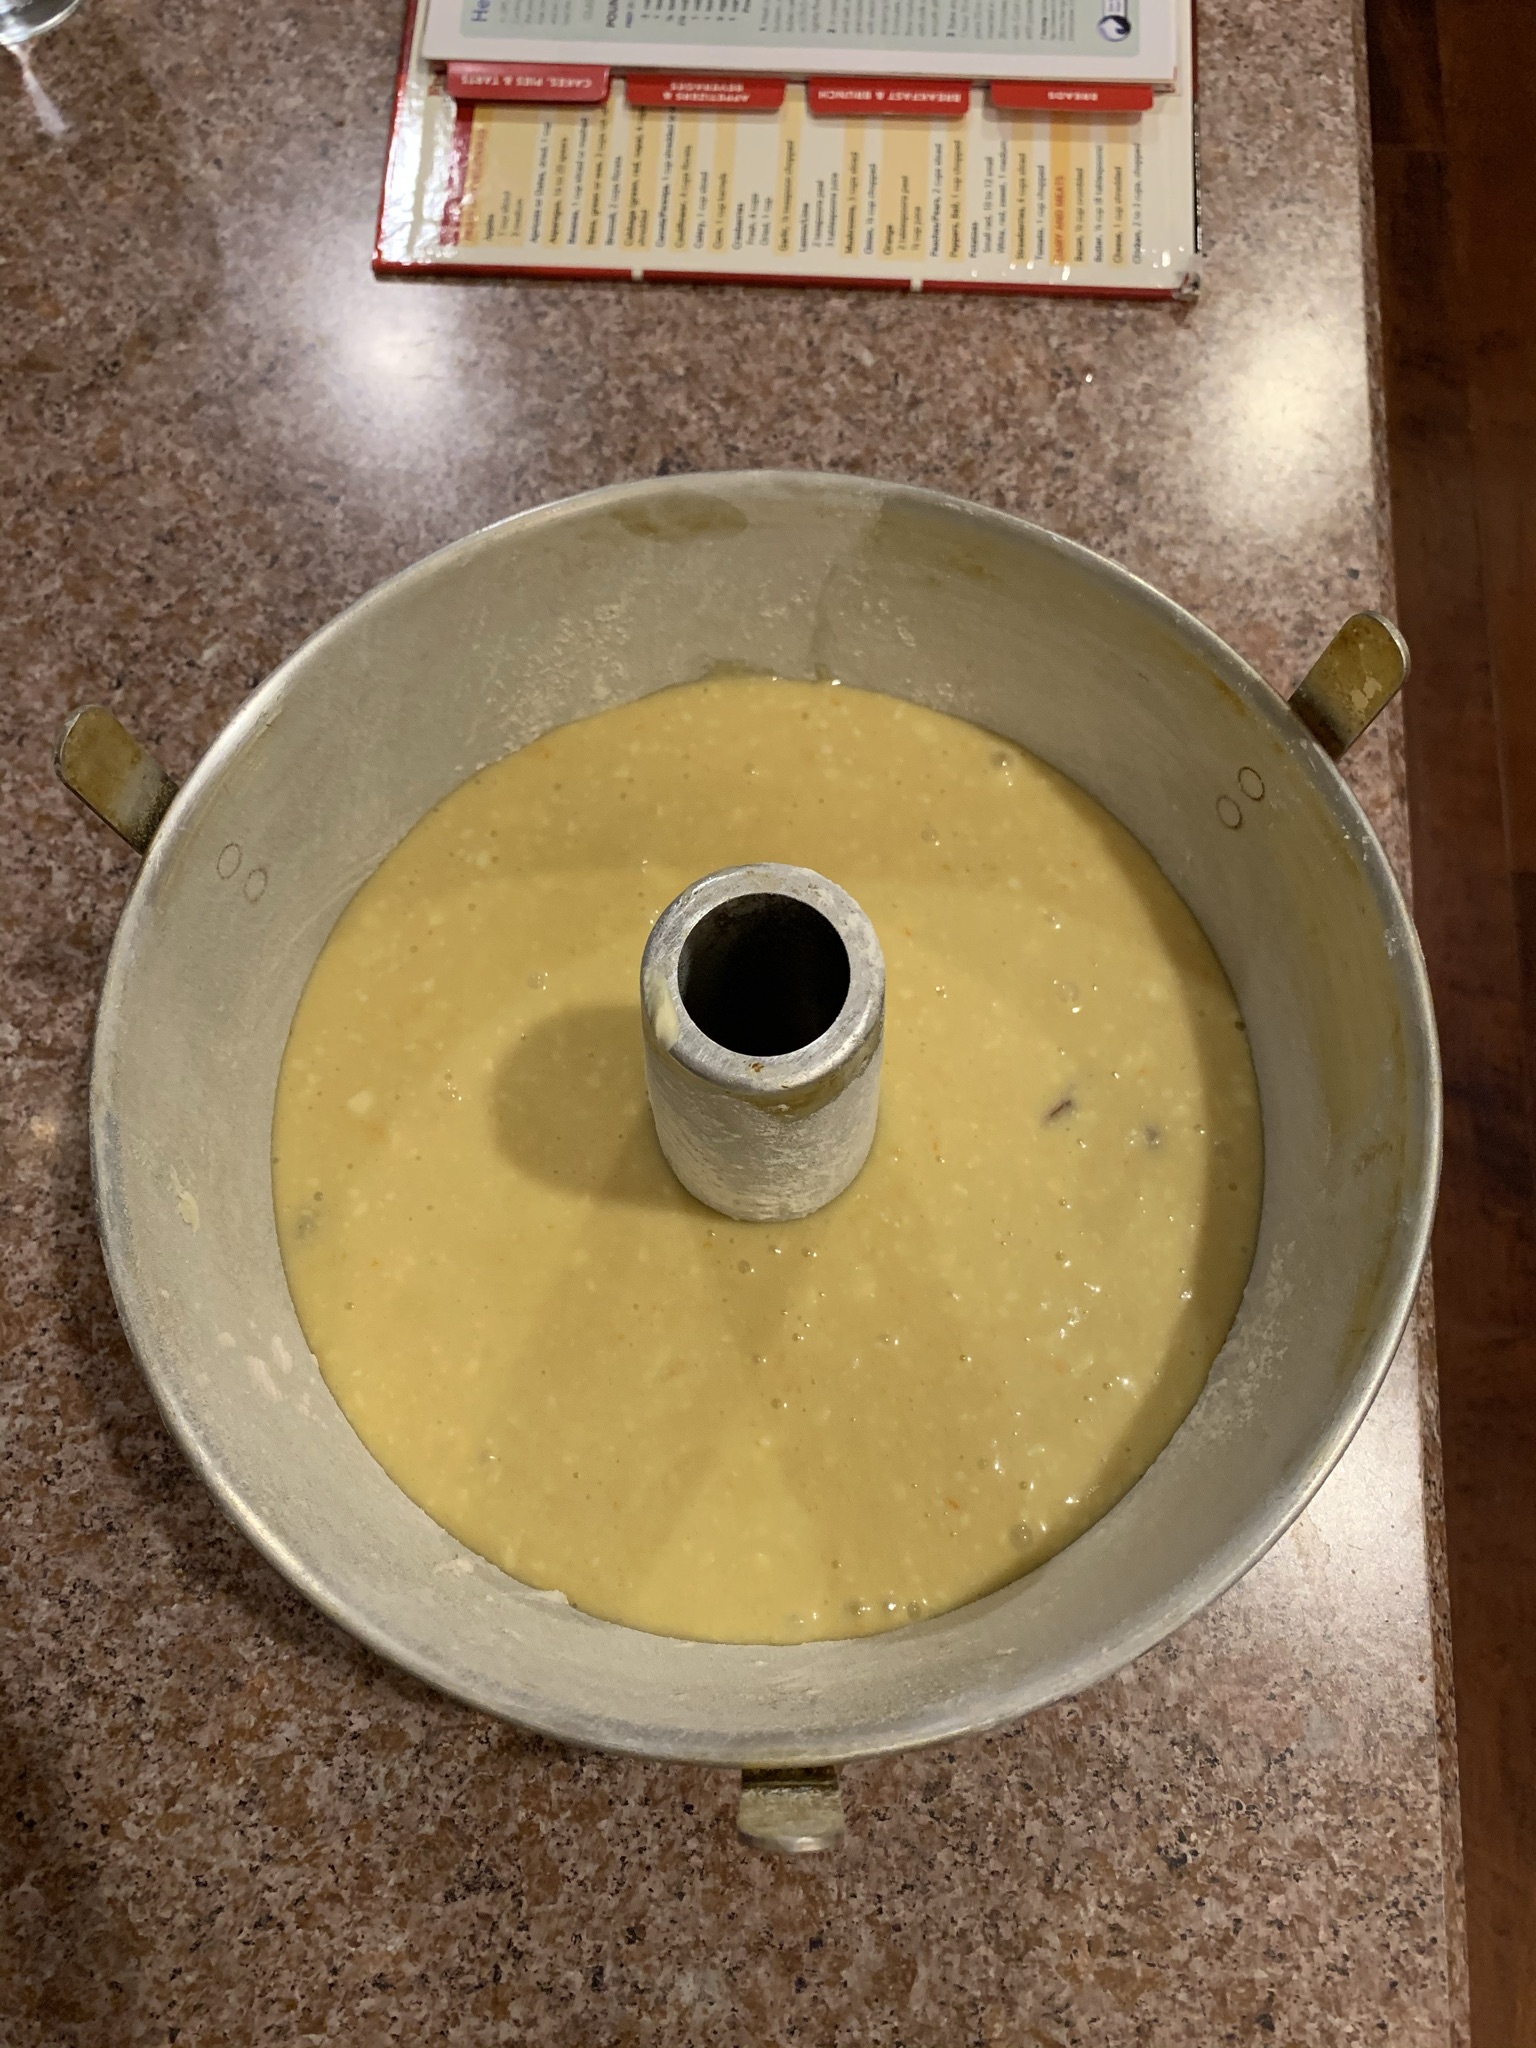
Bake angel food or fluted tube cake pan 1 hour 10 minutes to 1 hour 20 minutes, loaf pans 55 to 60  minutes, or until toothpick inserted in center comes out clean. Cool 20 minutes; remove from pan(s) to cooling rack. Cool completely, about 2 hours. Sprinkle with powdered sugar or top with orange glaze (recipe is below).


Orange Glaze

(1 cup glaze)

From "The Betty Crocker Cookbook"

1/3 cup butter

2 cups powdered sugar

2-4 Tbsp. orange juice, heated

1 tsp. grated orange peel

In 1 1/2 quart saucepan, melt butter over low heat; remove from heat. Stir in grated orange peel. Stir in powdered sugar.

Stir in warm orange juice, 1 Tbsp. at a time until glaze is smooth and has the consistency of a thick syrup.

Glaze one 10-cup fluted tube cake, 10-inch angel food or chiffon cake or top of an 8- or 9-inch layer cake. 

Leftover glaze can be tightly covered and refrigerated up to 5 days; do not freeze. Let stand 30 minutes at room temperature to soften; stir before using. 


Wednesday, June 3, 2020

The Freshness: Strawberry Ice Cream

Nothing highlights the freshness of in-season fruit like a homemade frozen treat. This Fresh Strawberry Ice Cream recipe from Betty Crocker will rock your world. Totally.


If making ice cream trips you out, here are my tips, my friend. You got this!

1. Chill a glass bowl in the freezer well before you are even going to jump into the ice cream process. Like put it in the freezer the day before.

2. Let the cooked mixture cool in the fridge beyond the recommended 2-3 hours. I usually go at least 4. You need to allot a good amount of time to ice-cream making. Patience, peeps!

3. Be prepared to put the finished product into the freezer for many hours after you churn it in your ice cream device of choice. The ice cream is usually very soft when it is first made. (Although, this recipe so good you'll probably want to sneak some bites straight away.)

4. When adding the final ingredients into the cooled milk mixture, work fast.

5. Finally, I do strongly recommend to use ice cream recipes that require cooking and egg yolks. I made some imposter one-step strawberry ice cream recipe last summer and it was so blah. Like no texture or taste at all. No bueno.

But this sweet stuff below is super bueno!


Fresh Strawberry Ice Cream
From Betty Crocker Cookbook
Makes 1 quart

3 egg yolks, slightly beaten
1 cup sugar, divided into two 1/2 cups 
1 cup milk
1/4 tsp. salt
2 cups whipping cream
1 tsp. vanilla extract
1 pint (2 cups) strawberries


1. In a 2-quart saucepan, stir egg yolks, 1/2 cup of sugar, milk and salt until well mixed. Cook over medium heat just until mixture comes to a boil, stirring constantly (do not allow mixture to continue to boil or it will curdle.) Immediately remove from heat. 

2. Pour milk mixture into chilled bowl. Refrigerate uncovered 2 to 3 hours, stirring occasionally, until room temperature. At this point, mixture can be refrigerated up to 24 hours before completing recipe if desired.


3. Mash strawberries with the remaining 1/2 cup of sugar with a potato masher or process in food processor until slightly chunky (not pureed). 

4. Stir whipping cream and vanilla into milk mixture. Stir strawberries into milk mixture. Stir in a few drops of red food color if desired. Pour into 1-quart ice cream freezer and freeze according to manufacturer's directions.


Sunday, January 5, 2020

The Lowdown on Chocolate Chip Cookies

There are two types of people: Bakers and non-bakers. I am 150 percent totally a baker.

So, I bring to you with great joy the most fantastic recipe for classic chocolate chip cookies ever. Of course, it's from my girl Betty Crocker. Look how gorg:


Perfect color and texture!

Now, I was born and bred on the chocolate chip recipe right on the back of the Nestle's chocolate chips. And sometimes, the final result was awesome but more often than not, the cookies were flat, sticking to the pan and not to my level of perfection that I often reach when baking.

So, I declared in November the Nestle's recipe was officially dead to me, and it was time to move on. Afterall, I do have a reputation to protect.

I also did extensive research on how to produce desirable chocolate chip cookies. Because I go big or go home on topics of which I obsess. So it seems this fact is key: Bake one cookie sheet at a time. All of these years I was doing the top-bottom switcharoo. Of course, baking one sheet solo adds more minutes to the whole process, but I do try to bake when I'm free as a bird (ha).

Also at issue is the number of eggs. Nestle's calls for two; Betty calls for one. I use extra large eggs in baking and cooking and life, so I think that is one reason the Nestle's recipe doesn't work out for me.

The Betty Crocker cookies turned out crispy on the outside, chewy and delicious on the inside and the best part was they totally did not stick to the pan upon removal. Score!


Chocolate Chip Cookies
From "Betty Crocker's Cookbook"
Makes 4 dozen cookies

3/4 cup granulated sugar
3/4 cup packed brown sugar
1 cup unsalted butter, softened
1 tsp. vanilla
1 egg
2 1/4 cup all purpose flour
1 tsp. baking soda
1/2 tsp. salt
1 bag (12 ounces) semisweet or dark chocolate chips (2 cups)
1 cup coarsely chopped nuts, if desired

Heat oven to 375 degrees Fahrenheit. In large bowl, beat sugars, butter, vanilla and egg with electric mixer on medium speed, or mix with spoon, until well blended. Stir in flour, baking soda and salt (dough will be stiff). Stir in chocolate chips and nuts.

On ungreased cookie sheets, drop dough by rounded tablespoonfuls about 2 inches apart. For perfectly sized and shaped cookies, use a #70 cookie scoop.

Bake 8 to 10 minutes or until light brown (centers will be soft). Cool 1 to 2 minutes; remove from cookie sheets to cooling racks.

Thursday, August 1, 2019

Fresh Homemade Ice Cream

Ice cream is easier to make than you think. Sure there are plenty of options in the grocery store or at your fave ice cream shop, but it's so nice to have fresh homemade goodness right in your own freezer.

I've been making homemade chocolate chip ice cream a lot this summer. I follow the recipe for vanilla ice cream in the Betty Crocker Cookbook. After churning, I add mini chocolate chips. 

The star ingredient that really makes my ice cream shine is this: Nielsen-Massey Madagascar Bourbon Vanilla Paste. At $36.95 a pop, it is an investment, for sure. But it really really makes the ice cream so delicious. The flavor is deep. And my favorite part is that you can see flecks of vanilla bean throughout the beautiful soft white cream. Gorgeous! The paste is sold at Williams-Sonoma. You can totally rock this out with regular vanilla extract that you buy at your grocery store if you are not feeling the need to fork over $37 for one ingredient. No worries, at all.

Here's my ice cream in brownie ice cream sundae form. Yummy!


My tips for a strong homemade ice cream game are as follows:

1. Chill a glass bowl in the freezer at least a couple of hours before you cook up the ice cream starter on the stove. (You heard me. Ice cream starts out hot!)

2. Have all your final ingredients measured and ready to go before adding them to the chilled starter that needs to go right into the ice cream maker to churn. This ensures everything stays nice and cold.

3. Set aside time for your ice cream to harden a bit in the freezer after churning. It is quite soft right after churning. At least 2-3 hours is ideal!

4. The Kitchen Aid Stand Mixer Ice Cream Maker Attachment is amazing. It stores nicely in the freezer so it's all ready to go when you need to bust it out for moments like these.

Vanilla Ice Cream
Makes 1 quart
From "Betty Crocker Cookbook"

3 egg yolks, slightly beaten
1/2 cup sugar
1 cup milk
1/4 tsp. salt
2 cups whipping cream,
1 Tbsp. vanilla

In a 2-quart saucepan, stir egg yolks, sugar, milk and salt until well mixed. Cook over medium heat just until mixture comes to a boil, stirring constantly (do not allow mixture to continue to boil or it will curdle). Immediately remove from heat.


Pour milk mixture into chilled bowl. Refrigerate uncovered 2 to 3 hours, stirring occasionally, until room temperature. At this point mixture can be refrigerated up to 24 hours before completing the recipe if desired.

Stir whipping cream and vanilla into milk mixture. Pour into 1-quart ice-cream maker and mix according to manufacturer's instructions. (The Jersey Girl uses the Kitchen Aid Stand Mixer Ice Cream Maker Attachment. She churns the ice cream for 16 minutes.)


If desired, stir in 1/3 cup mini chocolate chips after the ice cream churns and before it is placed into a container to store in the freezer.


Wednesday, June 26, 2019

Easy Peasy Blueberry Muffins


Muffins are one of the easiest of baking tasks, in my humble opinion. For one, you don't need a mixer. You just whisk things and use a wooden spoon.

You just need one mixing bowl.

There's no icing involved.

And they often utilize fresh ingredients of the season. Which is why, June and July are totally the months that you should be whipping up fabulous blueberry muffins.

I go tried and true with my recipe from that gal Betty Crocker. There's a reason why this cookbook has been reprinted again and again for almost 75 years. Because the recipes work! And they're super yummy.

This recipe offers a couple of options about things. I listed how I do at the bottom of the recipe.

These muffins come out light and fluffy. The blueberries really shine. The streusel topping is the perfect touch. It crumbles and melts in your mouth. These muffins are so delightful with your coffee first thing in the morn.


Streusel-Topped Blueberry Muffins
Makes 12
From the "Betty Crocker Cookbook"

For the muffins:
3/4 cup milk
1/4 cup vegetable oil or melted butter
1 egg
2 cups all-purpose flour
1/2 cup granulated sugar
2 tsp. baking powder
1/2 tsp. salt
1 cup fresh, canned (drained) or frozen blueberries

For the streusel topping:
1/4 cup all-purpose flour
1/4 cup packed brown sugar
1/4 tsp. ground cinnamon
2 Tbsp. firm butter

To make the streusel: In a medium bowl, combine flour, brown sugar and cinnamon. Cut in firm butter, using a pastry blender or fork, until crumbly.  Set aside.

To make the muffins: Heat oven to 400 degrees Fahrenheit. Grease bottoms only of 12 regular-size muffin cups with shortening or cooking spray, or line with paper baking cups.


In a large bowl, beat milk, oil and egg with fork or wire whisk until well mixed. Stir in flour, granulated sugar, baking powder and salt all at once just until flour is moistened (batter will be lumpy).


Fold in blueberries.


Divide batter evenly among muffin cups.


Sprinkle each with about 1 tablespoon streusel topping.


Bake 20 to 25 minutes or until golden brown and toothpick inserted in center comes out clean. If baked in greased pan, let stand about 5 minutes in pan, then remove from pan to cooling rack; if baked in paper baking cups, immediately remove from pan to cooling rack. Serve warm if desired.

Please note: The Jersey Girl uses paper baking cups, oil and fresh blueberries. She also lets the muffins cool for about 20 minutes in the baking pan on a cooling rack before removing. 

Tuesday, May 29, 2012

Kitschy Kitschy Yeah Yeah


Deviled eggs. Kinda trashy, kinda retro and kinda AWESOME.

For reals, who doesn’t love a deviled egg?

Tis’ the season for BBQing, picnicking and all that, so you gots to have a deviled egg recipe in your pocket.

Err. Well, your bag of recipe tricks, I suppose, would be a better place for a hard-boiled egg stuffed with a mayonaissy-yolky yellow-stained filling of deliciousness, right?!

There is a secret ingredient, natch. In my case, it’s horseradish. Gives it a good ole’ kick in the you know what. But your summer partay guests will be all like, “Bro, what’s in these eggs?!?” as they sashay to the buffet for seconds and thirds.

You could totally rock these out for a Mad Men finale soiree as well since Deviled Eggs were all the rage back in the day. Of course, if any of your posse actually WATCHED Mad Men, this would be a more enjoyable fete. My one bestie Sarah is a fan, as is my lil’ sis Monica who lives a bajillion miles away in Virginia and is ALWAYS an epi or two behind. (God, Monica. Get with the program!) And Aunt Lorraine watches, but she's kickin' it in Florida right now. Other than that, I gots nothin’. The Husband won’t even watch with me. Not that I’m bitter or anything. I mean, you know, I SO want to be a part of his daily TV experience each night: Flyers, Phillies, Sixers, Comcast SportsNight, MLB Network, Deadliest Catch, Hannity, Cheers reruns. I mean just shoot me now, why don’t you?

So, I’ll just be in the kitchen “deviling some eggs.” That really was a line on the only show I watch. Which is freakin’ amazingly fab, by the way. (OK. You caught me. I do zone out  to Jersey Housewives and Mob Wives late night. But when you’re ironing The Husband’s shirts (gah!!!) or picking up toy cars for the 900th time (super gah!!!), you need something mindless on the tube.

In the spirit of all things old school, my deviled egg recipe hails from Betty Crocker’s Cookbook (natch!). You would be horrified to see my copy. It is literally being held together with a rubber band. Sounds fab, I know. But I refer to this book like all the time.

I totally add more horseradish than the recipe calls for (we groove on things spicy in my house. Yowza.) And I whip the yolk filling into a light fluffy frenzy with my handheld beaters rather than the good ole’ mash-it-with-a-fork method, as advised in the recipe. I think Betty was trippin’ with that step. Be sure to chill the eggs for a bit in the ice box aka the refrigerator. And I like to garnish mine with paprika. Love the pop of color!

Just an update on The Jersey Girl since it’s been forevs since my last post: My piano studio students rocked out at my annual Spring Piano Recital last week. So amazingly proud of them. OMG!!! My recital is such an amazing day. I know it invokes anxiety in many of my pupils, but they ALWAYS put on such a fabulous performance. It is so awe-inspiring to see the progress my musical cohorts make each year. Love them with all of my heart!!!

Meanwhile, my beautiful Evan has been walking all over the joint. Yay!! We celebrated Memorial Day and the kickoff of summer down in Stone Harbor. While I don’t have any pics of him fist-pumping, you can see him kickin’ it along the gorgeous beach. He was all go go go during our time on the sandy shore. Momma got a workout going on while relaxing (ha ha) on the beach.

I’m on hiatus from teaching right now until after Fourth of July, so I will get cracking on my blogginess. Woo-hoo!


Zesty Deviled Eggs
From Betty Crocker’s Cookbook

6 Hard-Cooked Eggs
3 Tbsp. mayonaisse
½ tsp. ground mustard
1/8 tsp. salt
1/8 tsp. pepper
1 to 2 Tbsp. fresh parsley, chopped
1 tsp. prepared horseradish

To hard-cook eggs:

Place eggs in a saucepan. Fill saucepan with water at least 1 inch above eggs.

Heat to boiling in saucepan; remove from heat. Cover and let stand 18 minutes. Immediately cool briefly in cold water to prevent further cooking. Tap egg to crack shell. Roll egg between hands to loosen shell, then peel. If shell is hard to peel, hold egg in cold water while peeling.

For the deviled eggs:

Peel eggs. Cut lengthwise in half. Slip out yolks and mash with fork.

Stir mayonaisse, mustard, salt and pepper, parsley and horseradish  into yolks.  (Please note: The Jersey Girl mixes the yolk mixture with hand-held beaters). Fill whites with egg yolk mixture, heaping it lightly. Cover and refrigerate up to 24 hours.

Tuesday, January 11, 2011

Here's to You, Mammom

This New Year’s Day was a bit different in the Jersey Girl household. For one thing, we had our Baby Evan – a holiday first. And, The Husband and I found ourselves both off from work. It truly was a day to celebrate!

For our many years together, usually one or both of us were hard/hungover at work on Jan. 1. That’s because we are news peoples (The Husband still is; I am fortunately retired.)

Back in the day, when we both toiled all in the name of news at a daily (a newspaper that comes out each and every morn), we usually got stuck working all but two holidays. And, or course, we always vied for Christmas off. Working Christmas is made of evil. Hell, working any holiday is made of evil. Holidays are meant to be with family, not in a newsroom with no windows. And being the lovas of the Shore that we are, we usually tried for Fourth of July.

Since retiring from the world of news, I always have New Year’s Day off, but The Husband usually had to go into the office. So, my New Year’s time was spent de-Christmasfying the homefront and recovering from the previous night’s festivities.

But, this year some clear-headed cookery ensued. And The Husband made a special request: “Do you think you can make spaetzle like my grandmother?”

Sure thing, Dear Husband.

I had previously read the recipe in my tattered Betty Crocker cookbook. (I read cookbooks like novels, you see.)

And the recipe was easy enough.

The catch was I wasn’t quite sure if they would turn out like Mammom’s. That’s The Husband’s grandmother. During her day, she would make spaetzle – a German dumpling of sorts – each and every New Year’s to accompany a pork roast.

The Husband had shared his stories of making the dish as Mammom’s trusty assistant, dropping the batter into boiling hot water while breaking it into strands with a fork.

The tragedy is that The Husband does not have a recipe written down. Like most grandmothers, Mammom cooked from her head and heart rather than paper.

I had the opportunity to enjoy Mammom’s spaetzle many years ago when The Husband and I were dating. But that was only once or twice. Mammom was starting to take it easy when I met her. The reality was dementia was beginning to wreak its ugly havoc on Mammom’s beautiful soul. So, I guess you can say, I never really got to know the Real Mammom. But, I love learning about her from the stories I hear from The Husband and his Mom, Nancy.

Mammom was the sweetest lady you ever met. And, she did anything and everything for her family. These traits were passed on to her daughter, Nancy, who is my rockin’ mother-in-law.

In 2010, Mammom passed away. So, it was only fitting to kick off 2011 in her honor. As my mother-in-law always says, “Mammom is looking down on us and smiling. And she is Baby Evan’s guardian angel.”

I was a bit nervy making the spaetzle, wondering if I was going to need to bust into a bag of potatoes to get some mash on as backup. But The Husband’s family proclaimed the spaetzle were on the money.

“They’re just like Mammom’s,” my mother-in-law declared.

“Outstanding,” said my father-in-law, when I asked if they tasted right. He explained that the purpose of spaetzle is to soak up the flavor of the gravy.

I’m providing for all y’all the recipe from “Betty Crocker’s Cookbook.” But the colander method described in the book did not work for the Jersey Girl. Methinks the holes in my colander are too small, because the batter wanted no parts of fitting through the holes. I simply took a teaspoon and a fork and dripped and drabbed the batter into a pot of boiling water. That’s how Mammom did it, according to The Husband. But, it sounds like her batter was thinner than this batter. Nonetheless, the fork method worked for me.

I then fished the dumplings out of the bowling water with my trusty spider ladle:


The final product: Roast pork served with Spaetzle and Roasted Butternut Squash and Parsnips.
(I will share the squash recipe later this week. Possibly today, if my bambino takes a nap.)

If you have spaetzle tips, please share in the comments!
Spaetzle
From “Betty Crocker’s Cookbook”
6 servings

2 large eggs, beaten
¼ cup milk or water
1 cup all-purpose flour
¼ tsp. salt
Dash of pepper
1 Tbsp. butter or stick margarine

Mix eggs, milk, flour, salt and pepper (Batter will be thick.)

Fill 4-quart Dutch oven half full with water; heat to boiling.

Press a few tablespoons of the batter at a time through colander (preferably one with large holes) into boiling water. Stir once or twice to prevent sticking.

Cook about 2-5 minutes or until spaetzle rise to surface and are tender; drain. Toss with butter.

Sunday, January 3, 2010

Puff Momma

So you make something really fantabulous and that means one thing and one thing only....

You will lead a life of making the signature fantabulous dish time and time again.

With that preface, I bring you La Cream Puff:


Or, I should say a whole tray of cream puffs – (and a really cute J. Crew sweater that I snagged earlier in the fall. Yay me!)

This tray of puffs was brought to my peeps on Thanksgiving.

I know, right. Way to move right fast on your bloggin, Suzie Q.

(Hangs head in shame.)

For reals, the cream puffs slipped my mind until New Year’s Eve when, you guessed it, I made them again.

So, I’ve been in the cream puff game since my college years. I don’t know how this came about. I was flipping through my mom’s Betty Crocker Cookbook and started making them one day.

The rest is history, because my family, which is chock full of cooks and eaters and critics (my people tell you what they think, feelings be damned), fell head over heels in love with my cream puffs.

I’ve stuck with the Betty Crocker recipe time and time again. Sure, I see different recipes all over the joint – fancy cookbooks, gourmet mags, Web sites, TV, etc. – but why mess with perfection?

If you eat one of these cream puffs, you will agree that they are amazingly delish. Unless you’re my sister Monica, who has an aversion to all things creamy and puffy.

When I serve these cream puffs, I am often compared to the little old Italian ladies who live all throughout my town and bake old-school confections. Their recipes live in their hearts and minds. Awwww. See, my family is full of super sweet people.

Many eaters of my cream puffs declare that they are terrible at making cream puffs. It’s a major fail over and over.
“Well, try again,” I say, always pointing to Betty Crocker.

To make the perfect puff, here are my simple tips:

1. You need to have all your ingredients ready to go. Don’t fiddle around the cupboard or search high and low for your cornstarch. Just, get the ingredients, equipment, measuring utensils set aside and move onward and out with the recipe at hand.

2. Don’t talk on the phone or text or any of that nonsense. The cream puff needs your attention. (Actually, I advise against these stupid interruptions whenever you are cooking. Be one with your food!)

3. Use timers. The recipe says to boil for a minute, so boil for a minute. Don’t guess on that stuff.

4. A wooden spoon is your best friend. I mix both components – the puff and the cream – with an old-school spoon. My Kitchenaid is not welcome here. It takes some muscle,  but a workout won't kill you.

5. Patience, my friend, is key to the survival of the cream puff. You have to stir over medium heat and this takes time. Just deal with it.

6. Do not, I repeat DO NOT, cut, fill or dust the cream puffs with powdered sugar until you are ready to eat them. This is key to their freshness and beauty and awesomeness. Yes, it is a bit high-maintenance, but so worth it!!

So, that’s it. Here’s the recipe.

Again, major props to Betty Crocker!


Cream Puffs
From "Betty Crocker's Cookbook, Ninth Edition"

Pastry:
1 cup water
½ cup butter
1 cup flour
4 extra large eggs

Heat oven to 400 degrees.

Heat water and butter to a rolling boil in a 2 ½ quart saucepan. Stir in flour. Reduce heat to low. Stir vigorously over low heat for about a minute or until mixture forms a ball. Remove from heat.

Beat in eggs all at once with a wooden spoon until mixture is smooth. This takes a few minutes. Drop dough about three inches apart on ungreased cookie sheet. You should have twelve puffs.

Bake 35 to 40 minutes or until puffed and golden. Cool for about 30 minutes.

When ready to serve, cut off top third of puff and pull out soft dough. Fill puffs with Cream Filling (see below). And dust with powdered sugar.
Cream Filling:
1/3 cup sugar
2 Tbsp. cornstarch
1/8 tsp. salt
2 cups milk
2 egg yolks, slightly beaten
2 Tbsp. butter, softened
2 tsp. vanilla

Mix sugar, cornstarch and salt in 2-quart saucepan. Slowly stir in milk. Cook over medium heat stirring constantly until mixture thickens and comes to a boil. Boil for a minute. Stir half of the hot mixture into the egg yolks, then stir back into hot mixture in saucepan. Boil and stir 1 minute. Remove from heat. Stir in butter and vanilla. Pour into a glass bowl. Press plastic wrap on filling to prevent a tough layer from forming on top. Refrigerate at least 1 hour before using.

Makes 12 puffs.

Sunday, November 15, 2009

Coffee Cake Tawk


Coffee cake just makes me smile.


Cinnamon swirly, brown sugar-scented, vanilla-laced, sweet powdered-sugar-glazed coffee cakes are the best variety.

Can't you just breathe it in?

I whipped one up this weekend for an event being held at the Woman’s Civic Club of Hammonton.

But, I often make coffee cake and bring its hominess to my fam. Mommom and Poppop love a coffee cake as do my in-laws. When Mark and I are staying at their Stone Harbor house for the weekends in the summer, we often arrive bearing baked goods. Great company and a fabulous house at the shore are totally worth a coffee cake.

I make this from the recipe in the good, ole’ Betty Crocker’s Cookbook

Yes, I have one of those.

In fact, I think I need to replace it because it is in shambles, dear readers. Those damn red plastic coils break and fall out. And it’s dog-eared, spattered, beaten and battered. But, Betty Crocker’s Cookbook is tried and true for me. It never misses. I love it. It completes me. Plus, I have notes penciled in all over the place in my copy. I don’t know what to do. Maybe I should store it in a Hefty zipper bag or a manilla envelope.

Parting is such sweet sorrow.

I vividly recall upon my engagement to Mark, heading straight to the cookbook section of Barnes and Noble and buying my Big Red No. 9. I thought Betty Crocker was necessary to be a proper wife.

Could I be more delusional?

But, I do give props to this very basic cookbook. It taught me many, many things.

And it is a purchase that triggered my ongoing obsession with cookbooks. I collect them, dear readers. But, that’s for another post…

Today, it’s all about the coffee cake.

Please note that I omitted the nuts and used extra-large eggs.


Sour Cream Coffee Cake
From Betty Crocker’s Cookbook, Ninth Edition

Prep: 30 min; Bake 1 hr.; Cool: 30 min.

Makes 16 servings

Brown sugar filling (see below)
3 cups all-purpose or whole wheat flour
1 ½ tsp. baking powder
1 ½ tsp. baking soda
¾ tsp. salt
1 ½ cups sugar
¾ cup butter or stick margarine, softened
1 ½ tsp. vanilla
3 large eggs
1 ½ cups sour cream
Vanilla Glaze (see below)

1. Heat oven to 350 degrees. Grease bottom and side of tube pan, 10 x 4 inches, 12-cup bundt cake pan or 2 loaf pans, 9 x 5 x 3 inches, with shortening.

2. Make Brown Sugar Filling. Set aside. Mix flour, baking powder, baking soda and salt. Set aside.

3. Beat sugar, butter, vanilla and eggs in a large bowl with an electric mixer on medium speed for 2 minutes, scraping the bowl occasionally. Beat about one-fourth of the flour mixture and sour cream at a time alternately into sugar mixture on low speed until blended.

4. For tube or bundt cake pan, spread one-third of the batter (about 2 cups) in pan, then sprinkle with one-third of the filling; repeat twice. For loaf pans, spread one-fourth of the batter, (about 1 ½ cups) in each pan, then sprinkle with one-fourth of the filling; repeat once.

5. Bake tube or bundt cake pan about 1 hour, loaf pans about 45 minutes or until toothpick inserted near center comes out clean. Cool 10 minutes in pan(s) on wire rack. Remove from pan(s) to wire rack. Cool 20 minutes. Drizzle with Vanila Glaze. Serve warm or cool.

Brown Sugar Filling
½ cup packed brown sugar
½ cup finely chopped nuts
1 ½ tsp. ground cinnamon

Mix all ingredients.

Vanilla Glaze
½ cup powdered sugar
¼ tsp. vanilla
2 to 3 tsp. milk

Mix all ingredients with a spoon until smooth and thin enough to drizzle.