Monday, June 29, 2020

Grilled Chicken Caesar

Sometimes a simple classic is all you need. Recently, The Husband requested Grilled Chicken Caesar. 

No problemo, Husband.

I like having this at home because you can control the amounts. In restaurants, it's often drenched and who knows where the dressing came from.

I use Lidia Bastianich's Caesar Salad Dressing recipe. It's my go-to. You don't need to use the whole amount of dressing for this dish. Just store the remaining dressing for use later in the week. Lidia recommends a blender or food processor for making the dressing. I always use my food processor. 

The chicken is easy to prepare. Just marinate in thyme and fresh lemon juice and olive oil. That's it.

Super simple!


Grilled Chicken Caesar Salad
(Makes 4 servings, with some chicken leftover)

For the chicken:
2 lbs. thin cut chicken breast (about 10-12 slices)
1 tsp. dried thyme
Zest and juice of 1 lemon
3 Tbsp. extra virgin olive oil
Salt and pepper

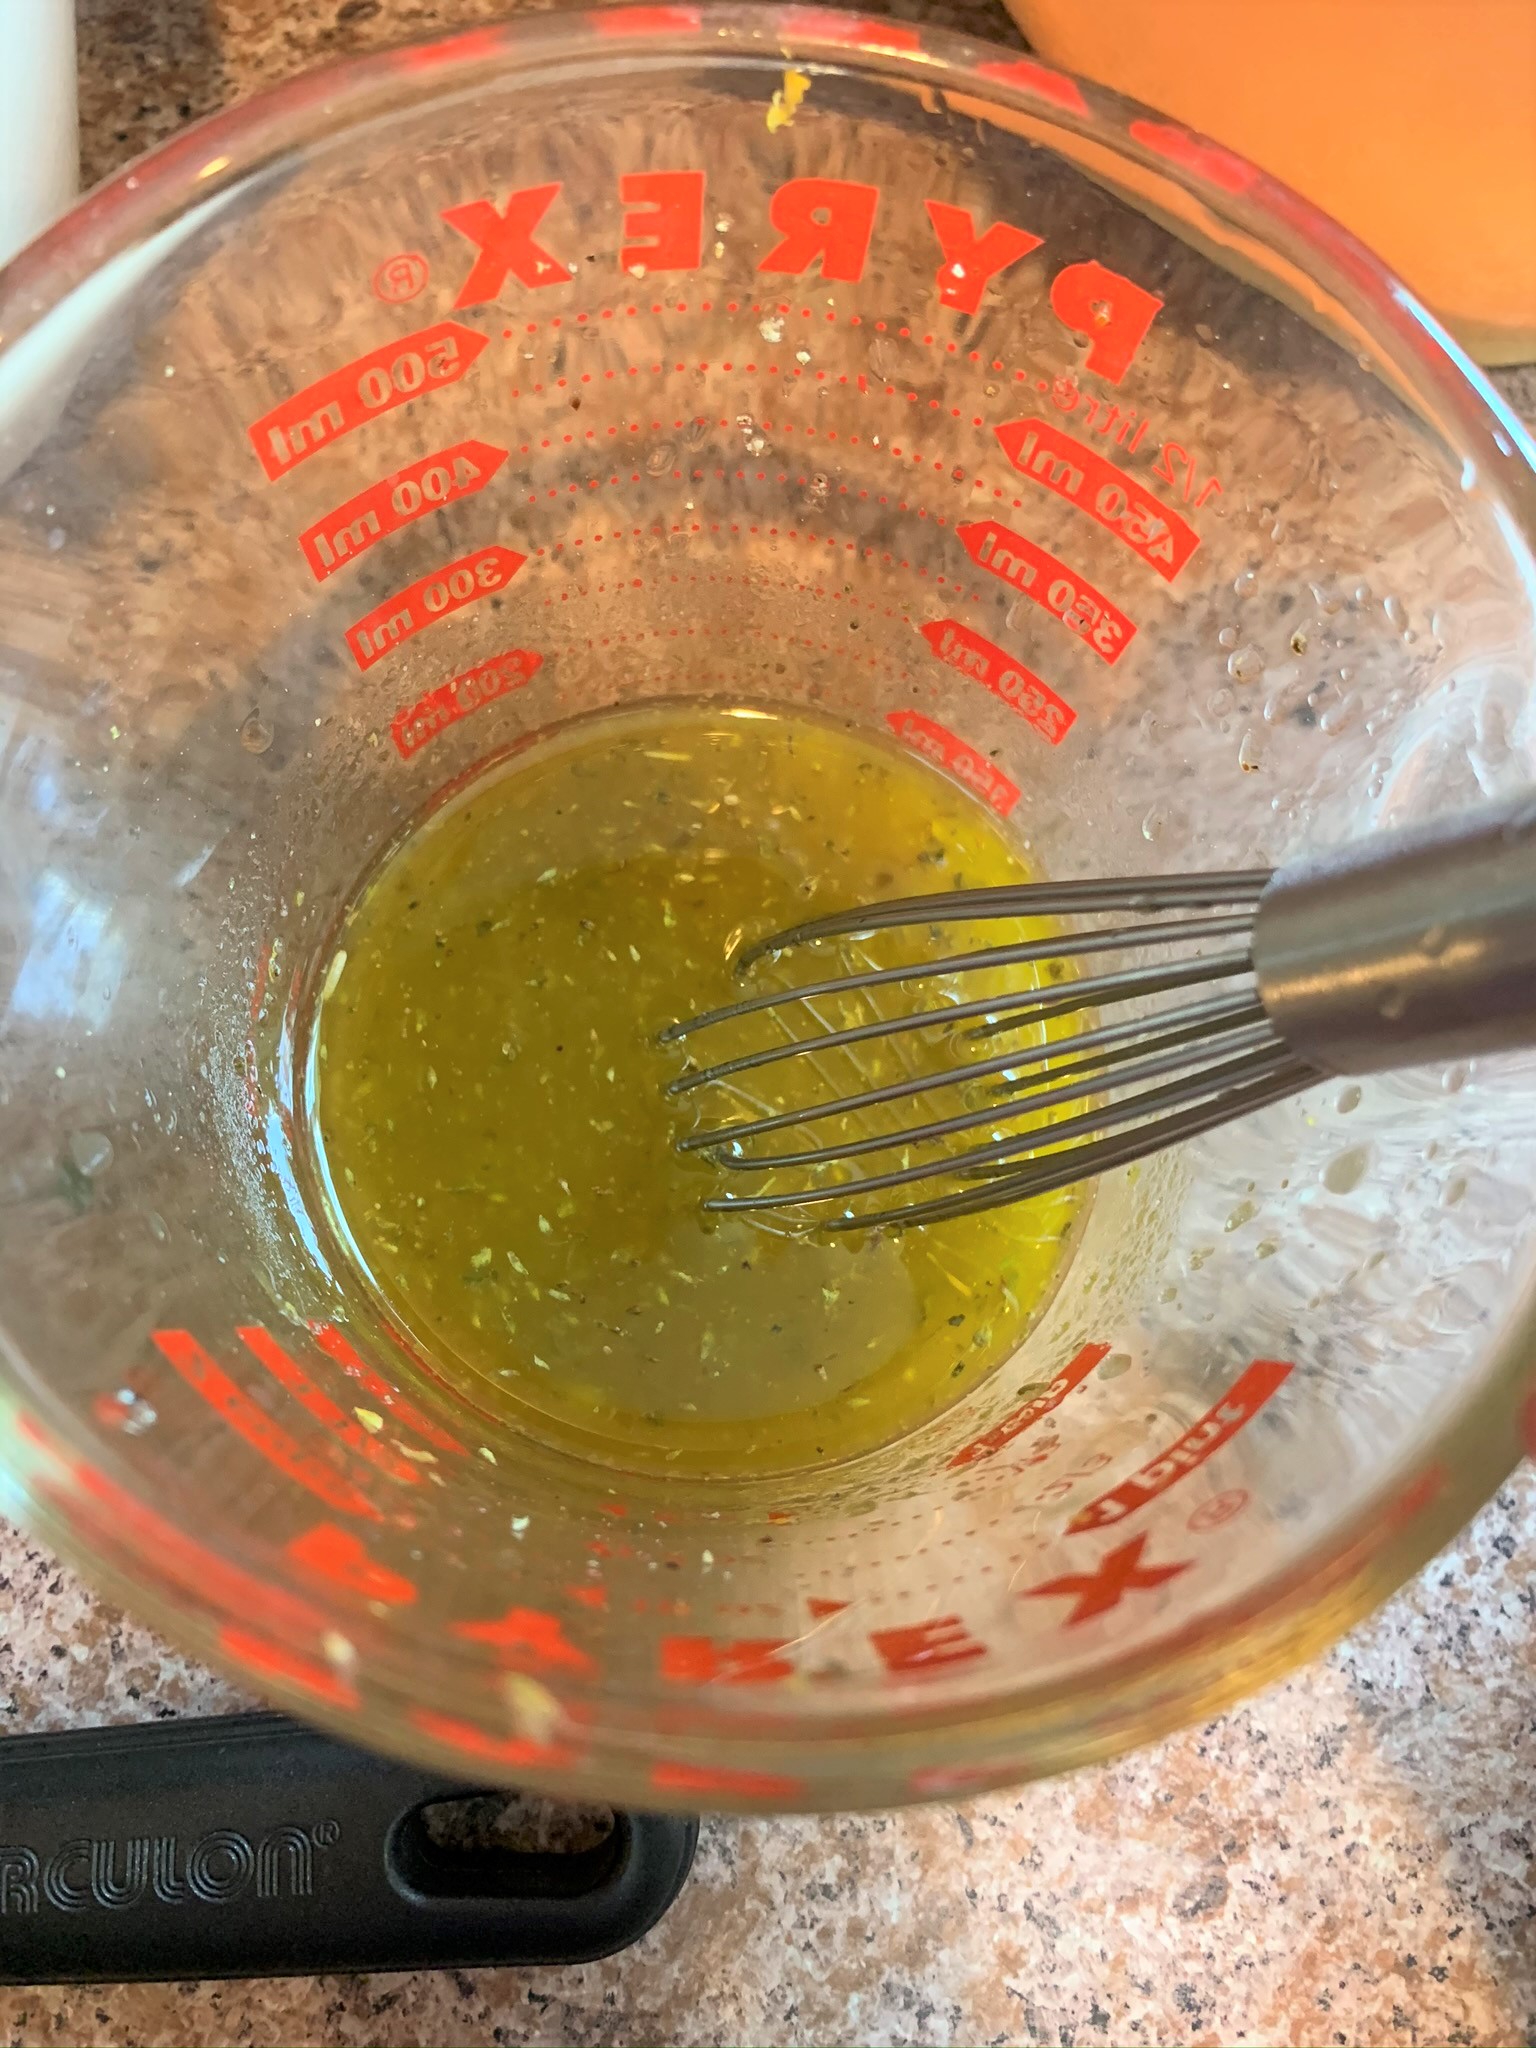
In a medium bowl, whisk together thyme, lemon zest and juice, olive oil, salt and pepper. Place chicken in bowl. Massage marinade into chicken breasts so that all are evenly coated. Set aside in the refrigerator for at least thirty minutes and up to 4 hours.

Preheat a grill pan over medium-high heat. Cook chicken in batches (be sure to not overcrowd the pan). Grill on each side about 3-4 minutes per side. Set aside in a covered dish to keep warm. Repeat until all chicken pieces are grilled.


For the salad:

Romaine lettuce, cleaned and chopped (about 6 cups)
Croutons (optional)

Caesar Salad Dressing
From Lidia's Italian-American Kitchen
By Lidia Bastianich

2 Tbsp. red wine vinegar, plus more for dressing the salad
2 Tbsp. fresh lemon juice
4 cloves garlic
4 anchovy fillets
1/3 cup extra virgin olive oil, or as needed
1 Tbsp. Dijon mustard
1 hard-boiled egg yolk
1/2 tsp. salt
1/2 tsp. Worcestershire sauce
Freshly ground black pepper
1 cup grated Parmigiano-Reggiano cheese,

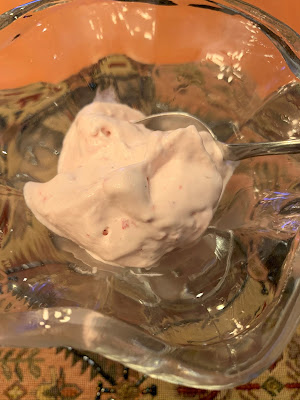
Combine 2 Tbsp. vinegar, lemon juice, garlic and anchovies in a blender or the work bowl of a food processor. Blend until smooth smooth, adding some of the 1/3 cup olive oil if there isn't enough liquid to move the mixture around the blender jar. Add the mustard, hard-boiled egg yolk, salt, Worcestershire sauce, pepper and remaining olive oil if any. Blend until smooth and creamy. Taste the dressing; if it's a little too tangy, pour in a splash or two of olive oil and blend until incorporated. 


Place romaine leaves in a large bowl, add enough dressing to coat the leaves. Add a splash of extra vinegar if you would like the dressing thinner. Toss with a few handfuls of grated cheese. Season with pepper if desired.

To serve:

Top each plate with prepared romaine leaves. Top each salad with two slices of chicken and croutons if using.


Sunday, June 21, 2020

Summer Minestrone

I know soup and summer don't exactly make sense, but sometimes I just need something light and easy to eat no matter what the temp. So it's logical to moi.

This soup highlights zucchini, leeks and baby spinach so it gave me a springy summer vibe. I finish it off with lemon juice and fresh herbs for a nice refreshing touch.

The thyme, parsley and basil in my herb garden are really thriving as we speak so this soup puts them to good use.

Cleaning the leeks is a bit of a process. I listed my advice on that below.

I hope you enjoy making this. It's really delish.


Summer Minestrone
Makes 6 servings

1 Tbsp. olive oil
1 Tbsp. butter
1 leek, thinly sliced into moons (see below on how to clean and slice)
1 large carrot, chopped
1 zucchini, chopped
1 tsp. fresh thyme, minced
1 cup uncooked ditalini pasta
4 cups low-salt vegetable or chicken stock
2 cups water
Juice of 1 lemon
Salt and pepper to taste
2 Tbsp. chopped  fresh basil.
2 Tbsp. chopped fresh flat leaf parsley
To serve: Parmigiano cheese, grated

To clean leaks: Peel off outer layers of leaks. Trim off stem. Cut leeks into three portions across the width to make three logs. Slice each log in half. Slice halves into moons. Fill a large bowl with cold water. Place leek slices into water. Set aside for a few minutes. Drain in colander running cold water over leeks. Separate the leek layers while rinsing. Repeat filling the bowl with water, adding the leeks and draining and rinsing until the leek slices are clear of sand. 

To make the soup:

In a large soup pot, melt olive oil and butter over medium heat. Add leeks, carrots and zucchini. Cook about 10 minutes to soften vegetables. Add thyme and salt and pepper. 


Add broth and water. Bring to a boil. Lower heat to a simmer. Partially cover and cook for about 20 minutes so that vegetables soften.

Add ditalini. Stir frequently so that pasta does not stick to the bottom of the pan. Cook for about 10 minutes or until pasta is cooked. Make sure soup is continuously simmering.

Lower heat. Add spinach. Add salt and pepper if desired. Turn off heat. Stir in lemon juice, basil and parsley.

Serve with grated Parmigiano cheese, if desired

Thursday, June 18, 2020

Flounder Milanese

During the quarantine, one of the habits my son and I have gotten into has been watching cooking programs together. So during a Barefoot Contessa when she was rocking out a Flounder Milanese, he declared, "Mommy, you have to make that for us." 

I was like, for reals? And he said, "Yes that looks yummy. I want that."

Now I prepared to be punked - you know how children do with food. They love something. You make it again. They are on a hunger strike.

But I gotta say, my kiddo ate his whole plate of this - from the arugula, to the flounder to the frizzled capers to the parmigiano shavings. The kid did me proud.

He was excited that I was blogging about this dish.

This is definitely a nice one to make on summer nights when you don't want a heavy din. Something about the heat makes me not want to eat a lot. I also feel that way due to anxiety, which I've experienced in boatloads these past three months.

I do recommend you heat the fish in the oven while cooking your remaining rounds of flounder. It keeps it nice and hot and crunchy. The greens, the fish, the lemon, the cheese: It's a power combo. 

This recipe is really nice. I hope you get to make it soon!


Flounder Milanese
Serves 6
From "Cook Like a Pro"
By Ina Garten

6 flounder or sole fillets (1 3/4 lbs. total)
1 cup all-purpose flour
Kosher salt and freshly ground black pepper
2 extra large eggs
1 1/4 cup seasoned dry bread crumbs, such as Progresso
Unsalted butter
Good olive oil
6 ounces arugula or mixed salad greens for six
Lemon Vinaigrette (recipe follows)
2 Tbsp. drained capers
Freshly grated Italian Parmesan cheese, lemon juice and fleur de sel for serving

Lemon Viniagrette
Makes 3/4 cup
1/4 cup freshly squeezed lemon juice
1/2 cup good olive oil
Kosher salt and freshly ground black pepper

In a small bowl or measuring cup, whisk together the lemon juice, olive oil, 1 tsp. salt and 1/2 tsp. pepper.

Preheat the oven to 250 degrees Fahrenheit.


Dry the fish on both sides with paper towels. Combine the flour, 2 tsp. salt, and 2 tsp. pepper on a dinner plate. In a low shallow bowl, whisk the eggs with 1 Tbsp. water. Put the bread crumbs on another plate. Dredge the fish on both sides in the seasoned flour and dust off the excess. Dip both sides into the egg mixture, and finally, dredge both sides in the bread crumbs. 


Heat 1 Tbsp. butter and 1 Tbsp. olive oil in a large (12-inch) saute pan and cook 2 fillets at a time over medium to medium-high heat for 2 to 3 minutes on each side, until cooked through. Transfer the fish in one layer to the sheet pan in the oven. Add more butter and oil and cook the rest of the fillets, transferring them to the sheet pan as they're done. Toss the arugula with enough lemon vinaigrette to moisten. Place one fillet on each plate and pile the arugula salad on top. Heat the capers in the saute pan for 30 seconds and sprinkle over the fish and salad. Sprinkle with grated Parmesan, a squeeze of lemon juice and the fleur de sel. Serve hot. 


Friday, June 5, 2020

Greek pasta salad

I feel like the summer calls for a go-to pasta salad. So here is one that is inspired by Greek flavs. This is perfect to make for a BBQ or to go as a side with your fam's din. I also eat my Greek Pasta Salad for lunch. 

It really comes together quickly, and I always have all of the ingredients on hand. 

Short pasta works best to match the sizes of your chopped veg. I used pipette, which are so super cute. I love their curves!

You can also make this ahead. It holds up pretty well in the fridge.

Here, I served it with my turkey burgers. For that recipe, please click here.


Greek Pasta Salad
Makes 6 side dish servings

1/2 pound short pasta such as pipette, shells or elbows
1/2 red pepper, chopped
1/2 green pepper, chopped
1/2 cup quartered grape tomatoes
1/2 cup chopped cucumber
1 can chickpeas, drained and rinsed

Greek dressing
Zest and juice of 1 lemon
1/2 tsp. garlic powder
1/2 tsp. dried oregano
1/4 red wine vinegar
1/2 cup extra virgin olive oil
Salt and pepper to taste
To serve: Crumbled feta

Bring a pot of water to a boil. Salt the water. Cook pasta according to instructions on the pasta box. Drain pasta in a colander and run under cool water for a minute. Set aside to cool.


In a liquid measuring cup, add zest and just of lemon, garlic powder, oregano salt and pepper and red wine. Whisk in olive oil to emulsify. Set aside. 


In a large serving bowl, add red and green peppers, grape tomatoes, cucumber, chickpeas and pasta. Pour dressing over the veggies and pasta. Gently mix with a big spoon. Set aside to marinate for an hour. Serve at room temp or chilled with crumbled feta.

Wednesday, June 3, 2020

The Freshness: Strawberry Ice Cream

Nothing highlights the freshness of in-season fruit like a homemade frozen treat. This Fresh Strawberry Ice Cream recipe from Betty Crocker will rock your world. Totally.


If making ice cream trips you out, here are my tips, my friend. You got this!

1. Chill a glass bowl in the freezer well before you are even going to jump into the ice cream process. Like put it in the freezer the day before.

2. Let the cooked mixture cool in the fridge beyond the recommended 2-3 hours. I usually go at least 4. You need to allot a good amount of time to ice-cream making. Patience, peeps!

3. Be prepared to put the finished product into the freezer for many hours after you churn it in your ice cream device of choice. The ice cream is usually very soft when it is first made. (Although, this recipe so good you'll probably want to sneak some bites straight away.)

4. When adding the final ingredients into the cooled milk mixture, work fast.

5. Finally, I do strongly recommend to use ice cream recipes that require cooking and egg yolks. I made some imposter one-step strawberry ice cream recipe last summer and it was so blah. Like no texture or taste at all. No bueno.

But this sweet stuff below is super bueno!


Fresh Strawberry Ice Cream
From Betty Crocker Cookbook
Makes 1 quart

3 egg yolks, slightly beaten
1 cup sugar, divided into two 1/2 cups 
1 cup milk
1/4 tsp. salt
2 cups whipping cream
1 tsp. vanilla extract
1 pint (2 cups) strawberries


1. In a 2-quart saucepan, stir egg yolks, 1/2 cup of sugar, milk and salt until well mixed. Cook over medium heat just until mixture comes to a boil, stirring constantly (do not allow mixture to continue to boil or it will curdle.) Immediately remove from heat. 

2. Pour milk mixture into chilled bowl. Refrigerate uncovered 2 to 3 hours, stirring occasionally, until room temperature. At this point, mixture can be refrigerated up to 24 hours before completing recipe if desired.


3. Mash strawberries with the remaining 1/2 cup of sugar with a potato masher or process in food processor until slightly chunky (not pureed). 

4. Stir whipping cream and vanilla into milk mixture. Stir strawberries into milk mixture. Stir in a few drops of red food color if desired. Pour into 1-quart ice cream freezer and freeze according to manufacturer's directions.


Veggie Fried Rice: It's So Easy

In my little family of three, leftovers happen. So when I have a bit of cooked rice on hand, I love to whip up this Veggie Fried Rice dish as a nice lunch or light dinner. I pretty much have all the ingredients at all times - the prepper that I am. And this is so versatile. You can seriously swap out veggies with what you have or love. 

I like to make this in a large pan since a lot is happening all in the same pan. This recipe is easy to divide or double. The basic formula is to use 1 egg per 1 cup of rice. I listed the recipe with how I do it for 2 cups of rice.

Enjoy!


Veggie Fried Rice
Makes 2 to 3 servings

1 Tbsp. canola oil
2 cups leftover plain rice
2 eggs, lightly whisked
1 small onion, chopped
1 small carrot, chopped
1/2 red pepper, chopped
2 garlic cloves, minced
2 cups broccoli florets, cut into small florets
1/4 cup frozen peas, defrosted
1/4 tsp. ground ginger
3 Tbsp. low sodium soy sauce
2 scallions, minced
Ground black pepper to taste
To serve: Sirachi and more soy sauce (optional)
Please note: Other veggies that work well in this are any color bell pepper, frozen corn, zucchini. 

In a large pan over high heat, add oil. Once hot, add onion, carrot and peppers. Cook and stir frequently for about 4-5 minutes. Add garlic. Cook for a minute. 

Add broccoli, cook for 5 minutes, stirring frequently. Season mixture with ginger and black pepper. Push veggies over to one side of pan. 

Add eggs to hot pan. Stirring with a spatula or a spoon to cook through. Once cooked mix into veggies. Season with soy sauce. Stir again. Add rice and peas. Stir into veggies and eggs. Place lid over mixture and lower heat to medium low so that all ingredients cook through and flavors meld together. About 5 minutes.

To serve: Top with scallions. Drizzle more soy sauce and/or sirachi, if desired.