Showing posts with label dessert. Show all posts

Thursday, March 17, 2022

Molten Chocolate Cakes

 If you are looking for a dessert to celebrate a special day - anniversary, bday, promotion, awesome report card - these Molten Chocolate Cakes are just for you. But if you want them on any ordinary day, they totally work for that, too!!!


You do need baking ramekins for this dish. I only have 4, but the recipe calls for six. I was able to bake the remaining batter a day later in my clean ramekins, and they turned out just as awesome as on day one. The batter did firm up quite a bit, but that was the only change. Side note: I must order more ramekins!

These little cakes would go perfectly with ice cream or whipped cream. We just sprinkled some powdered sugar on top. My son absolutely loved them. 

Handle with care when flipping them from the ramekin to the plate. I used a spatula to get under the ramekins and used kitchen mitts as the ramekins are hot when plating.

Check out my son Evan digging in! What a treat!


Molten Chocolate Cakes

From Betty Crocker's Cookbook

Serves 6

Unsweetened baking cocoa

6 oz. semisweet baking chocolate, chopped

1/2 cup plus 2 Tbsp. butter

3 whole eggs

3 egg yolks

1 1/2 cups powdered sugar

1/2 cup all-purpose flour

1. Heat oven to 450 degrees F. Grease bottoms and sides of 6 (6-ounce) custard cups with shortening; dust with cocoa.


2. In a 2-quart saucepan, melt chocolate and butter over low heat, stirring frequently. Cool slightly.


3. In large bowl, beat whole eggs and egg yolks with wire whisk or hand beater until well blended. Beat in 1 1/2 cups powdered sugar. Beat in melted chocolate mixture and flour. Divide batter evenly among custard cups. Place cups on cookie sheet with sides.


4. Bake 12 to 14 minutes or until sides are set and centers are still soft (tops will be puffed and cracked.) Let stand about 3 minutes. Run small knife or metal spatula around side of each cake to loosen. Immediately place heatproof serving plates upside down onto each cup, turn plate and cup over and remove cup. Sprinkle with additional powdered sugar. Serve warm.


Make ahead directions: Batter can be made up to 24 hours ahead. After pouring batter into custard cups, cover with plastic wrap and refrigerate up to 24 hours. You may need to bake the cakes 1 to 2 minutes longer.


Thursday, January 20, 2022

White Chocolate Chip Cranberry Cookies


White chocolate and dried cranberries are a culinary union that will withstand the test of the time. Literal taste perfection.

These Soft White Chocolate Chip Cranberry Cookies from Sally's Baking Addiction are a delightful addition to your dessert table for any fall or winter celebration. They have a browned butter taste that will send you over the moon. The tartness of the cranberries and the smoothness of the white chocolate chips are such a fab combo. I will definitely make these again.

I used dark brown sugar for these. Be sure to not overcrowd your baking sheets. I did not use extra chips or cranberries for garnish.


Soft White Chocolate Chip Cranberry Cookies

From sallysbakingaddiction.com

3/4 cup (1.5 sticks to 170gunsalted butter, softened to room temperature

3/4 cup (150g) packed light or dark brown sugar (I use dark)

1/4 cup (50ggranulated sugar

1 large egg, at room temperature

2 teaspoons pure vanilla extract

2 cups (250gall-purpose flour (spoon & leveled)

2 teaspoons cornstarch (cornflour)

1 teaspoon baking soda

1/2 teaspoon salt

3/4 cup (135gwhite chocolate chips, plus a few extra for garnish

1 cup (140gdried cranberries, plus a few extra for garnish

1. In a large bowl using a hand-held mixer or stand mixer with paddle attachment, beat the butter, brown sugar, and granulated sugar together on medium speed until combined and creamy, about 2 minutes. Beat in the egg and vanilla. Scrape down the sides and bottom of the bowl and beat again as needed to combine.

2. In a separate bowl, whisk the flour, cornstarch, baking soda and salt together. On low speed, slowly mix into the wet ingredients until combined. The cookie dough will be soft and thick. Add the white chocolate chips and dried cranberries and beat on low speed until combined. Cover dough tightly and chill in the refrigerator for at least 1 hour and up to 3-4 days. Chilling is imperative to prevent the cookies from over-spreading.


3. Remove cookie dough from the refrigerator. If the cookie dough chilled longer than 3-4 hours, let it sit at room temperature for about 30 minutes. This makes the firm cookie dough easier to scoop and roll.

4. Preheat oven to 350°F (177°C). Line large baking sheets with parchment paper or silicone baking mats. Set aside.

5. As the oven preheats, scoop and roll dough, about 1.5 Tablespoons of dough each, into balls. The dough may be slightly crumbly, but it will come together as you work it with your hands. Arrange dough balls 3 inches apart on the prepared baking sheets.

6. Bake for 11-12 minutes or until lightly browned around the edges. The centers will still look soft. If cookies didn’t spread much, lightly bang the baking sheets on the counter a couple times while the cookies are still warm. They’ll stretch and deflate.

7. Allow cookies to cool on the baking sheet for 5 minutes. During this time, press extra white chocolate chips and dried cranberries into the warm tops. This is optional and only for looks. After 5 minutes, transfer to a wire rack to cool completely.

Cookies stay fresh covered at room temperature for up to 1 week.

Please note: The Jersey Girl did not use extra cranberries or chips for garnish. She did use dark brown sugar. 

Thursday, July 1, 2021

Lovely Lemon Cookies

Do you want something sweet and citrusy but not too heavy? These Glazed Lemon Cookies are just what you asked for!

All ages love these circles of sweetness. They are soft and light. A kiss of lemon

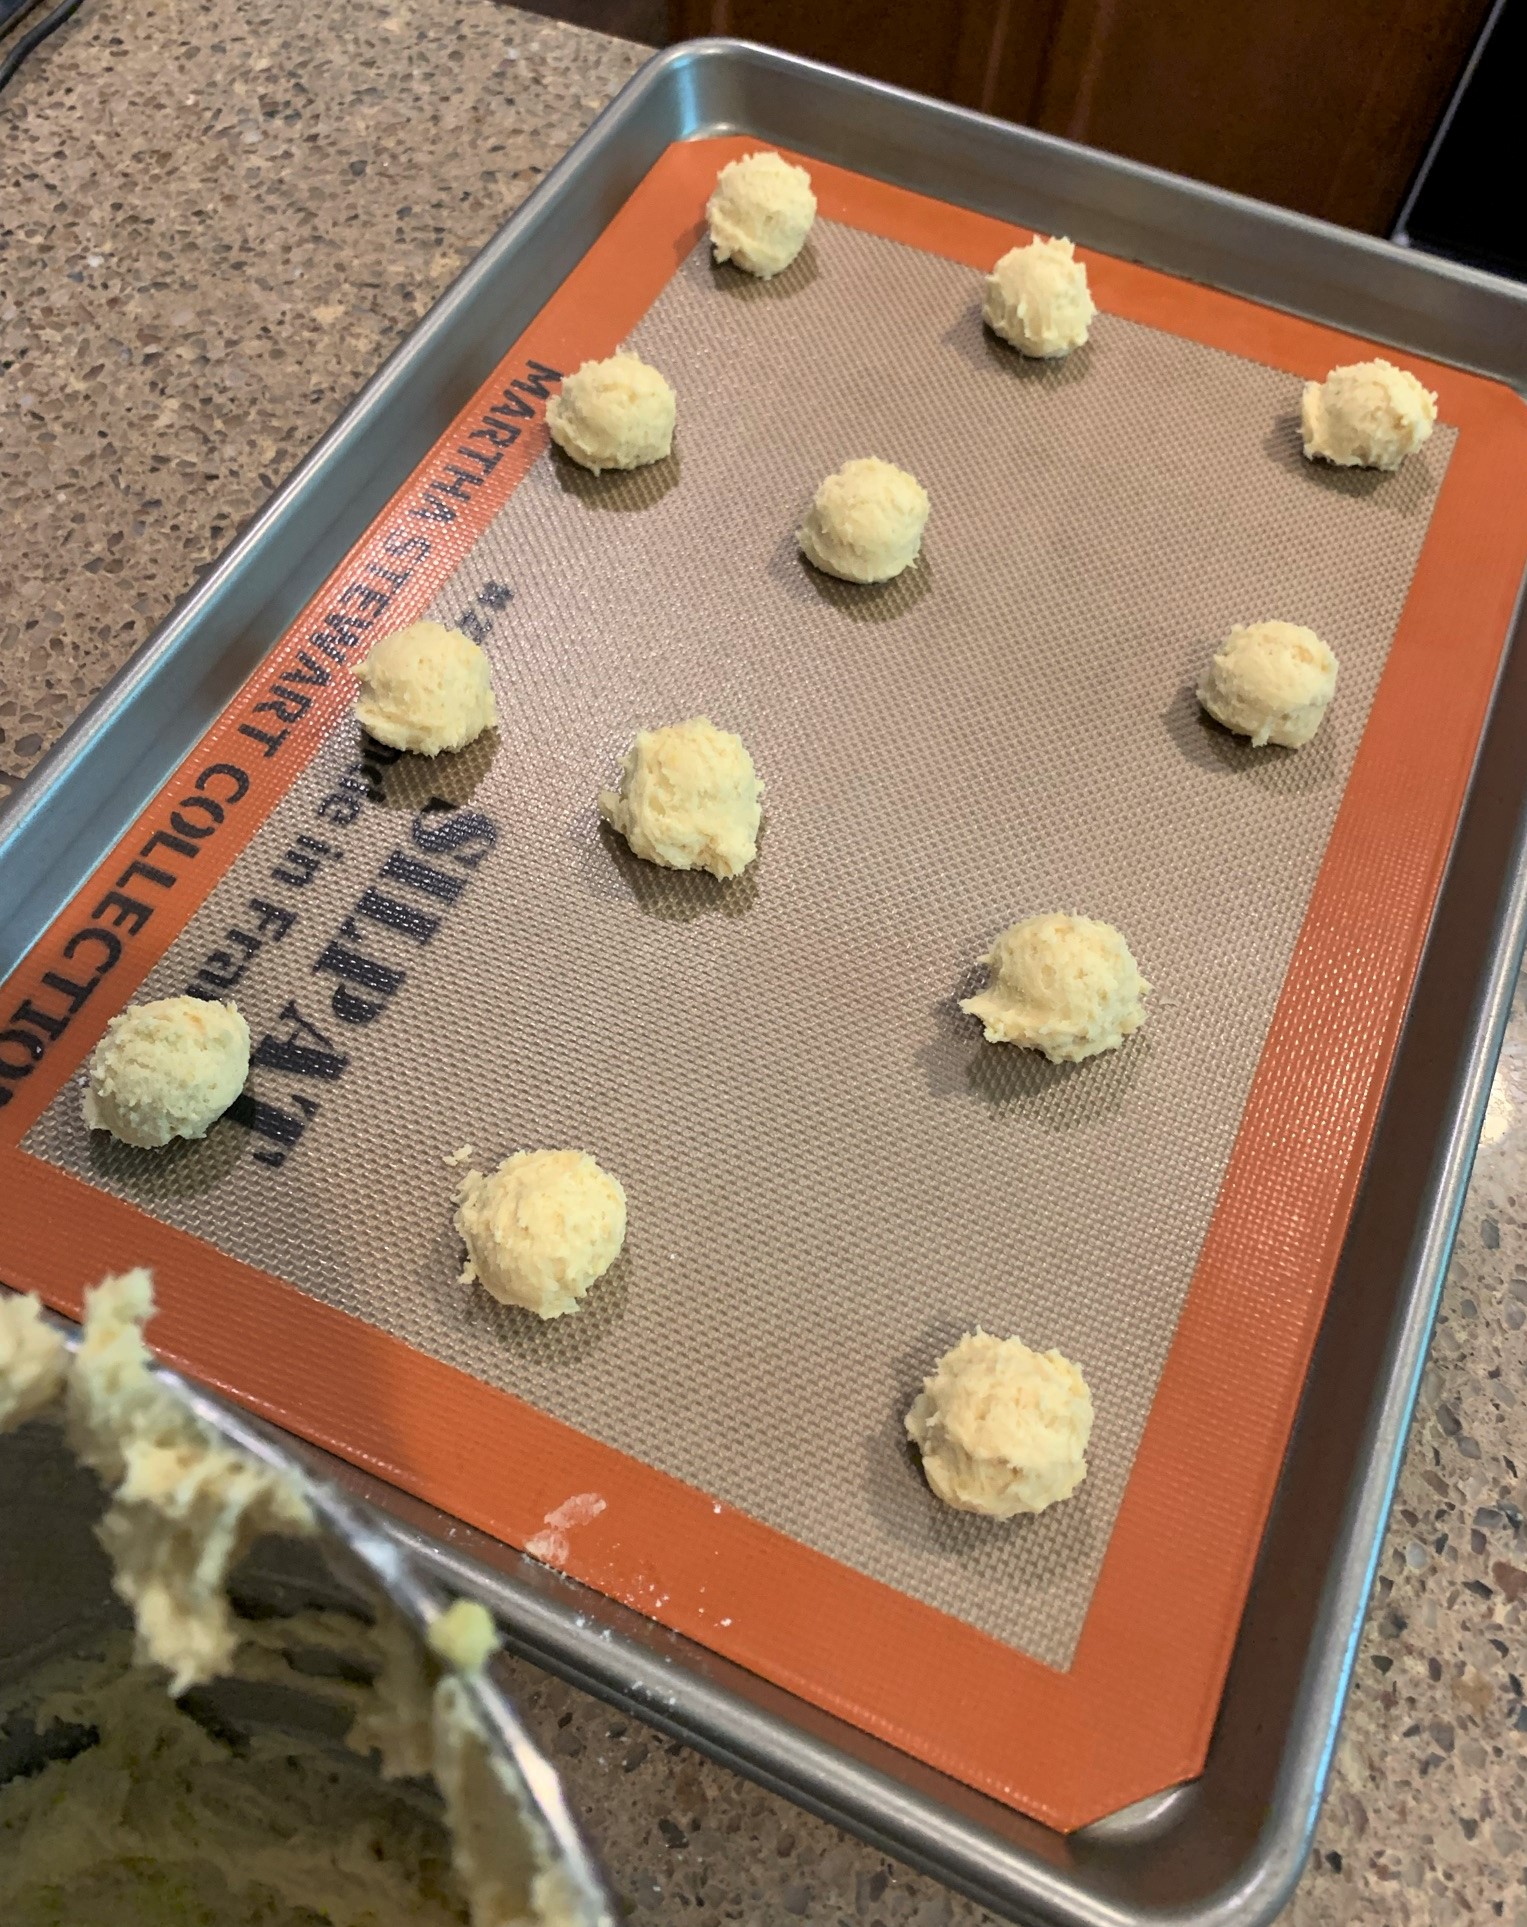
This is a great recipe to make with your kids. Using a cookie scooper helps shape the dough into perfect shaped balls. I recommend using Silpat mats on your baking sheets for best results. You can also line your baking pans with parchment if you do not have Silpats.

If you have a squeeze bottle, it is perfect for drizzling the glaze over the cookies. But the plastic sandwich bag with a snipped corner works just fine, too!


Glazed Lemon Cookies

From "Cooking Classy"

Makes about 30-36 cookies

Ingredients

2 cups + 2 Tbsp. all-purpose flour (scoop and level to measure)

1 Tbsp. cornstarch

1/2 tsp. baking soda

1/2 tsp. salt

3/4 cup butter, softened

1 1/4 cups granulated sugar

Zest of 2 lemons (About 1 1/2 Tbsp.)

1 large egg

1 large egg yolk

2 Tbsp. fresh lemon juice

1 1/2 tsp. vanilla extract

Lemon Glaze

1 cup powdered sugar

1 1/2 - 2 Tbsp. fresh lemon juice

Instructions:

Preheat oven to 350 degrees. In a mixing bowl, whisk together flour, cornstarch, baking soda and salt. Set aside.

In the bowl of an electric stand mixer fit with the paddle attachment, whip together butter, sugar and lemon zest on medium-high speed until mixture is pale and fluffy, about 3 minutes.

Blend in egg, then egg yolk. Mix in lemon juice and vanilla extract. Slowly add in dry ingredients and mix until just combined.

Scoop dough out by the heaping tablespoonful, form into balls and drop onto silicone baking mat or parchment paper lined baking sheets. Bake in preheated oven 9 - 11 minutes.

Allow cookies to cool on baking sheet several minutes before transferring to a wire rack to cool.

For lemon glaze:

In a small mixing bowl, whisk together powdered sugar and enough lemon juice to reach a drizzable consistency.

Pour mixture into a resealable bag, seal bag and cut a small tip off one corner then drizzle glaze over cooking. Allow glaze to set at room temperature.

Store cookies in a single layer in an airtight container.


Sunday, August 2, 2020

Grammy's Chocolate Cookies

My son has an affinity for the old-timey soft chocolate cookies made by Archway that I find in the grocery store. They are pretty delish. 

But, I thought I could do better with a homemade variety. And I was totally correct. Grammy's Chocolate Cookies by Martha Stewart are soft, intense and chocolatey good. The flavor is so much deeper than those I buy at the grocery store.

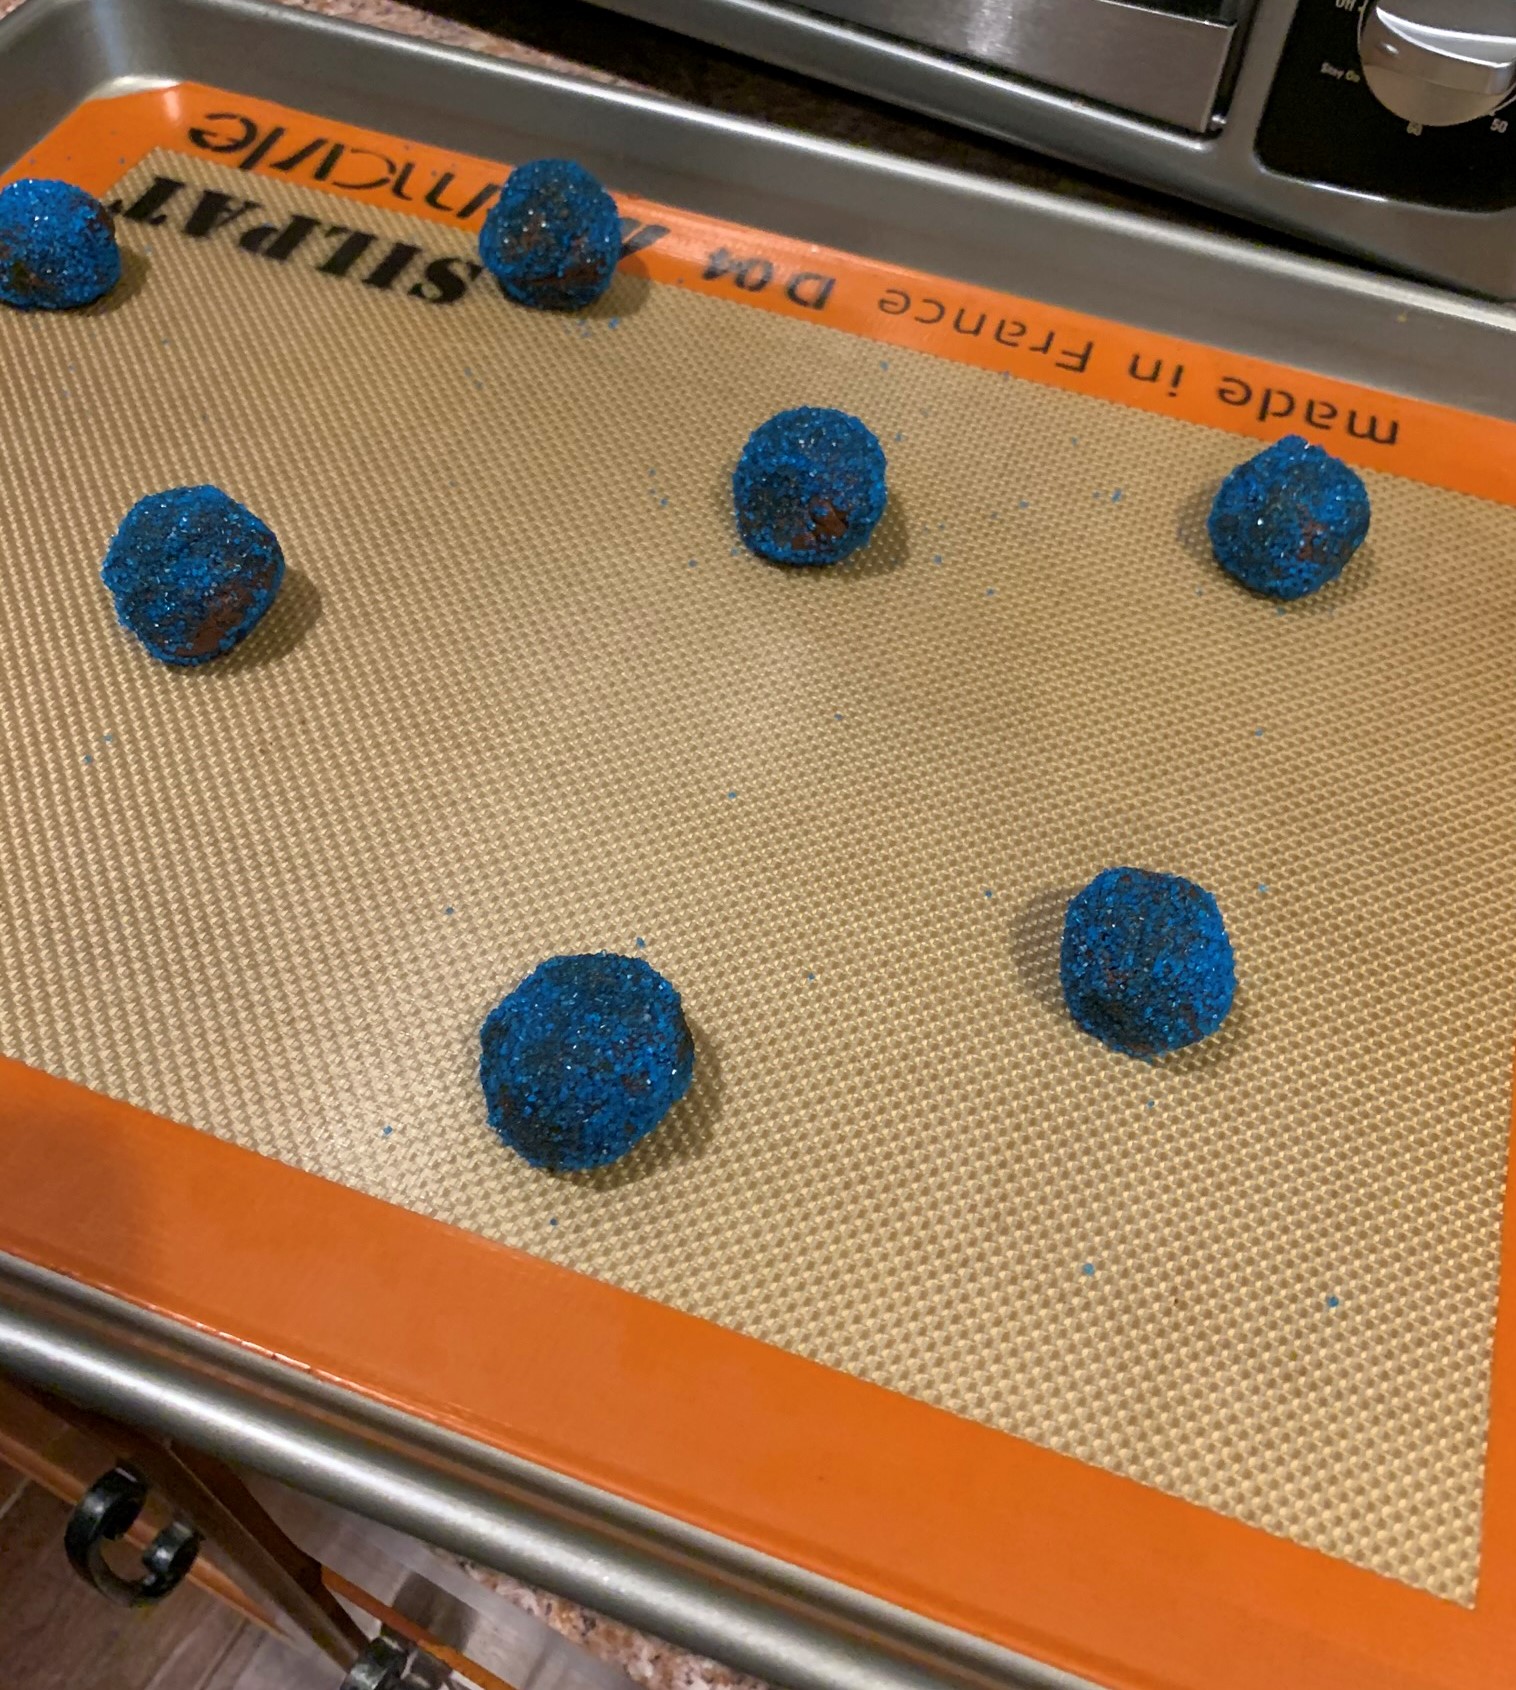
These use a lot of sanding sugar. Definitely plan for a cup, but I probably used even more. The recipe doesn't have a measurement for the sanding sugar. I would have a few bottles on standby. I made mine blue and red. I thought they were fun colors to celebrate the Phillies returning to play! 

Be sure to chill the dough, but expect it to be very soft. Rolling is a messy process but just go with it. I used a small cookie scoop so that my balls of dough were consistent in size. 

I only baked 8 at a time on each baking sheet. I thought they needed a lot of space to spread out.

I brought these cookies to a pool party, and they were definitely a hit. I feel like they would be amazing with a scoop of ice cream.


Grammy's Chocolate Cookies
Makes about 3 1/2 dozen
From "Martha Stewart's Cookies"
By Martha Stewart

2 cups plus 2 Tbsp. all purpose flour
3/4 cup unsweetened Dutch process cocoa powder
1 tsp. baking soda
1/2 tsp. salt
1 1/4 cups (2 1/2 sticks) unsalted butter, room temperature
2 cups granulated sugar
2 large eggs
2 tsp. pure vanilla extract
Sanding sugar, for rolling

Sift together flour, cocoa powder, baking soda and salt into a bowl.


In the bowl of an electric mixer fitted with the paddle attachment, beat butter and sugar on medium speed until light and fluffy, about 2 minutes. Add eggs and vanilla, and beat to combine. Reduce speed to low, and gradually add flour mixture; beat to combine. Form dough into a flattened disk, wrap with plastic wrap, and chill until firm, about 1 hour.


Preheat oven to 350 degrees Fahrenheit. Shape dough into 1 1/4-inch balls. Roll each ball into sanding sugar. Place on baking sheets lined with parchment paper, about 1 1/2 inches apart. Bake until set, 10 to 12 minutes, rotating halfway through. Transfer to a rack to cool for 5 minutes. Transfer cookies from baking sheet to wire rack. Cookies can be stored between layers of parchment in an airtight container at room temperature up to 1 week.


Tuesday, July 28, 2020

Celebration Cake: Yellow with Chocolate Icing


"A party without cake is just a meeting."

So says Julia Childs, which means this statement is 100 percent fact.

The fave cake in these parts is yellow with a fab chocolate frosting. It holds beauty and comfort. Here she is:


 I always rock out some rainbow sprinkles on this. My son used to call the bundt-style cake a doughnut cake when he was a toddler. So cute.

And here's my secret about this cake: It originates from a box of cake mix. Listen up, all y'all who think making cakes is hard work: The recipes that follow are from the Cake Mix Doctor aka Anne Byrne. This amazing lady teaches us home cooks how to gussy up a box of cake mix that will wow a crowd. And her frostings are always a homerun. 


Next time you have a celebration that needs something sweet and special, be sure to make this Basic Sour Cream Yellow Cake. There is nothing basic about it! I love how homemade and imperfect it looks, which makes it perfectly perfect in my book.


Basic Sour Cream Yellow Cake
From "The Cake Mix Doctor"
By Anne Byrn
Serves 16

Vegetable oil spray for misting the pan
Flour for dusting the pan
1 package (18.25 ounces) plain yellow cake mix
1 cup sour cream
1/3 cup vegetable oil, such as canola, corn, safflower, soybean or sunflower
1/4 cup water
1/4 cup sugar
4 large eggs
1 tsp. pure vanilla extract

Place a rack in the center of the oven and preheat the oven to 350 degrees Fahrenheit. Lightly mista 10-inch tube pan with vegetable oil spray, then dust with flour. Shake out the excess flour. Set the pan aside. 


Place the cake mix, sour cream, oil, water, sugar, eggs and vanilla in a large mixing bowl. Blend with an electric mixer on low speed for 1 minute. Stop the machine and scrape down the sides of the bowl with a rubber spatula. Increase the mixer speed to medium and beat 2 minutes more, scraping the sides down again if needed. The batter should look thick and smooth. Pour the batter into the prepared pan, smoothing it out with the rubber spatula. Place the pan in the oven.


Bake the cake until it is golden brown and springs back when lightly pressed with your finger, 50 to 55 minutes. Remove the pan from the oven and place it on a wire rack to cool for 20 minutes. Run a long, sharp knife around the edge of the cake and invert it onto a wire rack, then invert it again onto another rack so that the cake is right side up. Allow the cake to cool completely, 30 minutes more. Frost as desired.


Store the cake, unfrosted, covered in aluminum foil, at room temperature for up to 4 days or in the refrigerator for up to 1 week. 

Martha's Chocolate Icing
From "Chocolate from the Cake Mix Doctor"
By Anne Byrn
Makes 1 and 1/2 cups, enough to frost a bundt or tube cake, 24 cupcakes or a 13-by-9-inch cake

1 cup granulated sugar
5 Tbsp. butter
1/3 cup whole milk
1 cup semisweet chocolate chips


Place the sugar, butter and milk in a medium-size saucepan over medium-high heat. Stir until the mixture comes to a boil, 3-4 minutes. Still stirring, let the mixture boil until the sugar dissolves, 1 minute. Remove the pan from the heat.


Stir in the chocolate chips and continue to stir until the mixture is smooth and the chocolate has melted.

Spread the icing over the cooled cake or cupcakes of your choice.


Sunday, January 5, 2020

The Lowdown on Chocolate Chip Cookies

There are two types of people: Bakers and non-bakers. I am 150 percent totally a baker.

So, I bring to you with great joy the most fantastic recipe for classic chocolate chip cookies ever. Of course, it's from my girl Betty Crocker. Look how gorg:


Perfect color and texture!

Now, I was born and bred on the chocolate chip recipe right on the back of the Nestle's chocolate chips. And sometimes, the final result was awesome but more often than not, the cookies were flat, sticking to the pan and not to my level of perfection that I often reach when baking.

So, I declared in November the Nestle's recipe was officially dead to me, and it was time to move on. Afterall, I do have a reputation to protect.

I also did extensive research on how to produce desirable chocolate chip cookies. Because I go big or go home on topics of which I obsess. So it seems this fact is key: Bake one cookie sheet at a time. All of these years I was doing the top-bottom switcharoo. Of course, baking one sheet solo adds more minutes to the whole process, but I do try to bake when I'm free as a bird (ha).

Also at issue is the number of eggs. Nestle's calls for two; Betty calls for one. I use extra large eggs in baking and cooking and life, so I think that is one reason the Nestle's recipe doesn't work out for me.

The Betty Crocker cookies turned out crispy on the outside, chewy and delicious on the inside and the best part was they totally did not stick to the pan upon removal. Score!


Chocolate Chip Cookies
From "Betty Crocker's Cookbook"
Makes 4 dozen cookies

3/4 cup granulated sugar
3/4 cup packed brown sugar
1 cup unsalted butter, softened
1 tsp. vanilla
1 egg
2 1/4 cup all purpose flour
1 tsp. baking soda
1/2 tsp. salt
1 bag (12 ounces) semisweet or dark chocolate chips (2 cups)
1 cup coarsely chopped nuts, if desired

Heat oven to 375 degrees Fahrenheit. In large bowl, beat sugars, butter, vanilla and egg with electric mixer on medium speed, or mix with spoon, until well blended. Stir in flour, baking soda and salt (dough will be stiff). Stir in chocolate chips and nuts.

On ungreased cookie sheets, drop dough by rounded tablespoonfuls about 2 inches apart. For perfectly sized and shaped cookies, use a #70 cookie scoop.

Bake 8 to 10 minutes or until light brown (centers will be soft). Cool 1 to 2 minutes; remove from cookie sheets to cooling racks.