Thursday, December 3, 2020

Lobster Tail with Garlic Butter

 Lobster tails can seem super intimidating to cook at home, but they actually couldn't be easier.

I find lobster such a special dish, especially when going out to dinner. To me, it symbolizes elegance and decadence! It's so nice - and much more affordable - to know how to make them at home. 

The garlic butter is a must as well as a sprinkle of parsley right before serving.

I made baked potatoes to go with the lobster tails, but I think a risotto or a potato gratin would be a very wonderful side if you are really going fancy pants. 

You cook these under your broiler, so my advice to you is to keep a watchful eye on the oven once you put the lobster tails in. Broilers really vary from oven to oven. 


Garlic Butter Lobster Tails

(3-4 servings)

Ingredients

3-4 lobster tails

1 stick (1/2 cup) unsalted butter (If desired, you may serve with more butter!)

6 cloves garlic, minced

3 Tbsp. fresh flat leaf parsley, minced

1/2 tsp salt

Fresh black pepper to taste

Lemon wedges, to serve

Place oven rack on second tier from top of your oven. This is so that the lobster tails are not too close to the broiler.

Preheat the broiler to high.


Using cooking sheers, cut down the center of the lobster tail shell so that the lobster tail meat is exposed.  This takes some muscle. Place prepared lobster tails onto an ungreased baking sheet.

In a small saucepan, melt butter over medium high heat. Add garlic. Saute for a minute. Season with salt and pepper. 

Brush garlic butter mixture over lobster tails.

Place lobster tails on baking sheet under the broiler. Broil for 6 to 10 minutes. Watch closely! Your eyes will tell you when the lobster is done. Notice the shell is black and grey striped uncooked, but it turns a beautiful lobster pink when cooked. When the lobster meat is cooked, it appears opaque and white. I flip the baking sheet halfway through cooking. 

Plate each lobster tail and sprinkle with chopped parsley. Serve with lemon wedges and more melted butter if desired. 

Tuesday, December 1, 2020

Lean and Green Soup

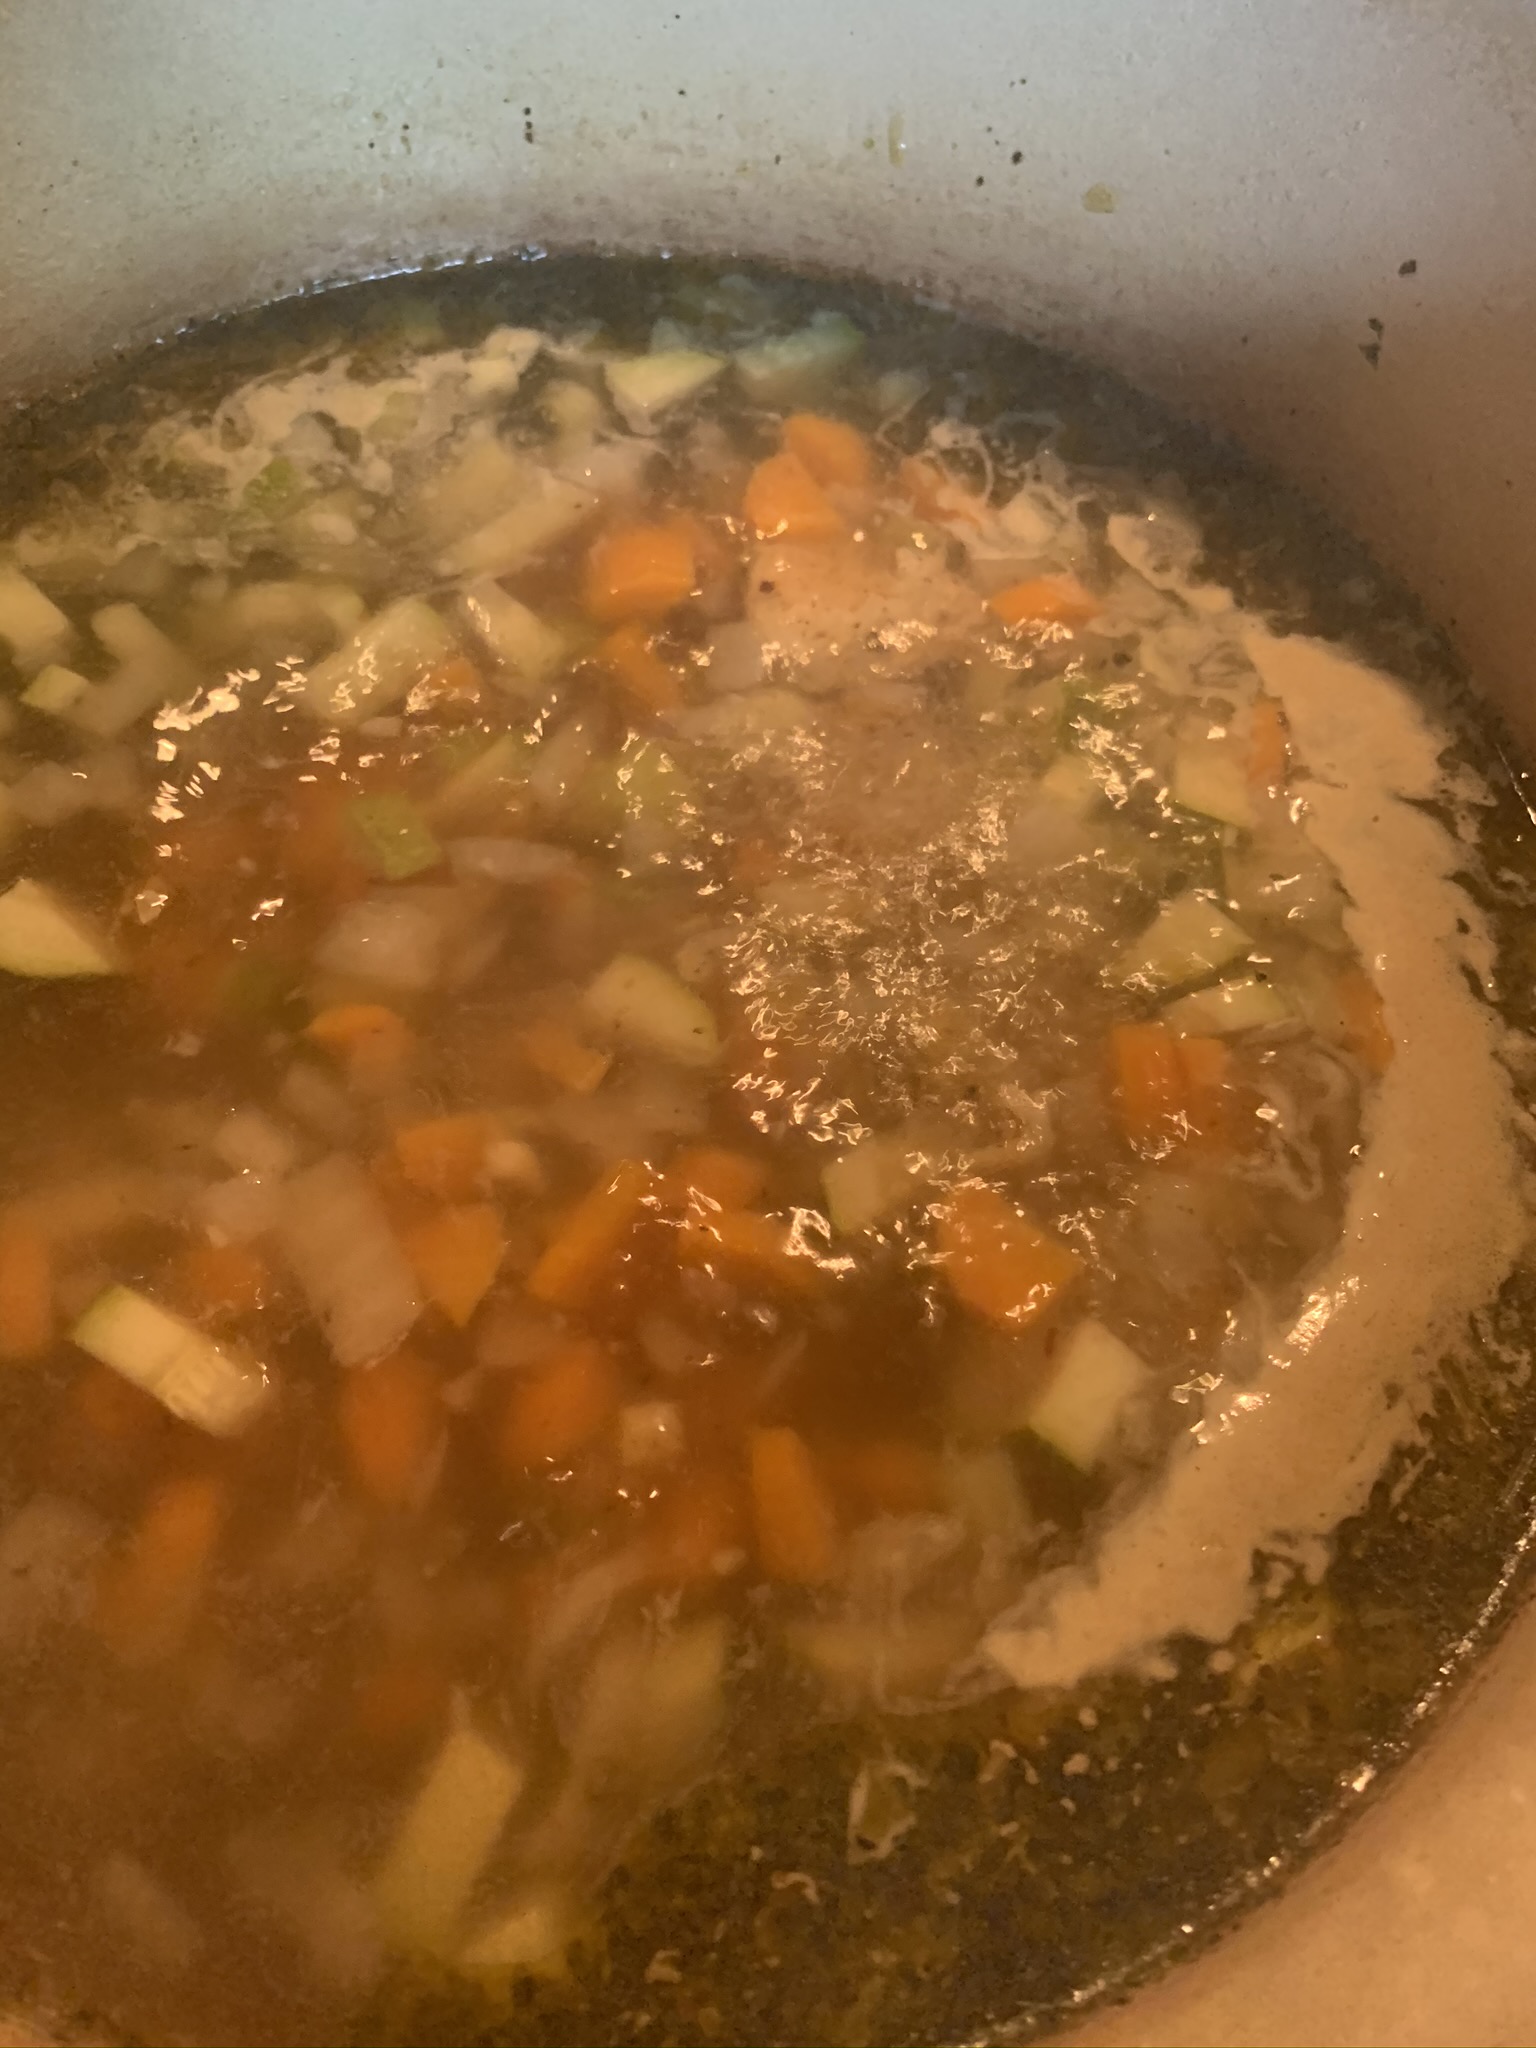
My Lean and Green Soup is currently one of my faves. I will definitely be making it throughout the holiday season as it is packed with fiber and vitamins. After indulgent holiday eating, I like to eat things that are nice and light. 

But I never skimp on taste, and this soup tastes awesome! It features zucchini and kale, plus your standard soup veg: carrots, celery and onions. I add a can of cannellini beans. You could totally go chickpea if that's what you have. 

I cook 1/2 cup of barley in a separate pot, and add the cooked barley to the big pot of soup. Barley is an awesome grain that adds fiber and cuts cholesterol. 

You can totally freeze this soup if you double the batch or want to it enjoy it later.


Lean and Green Soup

(Makes 6 servings)

2 Tbsp. extra virgin olive oil

1 medium onion, diced

1 large carrot, peeled and diced

1 celery stalked, diced

1 medium zucchini, diced

3 cloves garlic, minced

2 tsp. Italian seasoning

1 5 ounce container baby kale

1 19 ounce can Cento cannellini beans, drained and rinsed

4 cups vegetable or chicken stock

2 cups water for soup

4 cups water for barley

1/2 cup dried barley

Salt and pepper to taste

To serve: Grated parmesan cheese


In a medium pot, add 4 cups of water and barley. Bring to a boil. Cook for about 30 minutes until tender. Drain and set aside.

Meanwhile, in a large soup pot heat olive oil over medium heat. Add carrot, celery and onion. Saute for 5 to 8 minutes until onion is translucent. Add zucchini. Cook for about five more minutes. Add garlic, cook for a minute more. Season with salt and pepper and Italian seasoning. Stir.

Add vegetable or chicken stock and two cups of water. Bring to a boil. Simmer for 20 minutes minutes until veggies are cooked. Add cannellini beans and barley. Cook for five minutes more to heat through. 

Add kale. Season with salt and pepper. Stir and cook for about 2-3 minutes to wilt kale.

Serve with a sprinkle of parm. 


Wednesday, November 18, 2020

Tortellini Soup with Spinach and Tomatoes

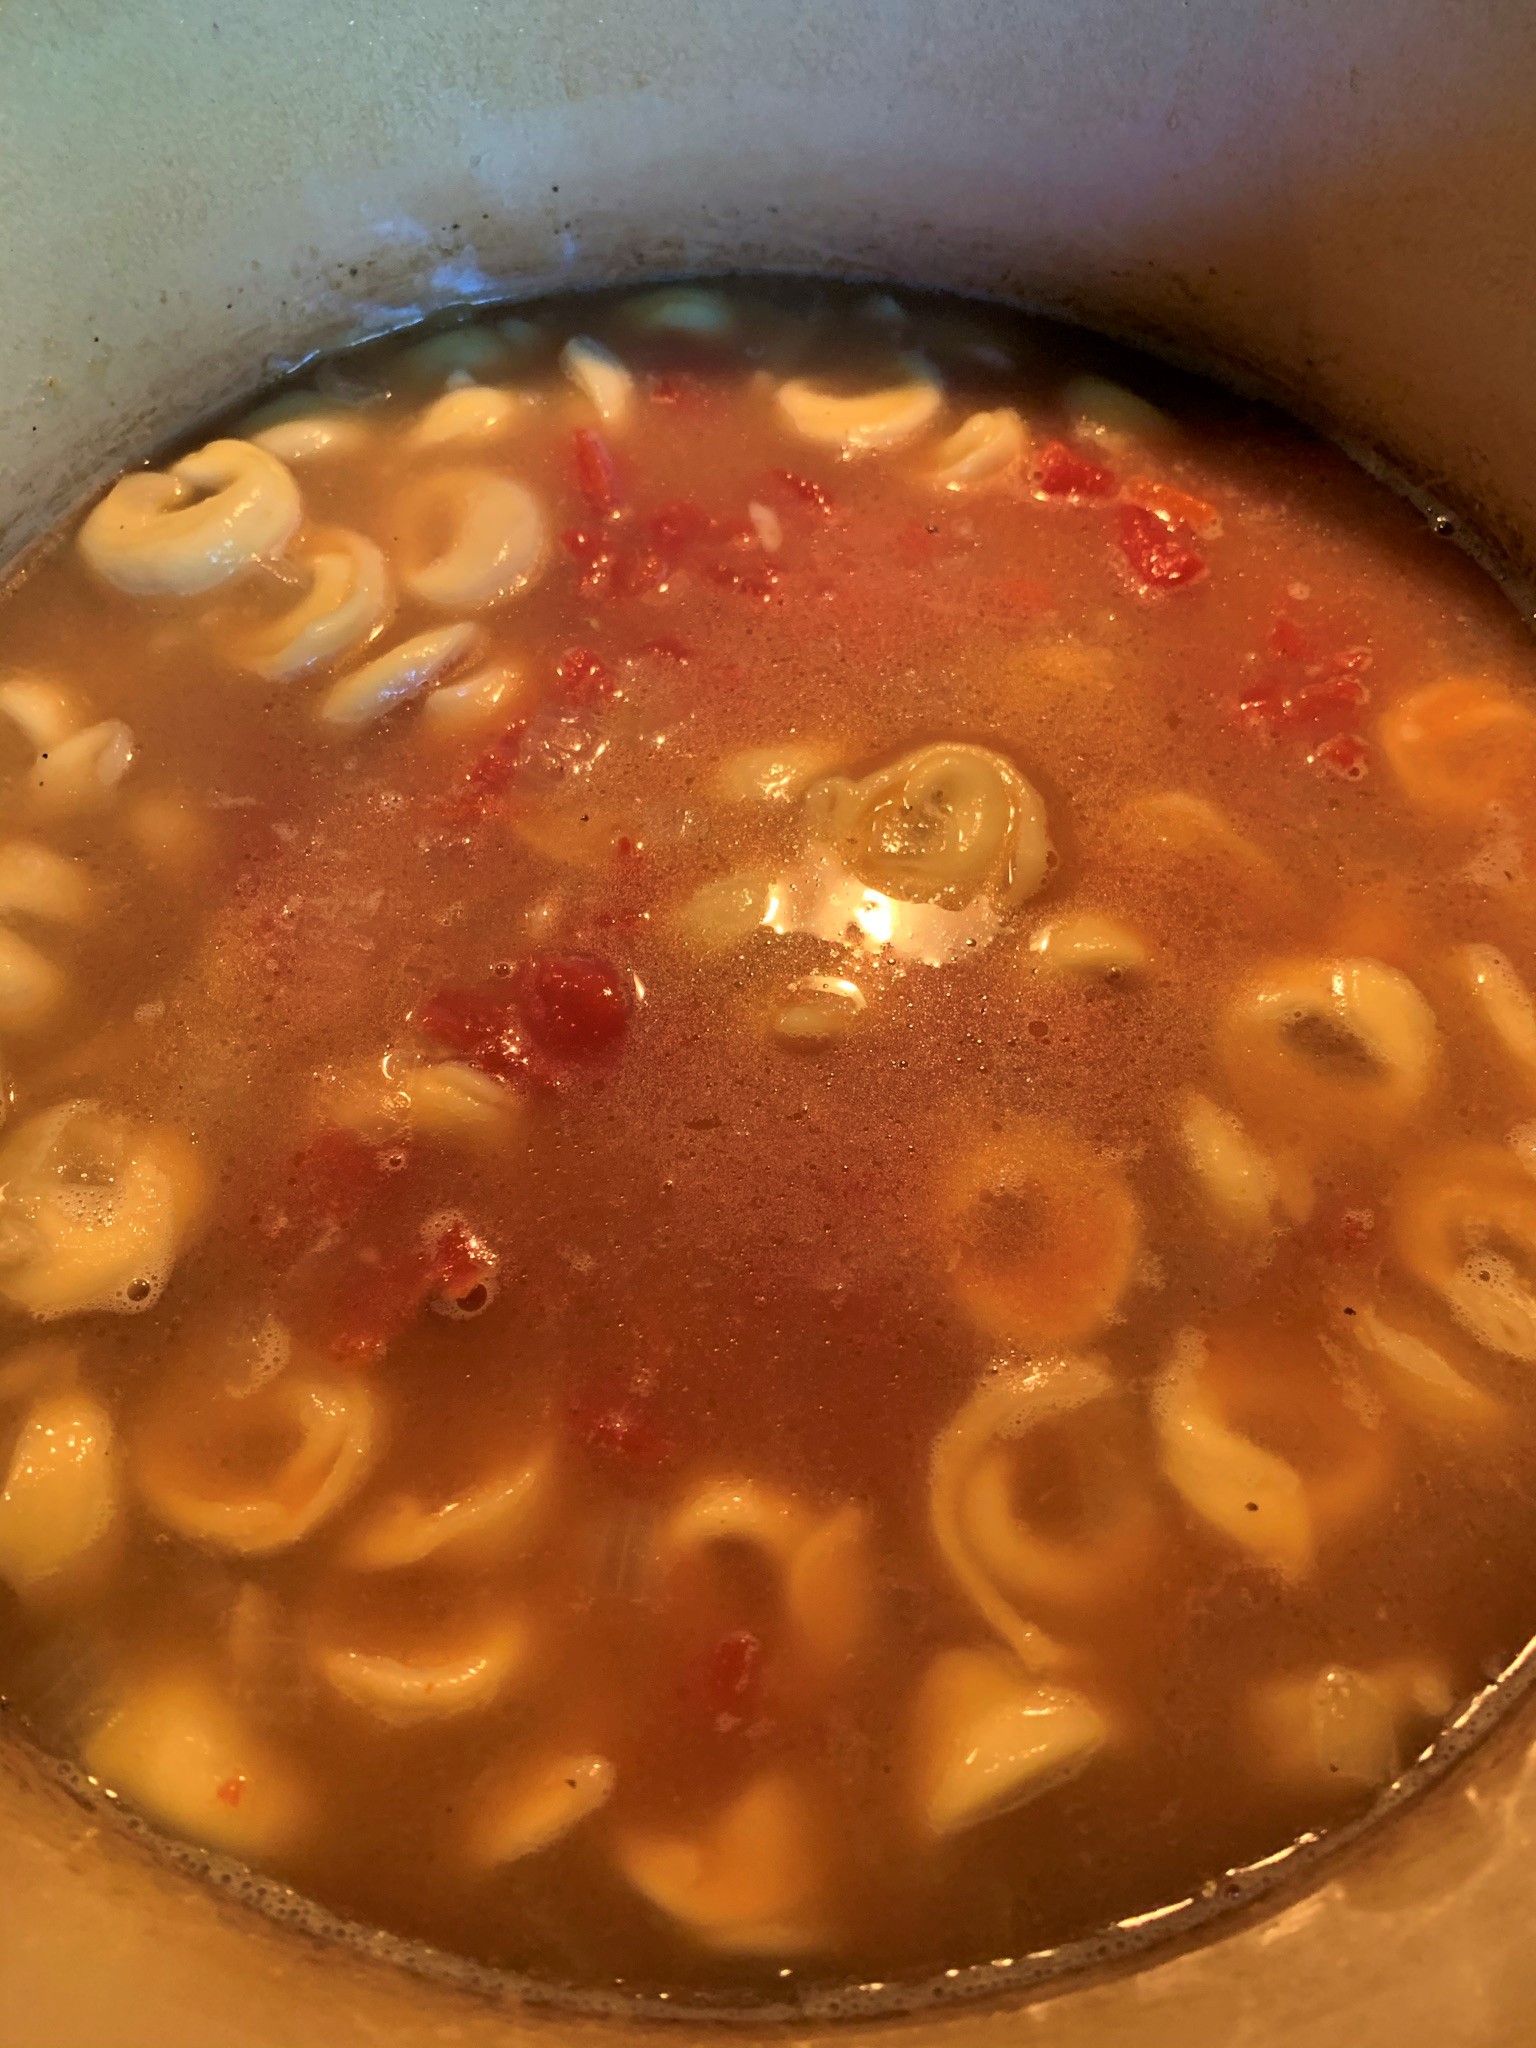
This easy pot of Tortellini Soup with Spinach and Tomatoes has very few ingredients, but is packed with flavor.

You can easily double the recipe for a bigger crowd. I have recently been under the weather, so I'm hoping this perks up my spirits and appetite.

I used chicken broth and bouillon because that's all I had, but you can totally make this all vegetarian. If I had veggie stock and bouillon on hand, I totally would have gone that route.


Tortellini Soup with Spinach and Tomatoes

(Makes 4 to 6 servings)

8 ounces frozen cheese tortellini

1 small onion, chopped

4 cloves garlic, chopped

1 tsp. Italian seasoning

4 cups low-salt chicken or vegetable broth

2 cups water

1 chicken bouillon cube or 1 vegetable bouillon cube

5 ounces baby spinach, chopped

1 (14.5 ounce) can low-salt chopped tomatoes

1 Tbsp. extra virgin olive oil

1 Tbsp. fresh basil, chiffonade

Salt and pepper to taste

A pinch of sugar

Serve with grated parmesan cheese

In a soup pot, heat olive oil over medium heat. Add onion. Cook, stirring occasionally for five minutes to soften. Add garlic. Cook a minute more.

Add broth, water, bouillon, pinch of sugar, Italian seasoning, salt and pepper to taste. Bring to a boil. 

Add tortellini. Cook for 20 minutes or follow the instructions on the package of tortellini.

Stir in tomatoes, cook for 5 minutes. Stir in spinach and basil. Stir to wilt, about 2 minutes. Let soup rest for a few minutes. Serve with a sprinkle of parmesan cheese. 


Sunday, November 15, 2020

Shrimp and Grits

Shrimp and Grits is one of my favorite dishes when we visit down South. Since travelling isn't really in the cards these days, I thought we could take a culinary trip right from my kitchen in Jersey.

I researched this dish from a few sources as it has so much history. I liked Bobby Deen's tip to use Canadian bacon in lieu of regular bacon since it is a leaner cut of pork. 

I like to season my shrimp with Old Bay for extra flavor. Top with fresh chopped scallions for a bit of brightness before serving. 


Shrimp and Cheesy Grits

Makes 4 servings

Shrimp:

1 lb. cleaned, peeled and deveined shrimp

1 Tbsp. Old Bay seasoning

1 Tbsp. olive oil

3 Canadian bacon slices, diced

1 onion, chopped

1 green bell pepper, chopped

3 cloves garlic, minced

1/2 cup white wine

1 cup seafood stock

1/4 cup 1/2 and 1/2

Salt and pepper to taste

Green tops of 3 scallions, chopped

In a large bowl, toss shrimp with Old Bay seasoning.

In a large pan over medium-high heat, add olive oil and diced Canadian bacon. Brown for a few minutes. Be careful because the bacon can pop and spatter.  Carefully remove to a small plate and set aside.

In the same pan, add bell pepper and onion. Cook for 5-8 minutes to soften vegetables. Add garlic. Cook another minute. Add stock, wine and salt and pepper to taste. Bring to a gentle simmer. Simmer for five minutes. Add 1/2 and 1/2. Stir until combined. 


Gently place seasoned shrimp into simmering broth. Stir and cook for about 5 minutes. Shrimp should be pink and opaque. Return Canadian bacon back to pan. Stir. Cover and set aside until ready to serve.


To serve: Spoon a mound of grits (recipe below) onto a dinner plate. Top with a scoop or two of shrimp and broth. Garnish with chopped scallions. 

Cheesy Grits

Makes 4 servings

1 cup Quaker Quick 5-minute Grits

4 cups water

Salt

1 cup shredded cheddar cheese

1/2 tsp. garlic powder

2 Tbsp. butter


In a medium pot with a lid, bring water to a boil. Add salt. Slowly add grits stirring while pouring them in to the boiling water. I like to stir with a whisk, but a wooden spoon works just fine. Cover with the lid. Reduce heat to low. Cook for 5-7 minutes. Stir occasionally during the cooking period. If a thicker consistency is desired, cook a few minutes more uncovered and continue to stir. Remove from heat. Stir in cheese and garlic powder. Once incorporated, stir in butter. Add a pinch of salt, if desired. 

Monday, November 2, 2020

Everything Bagel Dip is Everything

This is it. This is the dip YOU NEED for your fall get togethers. Everything Bagel Dip. It's four ingredients. It goes with chips, veggies, crackers, pita. Whatever your heart desires.

And you can make it ahead. Which always is a pro for yours truly, the ultimate prepper.


Healthy Everything Bagel Dip

From runninginaskirt.com

Makes 4 servings

8 ounces whipped cream cheese

1/2 cup plain Greek yogurt

1 tsp. onion powder

2 Tbsp. everything bagel seasoning, plus extra for topping

1. Carefully fold together all ingredients. Put in a bowl and top with extra everything bagel seasoning.

2. Serve with bagel chips, pretzels, carrots or other crisp veggies.


Sunday, November 1, 2020

Fish Taco Fiesta

Mexican night is always a hit at my house. Especially when it's taco bar style. My son was obsessed with fish tacos when he was 4/5. I decided to resurrect them recently, even though our taco night has been chicken based in more recent years. My son loved them, once again. Yay!

The chipotle crema I serve with fish tacos is absolutely a must. Chipotle in adobo seems to last forever stored in the fridge. You can find a can of them in your Mexican aisle at the grocery. The crema adds so much flavor to the fish. I love it!

Any white fish will do, but we usually go with cod. I serve with a variety of toppings, black beans and rice. My black bean recipe is below. It's so delish!


Fish tacos:

Marinade:

(From closetcooking.com)

2 lbs. cod filets

2 Tbsp. chili powder

2 tsp. cumin

Salt and pepper to taste

2 Tbsp. vegetable oil

Juice of 1-2 limes

(Makes 8 servings)

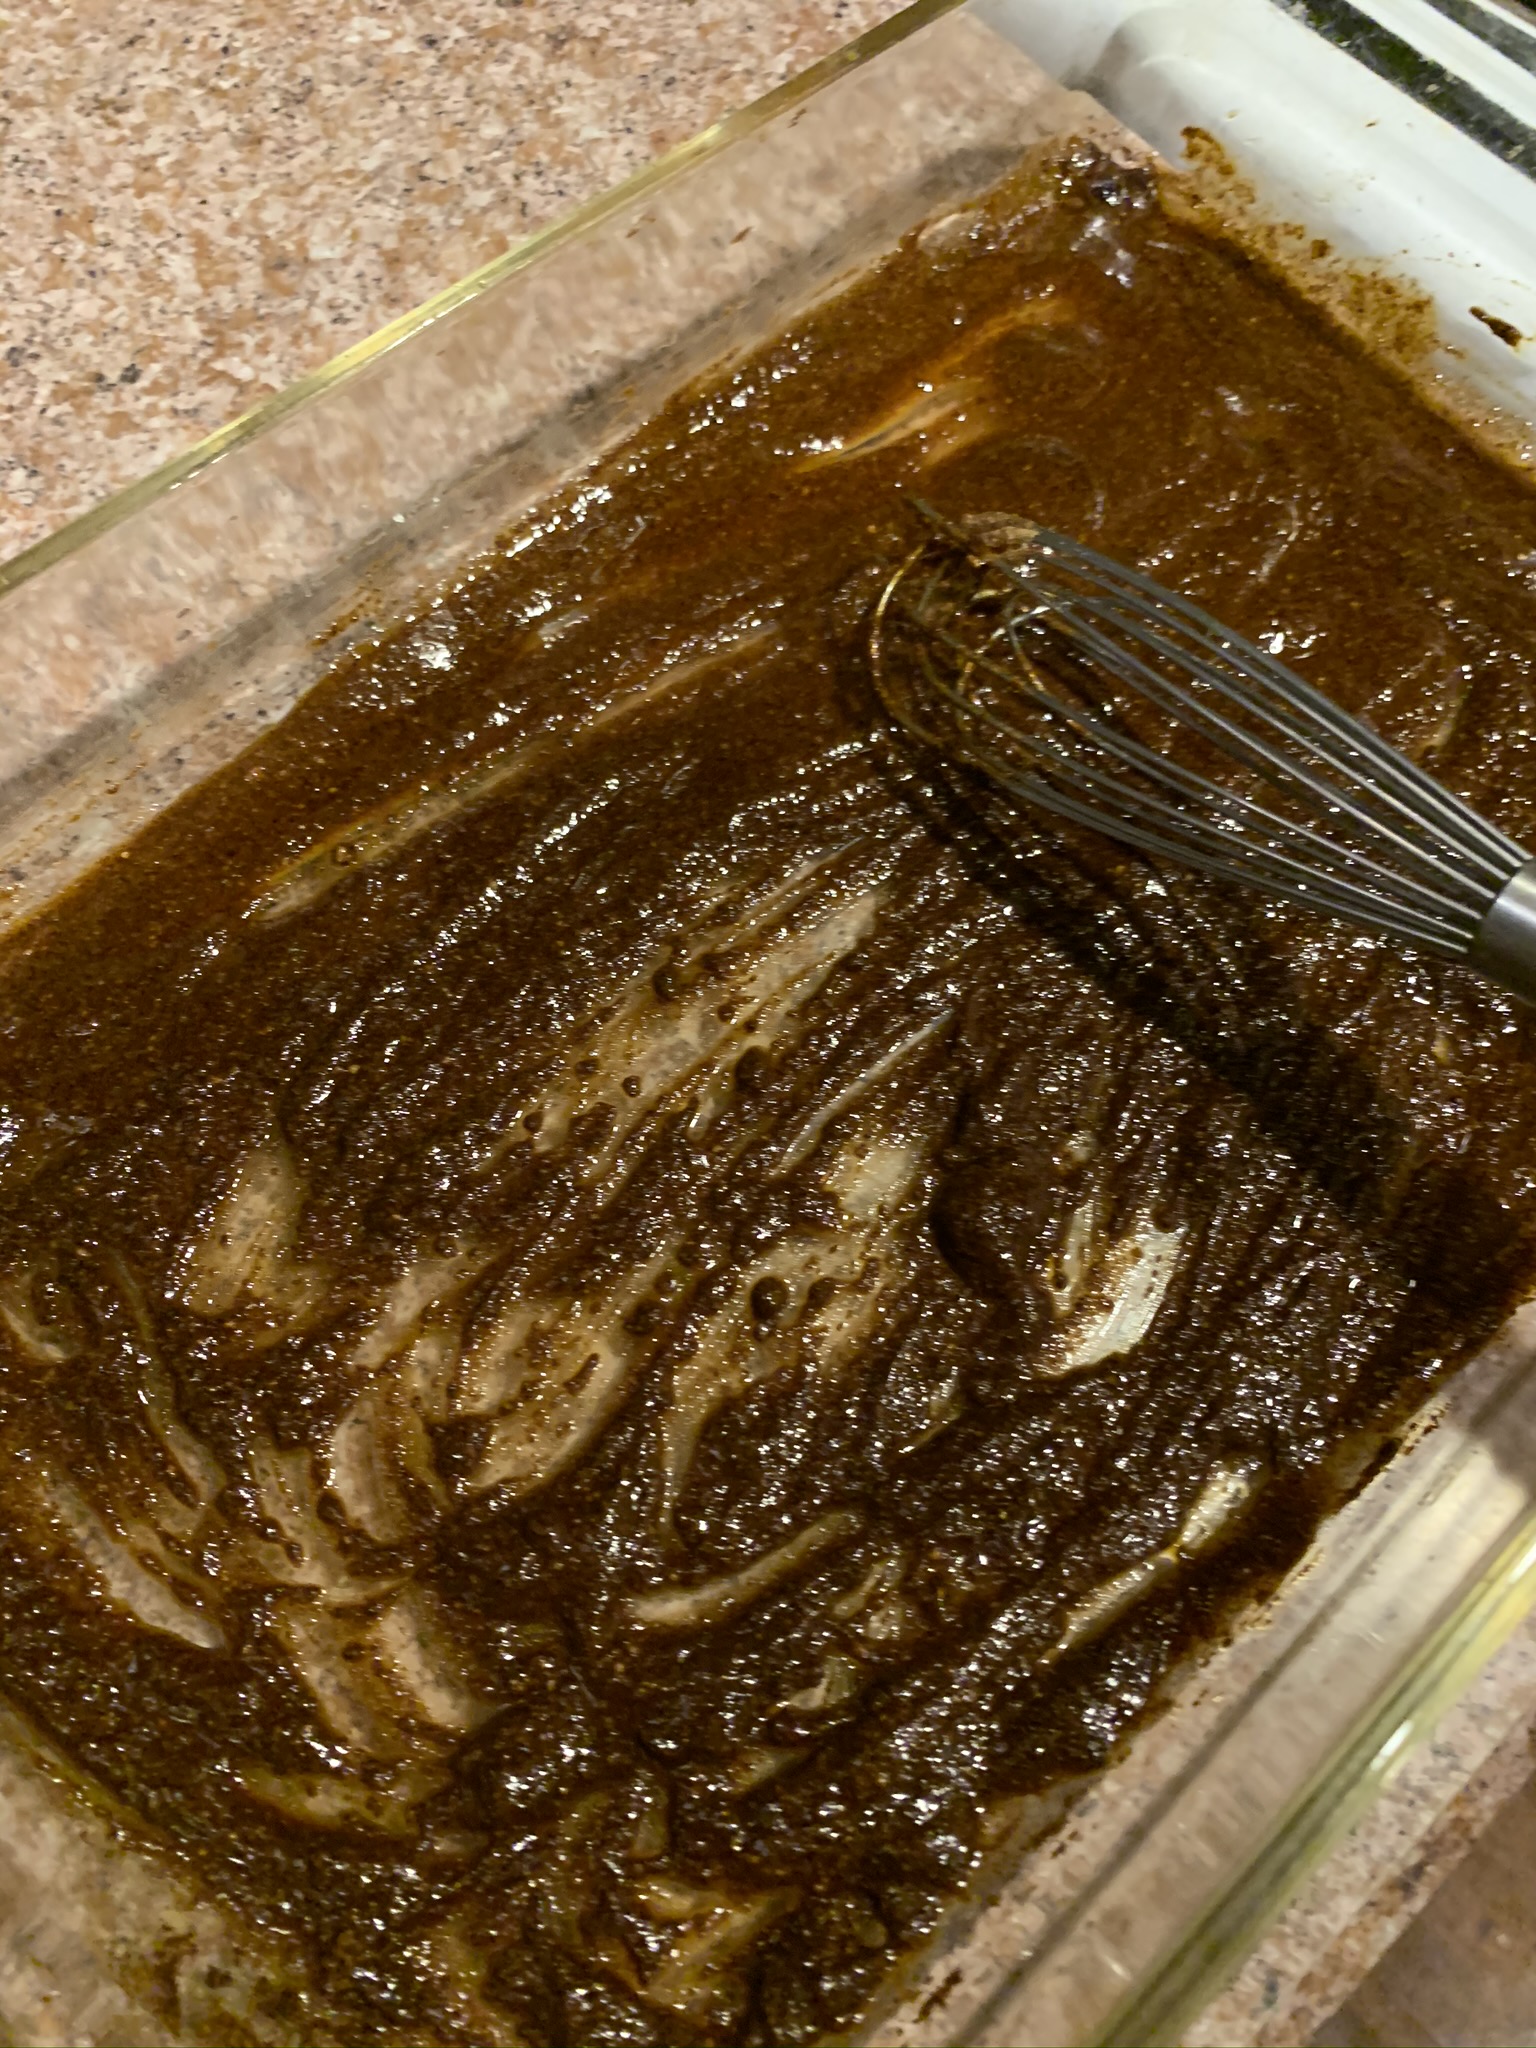
Whisk chili powder, cumin, salt, pepper, oil and lime juice together to make marinade. Rub all over cod filets. Marinate filets for 20 minutes.

Preheat grill pan over medium high heat. In batches, grill cod five minutes per side. Remove to a covered dish. Repeat until all of the cod is grilled. Using forks, flake the fish. 


Chipotle Crema:

(From mylifeasamrs.com)

2/3 cup 1/2 and 1/2

3 Tbsp. sour cream

1 chipotle in adobo sauce

Juice of 1/2 lime

Salt and pepper

Add all ingredients into a blender. Puree on high until well combined. Chill in refrigerator until ready to serve. 


To serve and assemble:

Tortilla shells, soft or hard

Prepared fish (recipe above)

Chipotle Crema (recipe above)

Pico de Gallo salsa

Shredded lettuce

Chopped jalapeno

Chopped scallions

Mexican blend shredded cheese

Lime wedges

Place 1/3 cup fish on top of a warmed taco shell. Top with 1 Tbsp. crema and your favorite toppings and salsas. Serve with rice and beans. For my black bean recipe, see below.


Black Beans
1 1 lb., 13 oz. can of Goya black beans, drained and rinsed in a colander
1 Tbsp. olive oil
1 jalapeno, seeded and chopped
4 cloves garlic, chopped
1/2 red onion, chopped
3 Tbsp. cilantro, chopped
1 tsp. ground cumin
2 tsp. hot pepper sauce
Salt and pepper to taste
Juice of 1 lime, optional

In a pan over medium heat, add oil. Once oil is heated, add jalapeno, garlic and onion. Saute for about 4 to 5 minutes. Add beans, cumin, hot pepper sauce and salt and pepper. Cook for about five more minutes. Add cilantro and lime juice. Cook for another minute.


Saturday, October 24, 2020

Glorious Pumpkin Muffins

Sometimes, a dish astounds me. Like, I can't even believe for one second that I made something that tastes so fantastic.

That was my reaction to these Pumpkin Muffins with Brown Sugar Streusel. They are an absolute MUST for your fall baking.

I found the recipe thanks to Pinterest. It's from a great site called Dinner at the Zoo.

I followed the recipe very accurately, but I did bake them exactly three minutes longer than the recipe called for. When I did the toothpick test, it was obvi they were not fully cooked. Three more minutes did the trick. A large cookie dough scooper works perfectly to distribute the batter into each muffin tin. I opted to line the muffin tin with paper liners rather than using cooking spray. The muffins came out nice and easy.

I let the muffins cool for a good hour or so before finishing with the glaze.

These treats taste like they came from the fanciest of posh bakeries. But YOU can make them! Yay!


Pumpkin Muffins with Brown Sugar Streusel

From dinneratthezoo.com

Makes 12 muffins

Ingredients

For the muffins:

2 eggs

1 cup granulated sugar

1 cup pumpkin puree

3/4 cup vegetable oil

1 1/2 cups all purpose flour

1 tsp. baking soda

1/2 tsp. baking powder

1 1/2 tsp. pumpkin pie spice

1/2 tsp. vanilla extract

1/4 tsp. salt

Cooking spray


For the streusel:

1 cup all purpose flour

1/2 cup brown sugar

1/4 tsp. pumpkin pie spice

1/2 cup butter melted


For the glaze:

1 cup powdered sugar

1 1/2 Tbsp. heavy cream or milk

1/4 tsp. vanilla extract


Instructions

For the muffins:

1. Preheat the oven to 400 degrees F. Coat a 12 cup muffin tin with cooking spray or use paper liners.

2. Place the eggs, sugar, pumpkin puree and oil in a bowl. Whisk until smooth.

3. Add the flour, baking soda, baking powder, pumpkin pie spice, vanilla extract and salt to the bowl. Stir until just combined.

4. Divide the batter evenly among the 12 muffin cups.

For the streusel:

1. Place the flour, brown sugar, melted butter and pumpkin pie spice in a medium sized bowl. Mix until thoroughly combined and coarse crumbs form.

2. Sprinkle the streusel evenly over the muffins.

3. Bake for 15 minutes or until lightly browned and a toothpick inserted in the center of a muffin comes out clean.

4. Cool for 5 minutes in the pan, then transfer the muffins to a wire rack to cool completely.


For the glaze:

1. Whisk together the powdered sugar, cream and vanilla extract. Drizzle over the cooled muffins.

2. Serve or store the muffins in an airtight container for up to 5 days.