Wednesday, August 25, 2021

Caponata

Caponata is summer simmering in a pot. This appetizer of Sicilian origin features eggplant and many other fave summer veg such as zucchini and peppers. This dish is meant to be served at room temp, and it tastes better the longer the flavors have to blend together. So, it's a great one to make ahead.

I enjoy caponata with fresh bread and some Italian cheese, but it is a perfect accompaniment meat, chicken and fish. It also would rock over a bed of creamy polenta.

Many versions call for raisins and capers. Feel free to add some to my version if you like!

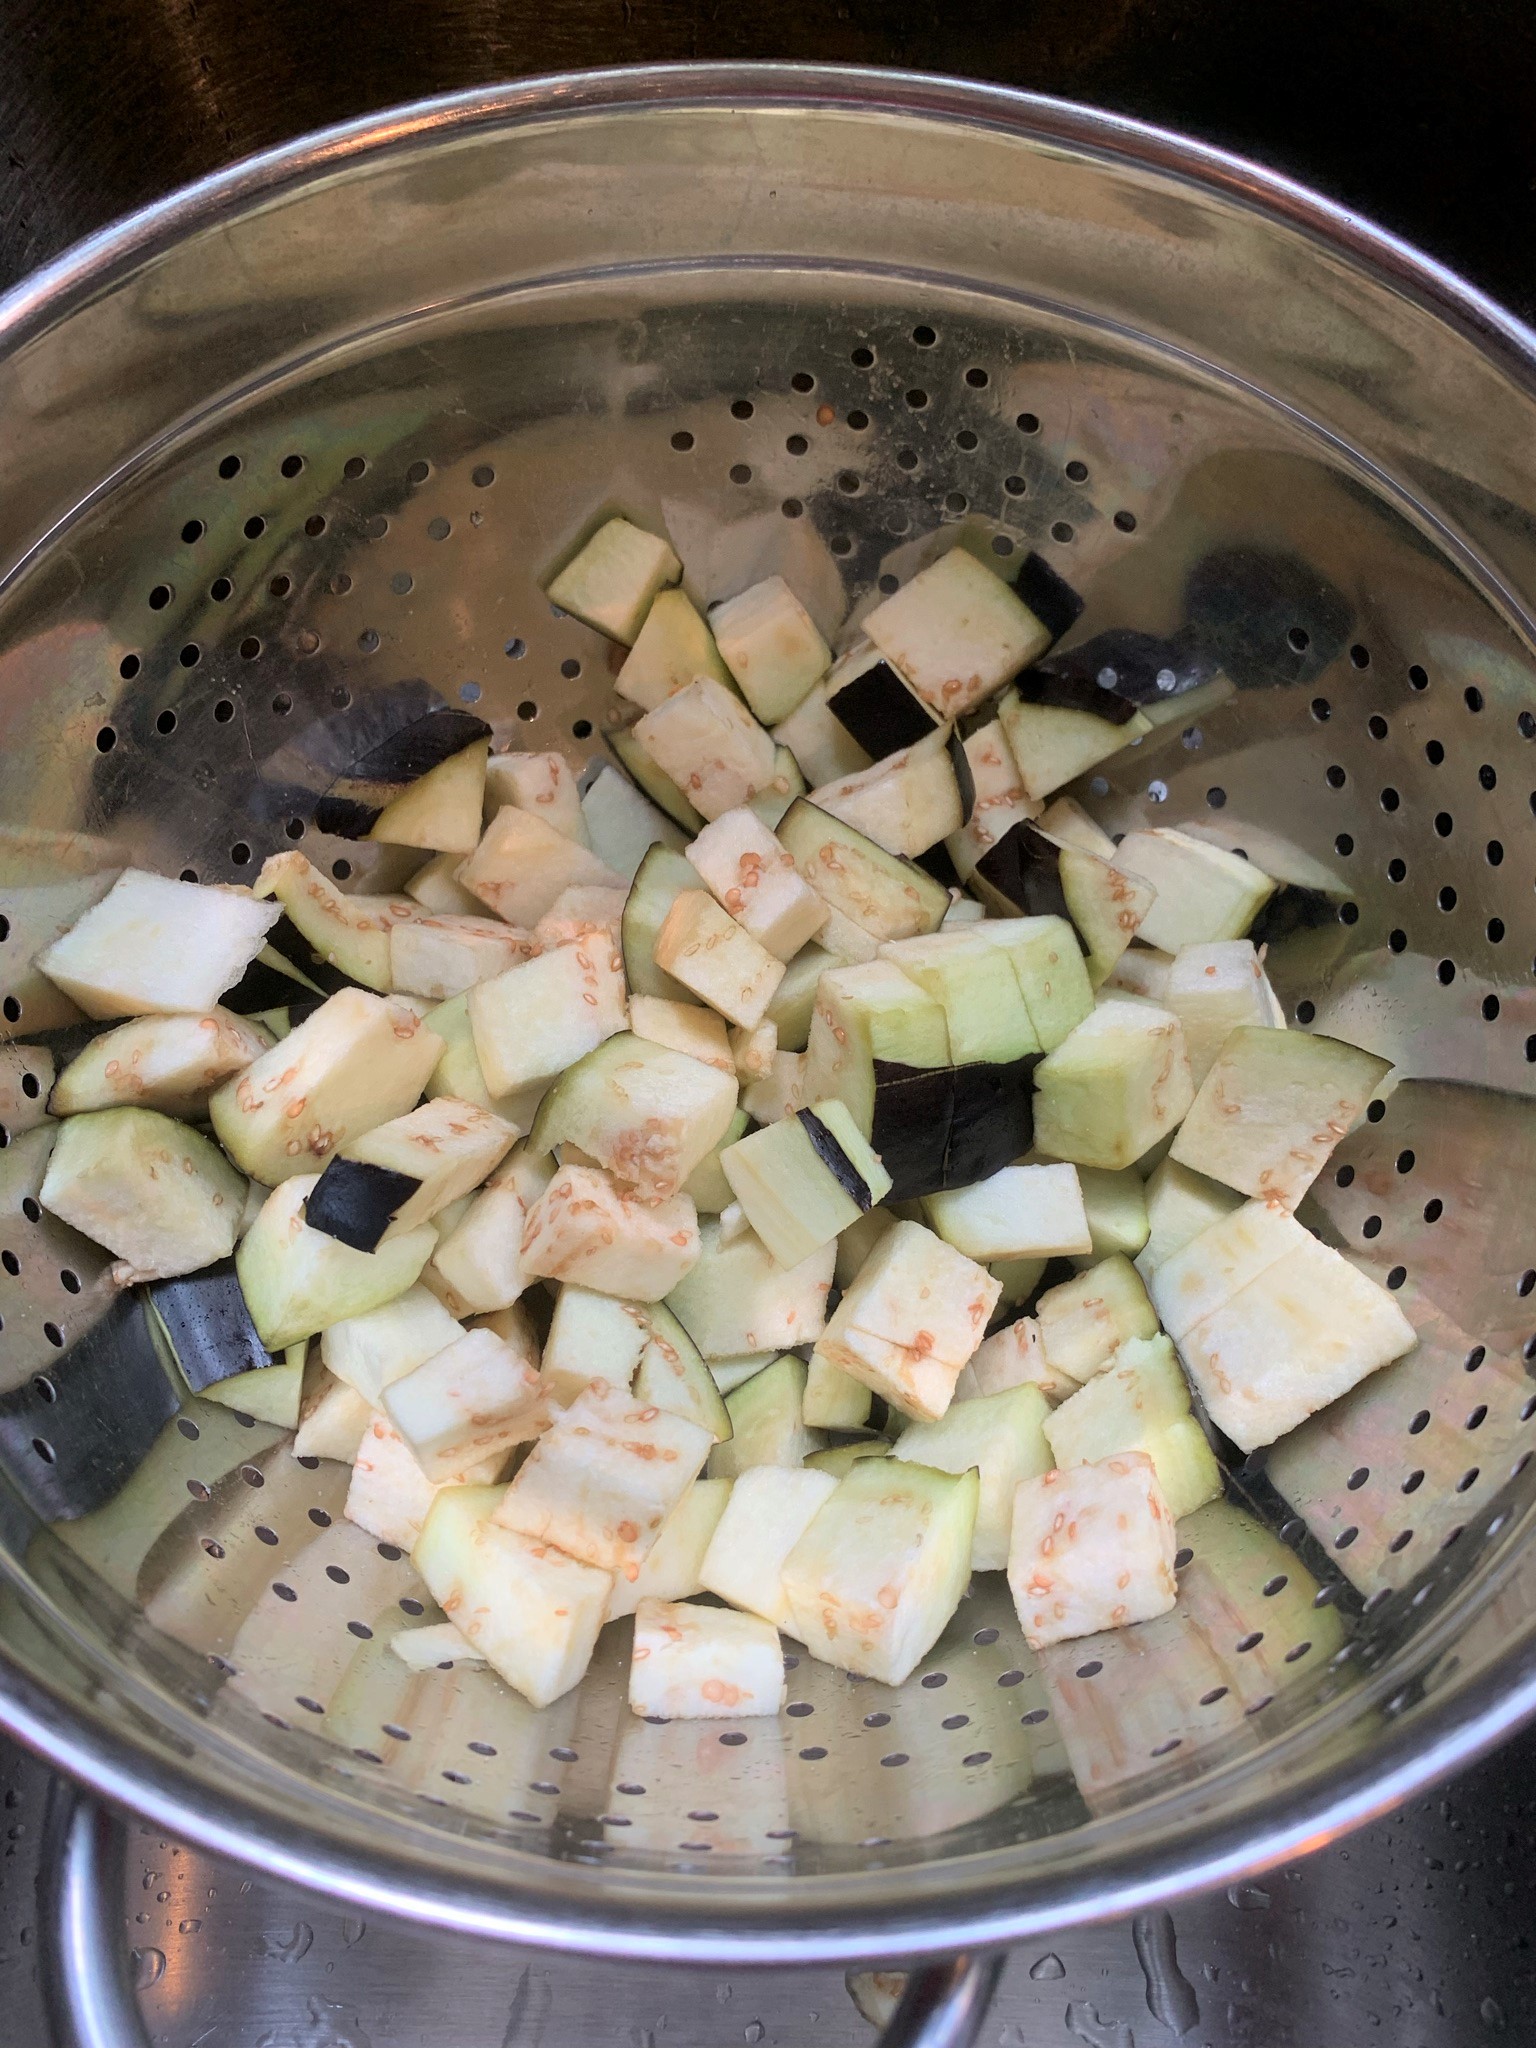
I like to salt the eggplant and set aside while chopping all the other veg.

The final step is adding a simple syrup, which brings a little sweetness to the savory. You can also up the amount of hot pepper flakes you use if you want it spicier. Please note, I don't add much salt to this dish as the olives are salty. Feel free to add some after tasting if you would like. 

I hope you get to try this while summer's bounty of eggplant, zucchini and peppers is still in full force.

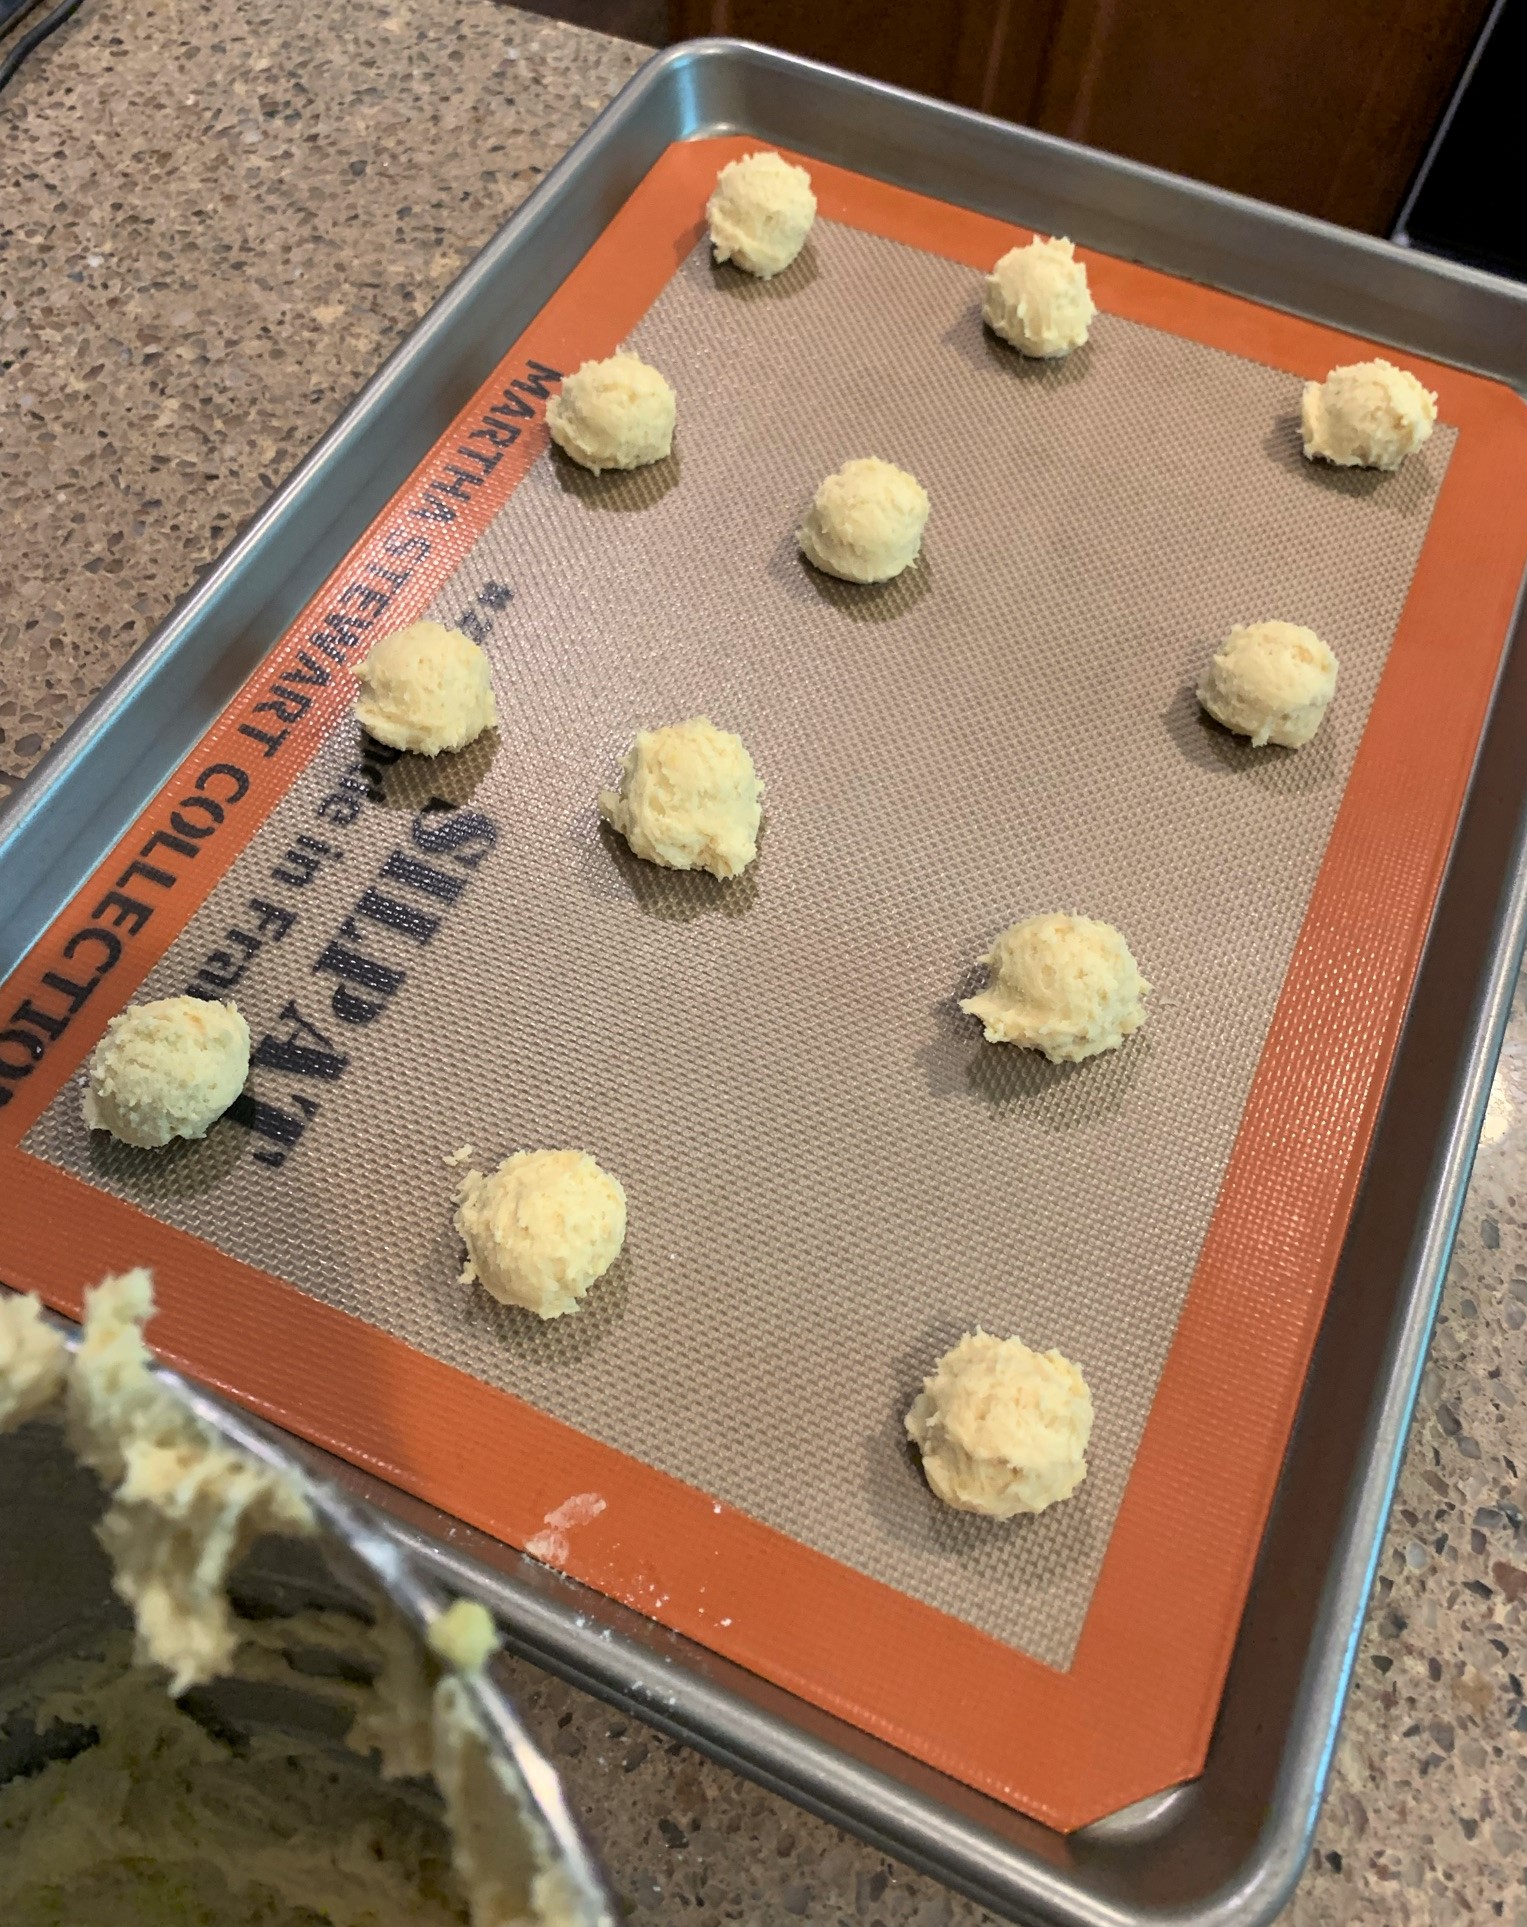
Here's a glimpse of some of the prep work:


And next up, is the recipe. Enjoy!


Caponata

Makes 10-12 servings

1 medium eggplant, skin peeled in 1/2 inch strips so that it is not fully peeled, chopped into 1/2-inch dice

1/2 tsp. salt

1 zucchini, chopped in 1/2-inch dice

1 red bell pepper, diced

2 cubanelle peppers or 2 green bell peppers, diced

1 onion, diced

2 celery stalks, diced

5 cloves garlic, sliced

1 can (28 oz) San Marzano tomatoes

1/4 cup olive oil, plus 3 Tbsp. olive oil

1 cup green Calstelvetrano olives, pitted and sliced

1/2 tsp. red pepper flakes

1/4 cup white wine vinegar

1 Tbsp. sugar

Ground pepper

1/2 cup fresh basil, torn

Place eggplant in a colander. Toss with 1/2 tsp. salt. Set aside for 20-25 minutes.

In a large Dutch oven, add 1/4 cup olive oil over medium high heat. Saute eggplant for 8-10 minutes until lightly browned. Remove to a plate using a slotted spoon.

Add remaining 3 Tbsp. olive oil to the same Dutch oven over medium high heat. Add red pepper flakes, zucchini, celery, onion, red peppers, cubanelle peppers and olives. Saute for about 10 minutes, stirring occasionally. Add garlic. Saute another 2 minutes. Return eggplant to pot.

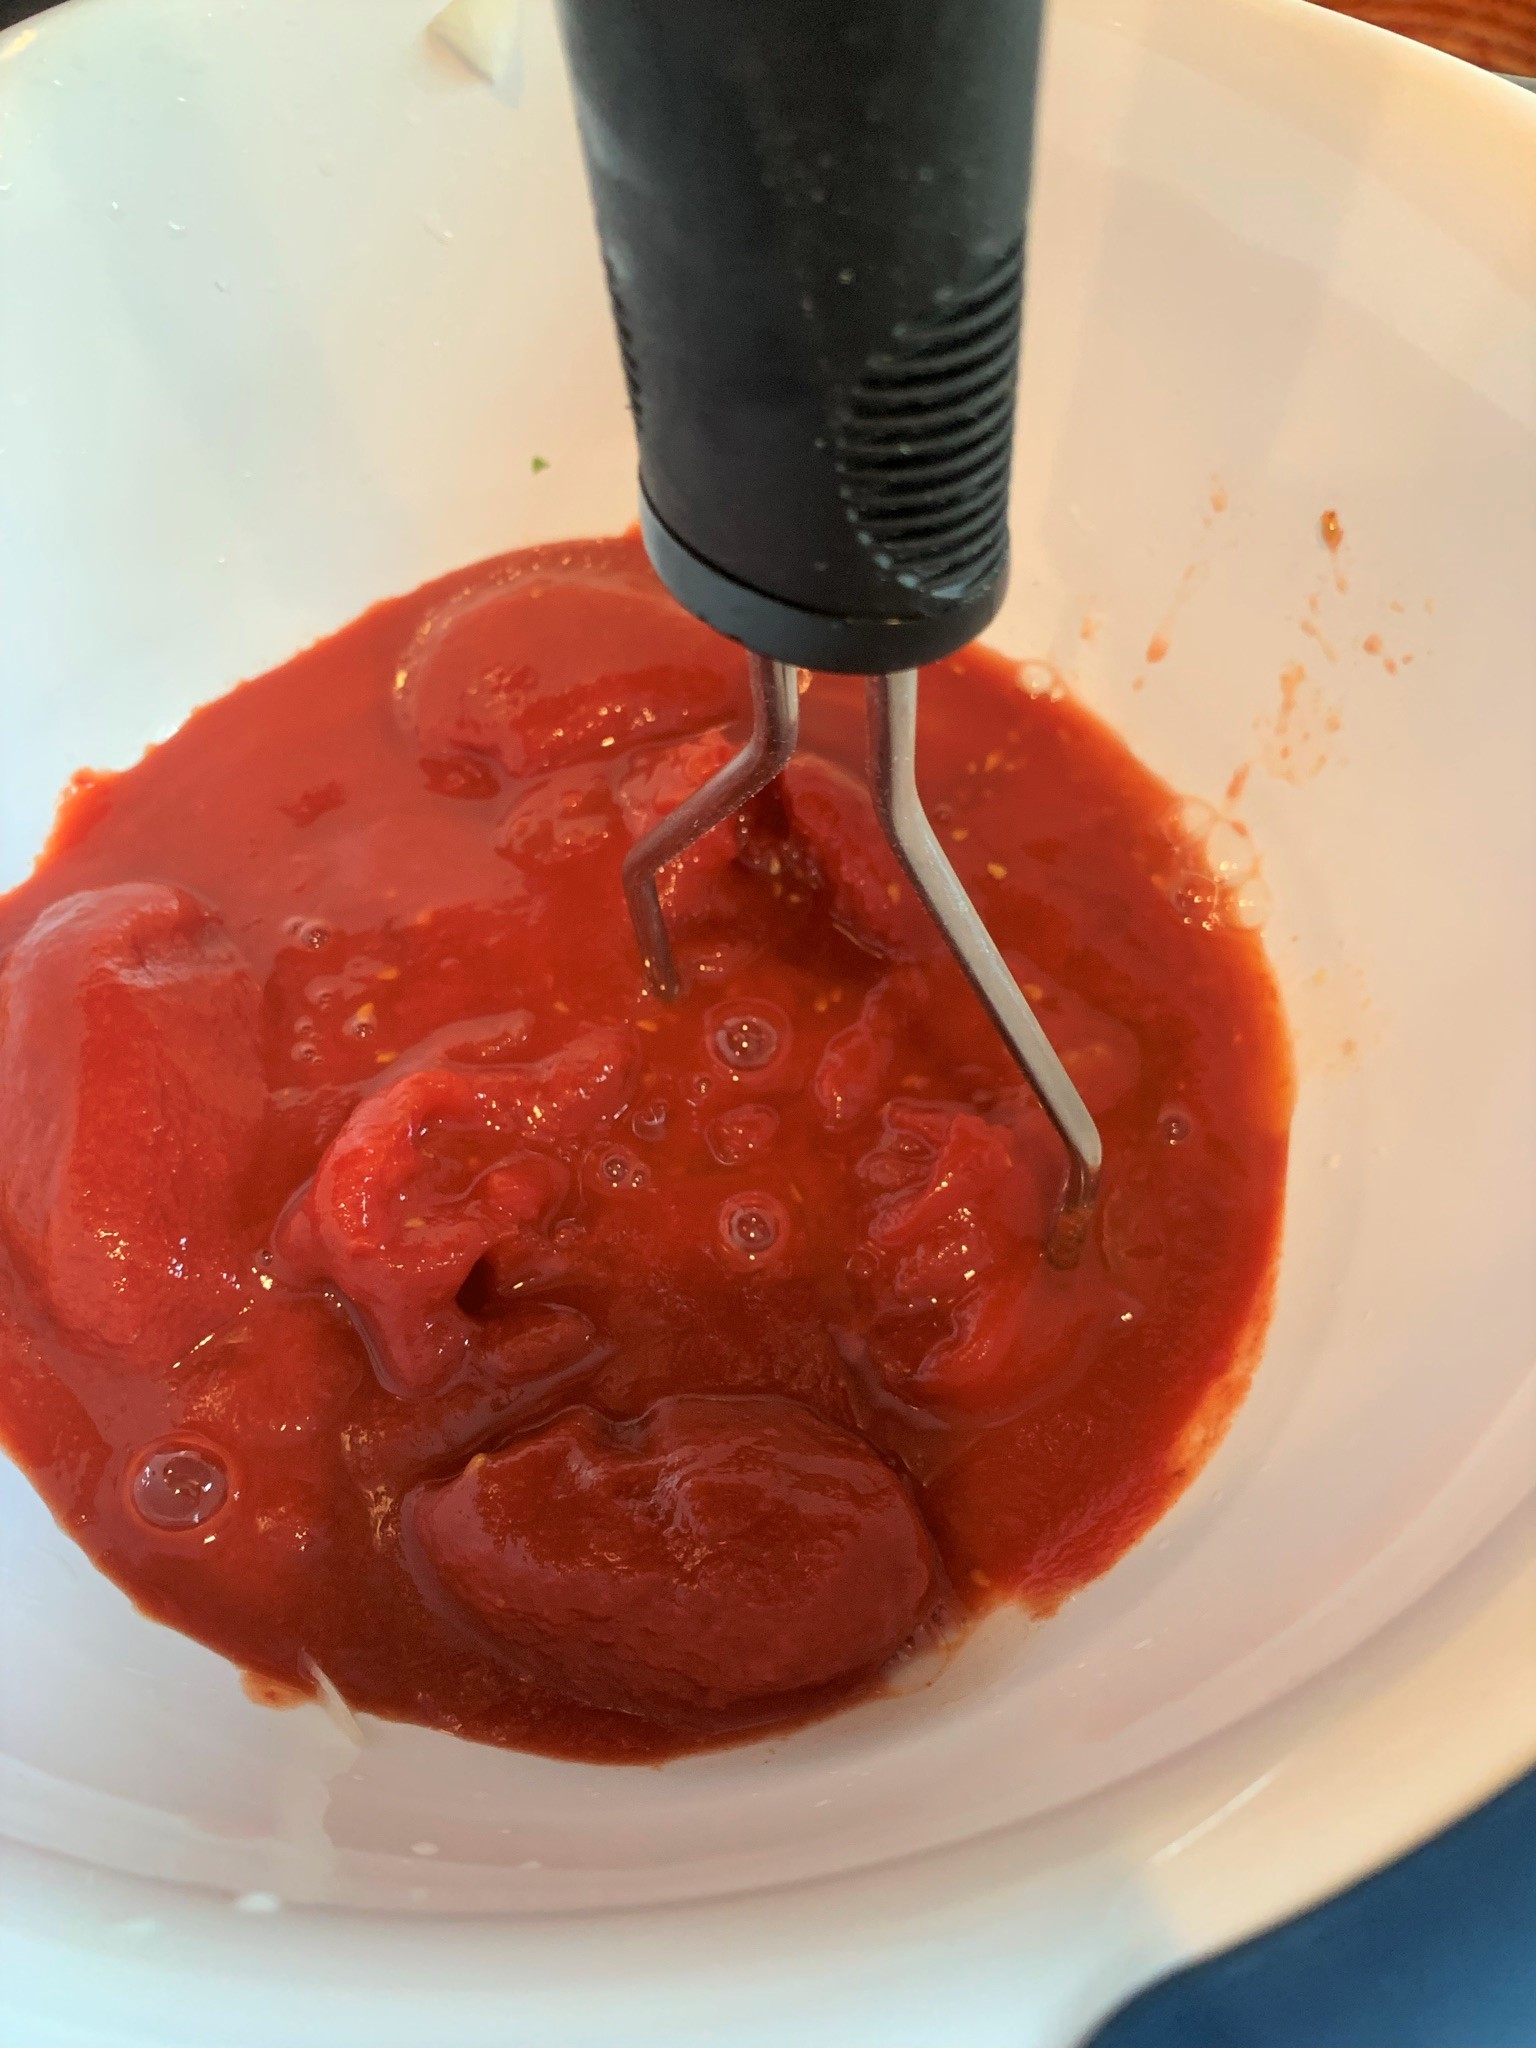
Place San Marzano tomatoes in a medium sized bowl and crush with your hands or a potato masher. Add to the pot. Stir.


Season with pepper. Bring to a simmer. Partially cover and cook for 20-25 minutes.


In a small sauce pan, bring white wine vinegar to a boil. Add sugar. Stir over high heat until mixture thickens slightly. About five minutes. Add vinegar mixture to the pot of vegetables. Stir in basil. Simmer for 5 minutes.

You may season with salt to taste if desired. Due to the saltiness of the olives, I don't add extra salt to the caponata.

To serve: Bring to room temperature. Serve with bread or cheese. You may also use the caponata to accompany meat or fish or to top a sandwich.

Extra servings may be frozen for later use.

Sunday, August 22, 2021

Crispy Mustard Chicken

Crispy Mustard Chicken by Ina Garten is so easy, and soooooo good.

Her recipe calls for serving this over frisee, but I can never ever ever find that in my grocery store, so I served it over arugula dressed with lemon juice, olive oil and salt and pepper.

But about the chicken....

This dish uses thighs, which are so juicy and delish. I know the chicken breast gets all the glory but thighs really are the unsung hero of the chicken. Plus, they are super cheap.

I always have panko, lemon zest, Dijon and white wine on hand. If you don't have fresh thyme, dried would work just as well. Just cut it to 1/2 tsp.

Be sure to dry the chicken for that extra crisp factor. 

Here's my assembly line set up for getting the chickens dipped and coated: 

My husband and son both loved this dish. I will definitely add it to our regular recipe arsenal.

Here you go:

Crispy Mustard Chicken

Serves 4

From "Cook Like a Pro" by Ina Garten

 2 garlic cloves

1 1/2 tsp. fresh thyme leaves

Kosher salt and freshly ground black pepper

1 cup panko (Japanese bread flakes)

1 1/2 tsp. grated lemon zest

Good olive oil

1 Tbsp. unsalted butter, melted

1/4 good Dijon mustard

1/4 cup dry white wine

1 1/2 lbs. bone-in, skin-on chicken thighs (4 large)

Preheat the oven to 375 degrees Fahrenheit.

Place the garlic, thyme, 1 tsp. salt and 1/2 tsp. pepper in a food processor fitted wtih a steel blade and process until garlic is finely minced. Add the panko, lemon zest, 1 Tbsp. olive oil and the butter and pulse a few times to moisten the panko. Pour the mixture into a shallow bowl. In another shallow bowl, whisk together mustard and wine.


Pat the chicken thighs dry with paper towels and sprinkle generously with salt and pepper. Dip each piece first in the mustard mixture to coat the top and bottom and then coat the skin side only in the crumb mixture, pressing gently to make the crumbs adhere. Place the chicken on the sheet pan, crumb side up and press any remaining crumbs ontho the chicken. 

Roast for 40 to 50 minutes, until the chicken reaches an internal temperature of 160 degrees.


Serve immediately.

Please note: The Jersey Girl serves this chicken over a bed of arugula dressed with lemon juice, olive oil and salt and pepper. 


Sunday, August 1, 2021

Cherry Pepper Salad

For all my hot pepper lovers out there, this one is for you.

Fresh Cherry Pepper Salad is full of color, crunch and SPICE. 

Cherry peppers are super cute and super HOT. If heat isn't your thing, you may want to skip this dish. This salad uses fresh peppers, so the spice is really in your face. My husband absolutely loved it.

This salad goes great with whatever you are grilling. I also think the peppers would be a great topping on a sandwich. 

You could make this with those cute baby bell peppers that are sold in the grocery store. Those guys are sweet!


But if fiery is your flavor, go for the cherry peppers. Here you go:

Fresh Cherry Pepper Salad

Makes 6-8 servings as a garnish

12-14 red and green cherry peppers, quartered and seeded

1 rib celery, finely diced

1 garlic clove, minced

Juice of half a lemon

1/4 cup extra virgin olive oil

2 tsp fresh oregano, minced

2 tsp fresh basil, minced

Salt and pepper to taste

Combine all ingredients in a bowl, mix and set aside for at least an hour.


Serve with fresh Italian bread.

Please note: You may want to wear plastic gloves while cutting and seeding the peppers. Be careful as to not touch your eyes.


Friday, July 30, 2021

Fusilli with Roasted Grape Tomatoes and Burrata

Tomatoes and pasta are the perfect combo. Add burrata to the mix and WOW!

If you aren't familiar with burrata it is a mozzarella type cheese filled with a spectacular cream inside. It works perfectly with this dish. If you can't find it, I recommend tossing some boccacini mozzarella in its place. But if you get your hands on some, make this dish!!

This is a perfect summer dinner to me. Easy prep and just enough to fill you up.

Enjoy!


Fusilli with Roasted Grape Tomatoes and Burrata

Makes 2 generous servings

 1 pint grape tomatoes

4 cloves garlic, minced

1/4 tsp. crushed red pepper flakes

4 Tbsp extra virgin olive oil, divided, plus more to drizzle before serving

1/4 cup fresh basil leaves, chiffonade

Salt and pepper to taste

1/2 pound fusilli or other favorite pasta

Pasta water

2 4-ounce burrata balls

Preheat oven to 400 degrees Fahrenheit. 

On a baking sheet, toss grape tomatoes with 2 Tbsp. olive oil, salt and pepper to taste. Roast in oven for 20 minutes. Remove from oven and set aside.

In a large pot of salted boiling water, cook fusilli to al dente according to the cooking time on the box of pasta. Usually about 8 minutes.

In a pan over medium heat, add olive oil, garlic and crushed red pepper flakes. Saute for a minute or two. Add roasted tomatoes. Gently crush tomatoes with a fork or the back of a cooking spoon while cooking in pan. 

Using a spider ladle or slotted spoon, transfer cooked pasta directly from the pot into the pan with tomato and garlic mixture. Ladle some pasta water into the pan with pasta, tomatoes and garlic. About 1/2 cup to 1 cup, depending on how saucy you like your sauce. Stir in fresh basil. Remove from heat.

To serve: Divide pasta between two pasta bowls. Top each with one ball of burrata. Drizzle olive oil, a turn of pepper and a dash of salt. Garnish with more olive oil and fresh basil, if desired.


Tuesday, July 20, 2021

Pork Souvlaki

This Pork Souvlaki recipe from Ina Garten is a total KEEPER.

I strongly recommend marinating the pork as soon as you can. The longer, the better. I did mine for 6 hours. I definitely think the marinade helps tenderize the meat. The recipe calls for pork shoulder, which is typically roasted slow and low. But this recipe cooks the meat super duper fast - like in less than 10 minutes!! So, the longer it marinates, the more tender and juicy the meat will be on your plate.

The recipe suggests using resealable plastic bags for marinating, but I used a glass Pyrex bowl with a lid.

If you only have one cast iron skillet, be sure to cook the meat in batches. I used two skillets. Overcrowding the meat and veggies will prevent the meat from getting that beautiful sear on the outside that guarantees an unforgetable flavor.

The fresh herbs in the marinade are an absolute must. As always, be sure to zest your lemons BEFORE juicing them.


The marinade is fantastic for both the veggies and the meat! Yellow bell pepper and red onion are full of flavor and color!


My family loved this dish. Now, my crew is totally small - just three of us. So we had leftovers, and they were just as fab the next day. But, I would totally make this if we had company and I think all me readers with lot of kids would enjoy this dish for a family-style dinner.

I served this with lemon rice, hummus, warmed pita, cut up veggies, feta and tzatzki. 

This recipe is so good.


Pork Souvlaki

Makes 6 servings

From "Cook Like a Pro" 

By Ina Garten

2 lbs. boneless pork shoulder, trimmed, 3/4-inch diced

1 red onion, cut in 1/2-inch wedges through the root end

1 large Holland yellow bell pepper, seeded and cut into 1/2-inch strips

Grated zest of 1 lemon

1/3 cup freshly squeezed lemon juice (2 lemons)

3 garlic cloves, grated on a Microplane zester

2 Tbsp. roughly chopped fresh oregano leaves

2 tsp. roughly chopped fresh rosemary leaves

Kosher salt and freshly ground black pepper 

6 warmed pita breads for serving

Tzatziki Sauce (recipe is below)

Julienned fresh mint leaves, for serving

Combine pork, red onion, bell pepper, lemon zest, lemon juice, 1/3 cup olive oil, garlic, oregano, rosemary, 2 tsp. salt and 1 tsp. black pepper in a large (1-gallon) plastic storage bag. Press out the air, seal, and set aside at room temperature for 30 minutes or refrigerate for up to 12 hours.


Preheat one very large (14-inch) or two medium (10-inch) dry cast iron skillets over high heat for 3 minutes. Add the pork and vegetables, including the marinade, spread out, and cook without stirring for 3 minutes. Continue to cook over high heat for 7 to 8 minutes, stirring occasionally, until the pork is cooked through but still slightly pink in the middle. Don't overcook the pork or it will be dry!


Place 1 warmed pita on each plate. Spoon the pork and vegetables on one half of the pita and place 2 rounded Tbsp. of tzatzki on the other half. Sprinkle with mint, lemon juice and salt and serve hot.


Tzatziki Sorta Sauce
By Susan Leiser

10 ounces Greek yogurt
1 Tbsp. lemon juice
1 garlic clove, minced
2 Tbsp. parsley, chopped
2 scallion greens, minced
1 Tbsp. white wine vinegar
Salt and pepper to taste

Combine all the ingredients in a bowl, and gently stir together with a spoon until well blended. Refrigerate if made well ahead. This sauce is more flavorful the longer the ingredients marinate together. I like to give it at least an hour. 

Tuesday, July 6, 2021

Mushroom and Broccoli Stir Fry for Lunch

 I gave up lunch meat for Lent in 2020, which means I gave it up forevs. Pretty much. If I'm at a party and the food is a bunch of hoagies, I mean I'm going to eat one.

But for the most part, this little lady is free of processed meats. As a result, I need to get creative when I'm coming up with lunches.

My Mushroom Broccoli Stir Fry is ready in less than 15 minutes. I bought those pouches of brown rice that you just nuke in the microwave for 90 seconds. So easy.  If you don't buy your mushrooms pre-sliced, that will add some minutes to your prep, of course.

This stir fry was very filling for me, and I love the taste of it all. You totally could add chicken or beef to up the protein factor and/or if grooving as a vegetarian ain't your thang.

The quantities below made me two lunches. This lunch made me super happy.


Mushroom Broccoli Stir Fry

Makes 2 lunch servings

1 Tbsp. canola oil

Button mushrooms, sliced, 8 ounces

2 cups broccoli florets, cut into bite-sized pieces

1 medium onion, sliced

2 garlic cloves, minced

1 cup vegetable broth, heated in microwave a microwave-safe liquid measuring cup or bowl

2 tsp. cornstarch

2 tsp. Chinese 5 spice seasoning

1 Tbsp. soy sauce

Ground black pepper to taste

Serve with brown rice, soy sauce and sirachi if desired

Add canola or clear oil to a wok or a large pan with sides over high heat. Once the oil ripples, add mushrooms and onions, stirring frequently for about 4-5 minutes. Add garlic. Cook for a minute. Add broccoli, keep stirring. Add 5-spice seasoning, black pepper and soy sauce. Cook for another 4-5 minutes. 


Whisk cornstarch into warmed vegetable broth. Add to wok. Stir some more, Let mixture come to a boil. Cover with a lid and lower heat to medium. Cook for another 5 minutes.

Serve with brown rice and more soy sauce or sirachi if you like a little kick! Portions may be stored in the refrigerator for up to 3 days. 


Thursday, July 1, 2021

Lovely Lemon Cookies

Do you want something sweet and citrusy but not too heavy? These Glazed Lemon Cookies are just what you asked for!

All ages love these circles of sweetness. They are soft and light. A kiss of lemon

This is a great recipe to make with your kids. Using a cookie scooper helps shape the dough into perfect shaped balls. I recommend using Silpat mats on your baking sheets for best results. You can also line your baking pans with parchment if you do not have Silpats.

If you have a squeeze bottle, it is perfect for drizzling the glaze over the cookies. But the plastic sandwich bag with a snipped corner works just fine, too!


Glazed Lemon Cookies

From "Cooking Classy"

Makes about 30-36 cookies

Ingredients

2 cups + 2 Tbsp. all-purpose flour (scoop and level to measure)

1 Tbsp. cornstarch

1/2 tsp. baking soda

1/2 tsp. salt

3/4 cup butter, softened

1 1/4 cups granulated sugar

Zest of 2 lemons (About 1 1/2 Tbsp.)

1 large egg

1 large egg yolk

2 Tbsp. fresh lemon juice

1 1/2 tsp. vanilla extract

Lemon Glaze

1 cup powdered sugar

1 1/2 - 2 Tbsp. fresh lemon juice

Instructions:

Preheat oven to 350 degrees. In a mixing bowl, whisk together flour, cornstarch, baking soda and salt. Set aside.

In the bowl of an electric stand mixer fit with the paddle attachment, whip together butter, sugar and lemon zest on medium-high speed until mixture is pale and fluffy, about 3 minutes.

Blend in egg, then egg yolk. Mix in lemon juice and vanilla extract. Slowly add in dry ingredients and mix until just combined.

Scoop dough out by the heaping tablespoonful, form into balls and drop onto silicone baking mat or parchment paper lined baking sheets. Bake in preheated oven 9 - 11 minutes.

Allow cookies to cool on baking sheet several minutes before transferring to a wire rack to cool.

For lemon glaze:

In a small mixing bowl, whisk together powdered sugar and enough lemon juice to reach a drizzable consistency.

Pour mixture into a resealable bag, seal bag and cut a small tip off one corner then drizzle glaze over cooking. Allow glaze to set at room temperature.

Store cookies in a single layer in an airtight container.